> ## Documentation Index
> Fetch the complete documentation index at: https://docs.tryprofound.com/llms.txt
> Use this file to discover all available pages before exploring further.
# Getting started with FactCheck
> Set up FactCheck by assigning prompts and connecting a Knowledge Base
## Step 1: Open the FactCheck tab
Go to [**Answer Engine Insights**](/answer-engine-insights/about) **> FactCheck**. The first time you open the tab, an onboarding screen guides you through setup: assigning the FactCheck analysis type to your prompts and connecting a [Knowledge Base](/context-manager/knowledge-bases-and-brand-kits).
## Step 2: Choose your prompts
1. From the onboarding screen, open the [Prompt Designer.](/answer-engine-insights/prompt-designer)
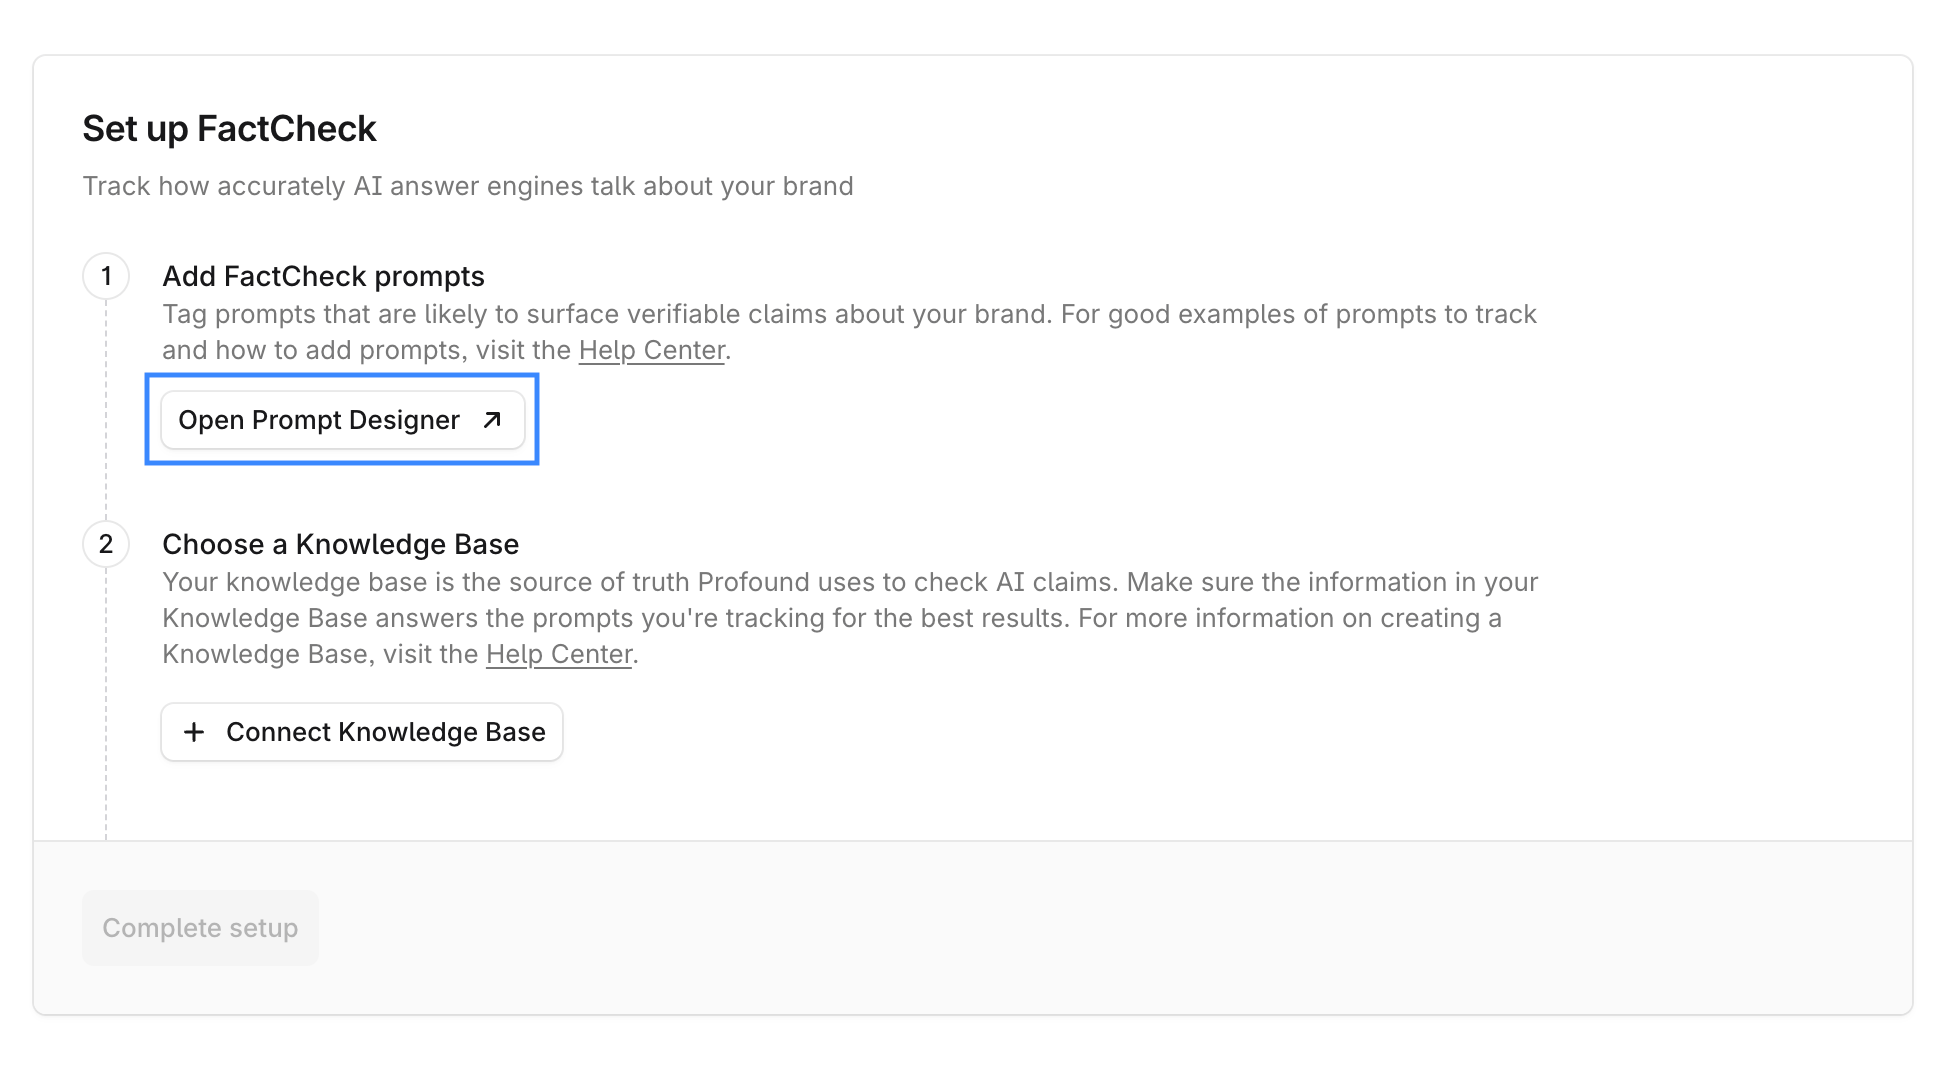 2. Select 100 to 200 fact-based prompts that are likely to surface verifiable claims about your brand. Good candidates include prompts about product specifications, pricing, policies, safety claims, features, and service terms. Avoid opinion-based or subjective prompts.
To learn more about FactCheck prompt best practices, see [How to get the best results working with FactCheck](/answer-engine-insights/how-tos/factcheck-best-results).
3. After you select the prompts, go to **Edit > Analysis Types** and set their analysis type to **FactCheck**.
4. If you're already tracking prompts for Visibility or Sentiment, you can add FactCheck to those or create new prompts specifically for FactCheck.
## Step 3: Connect a Knowledge Base
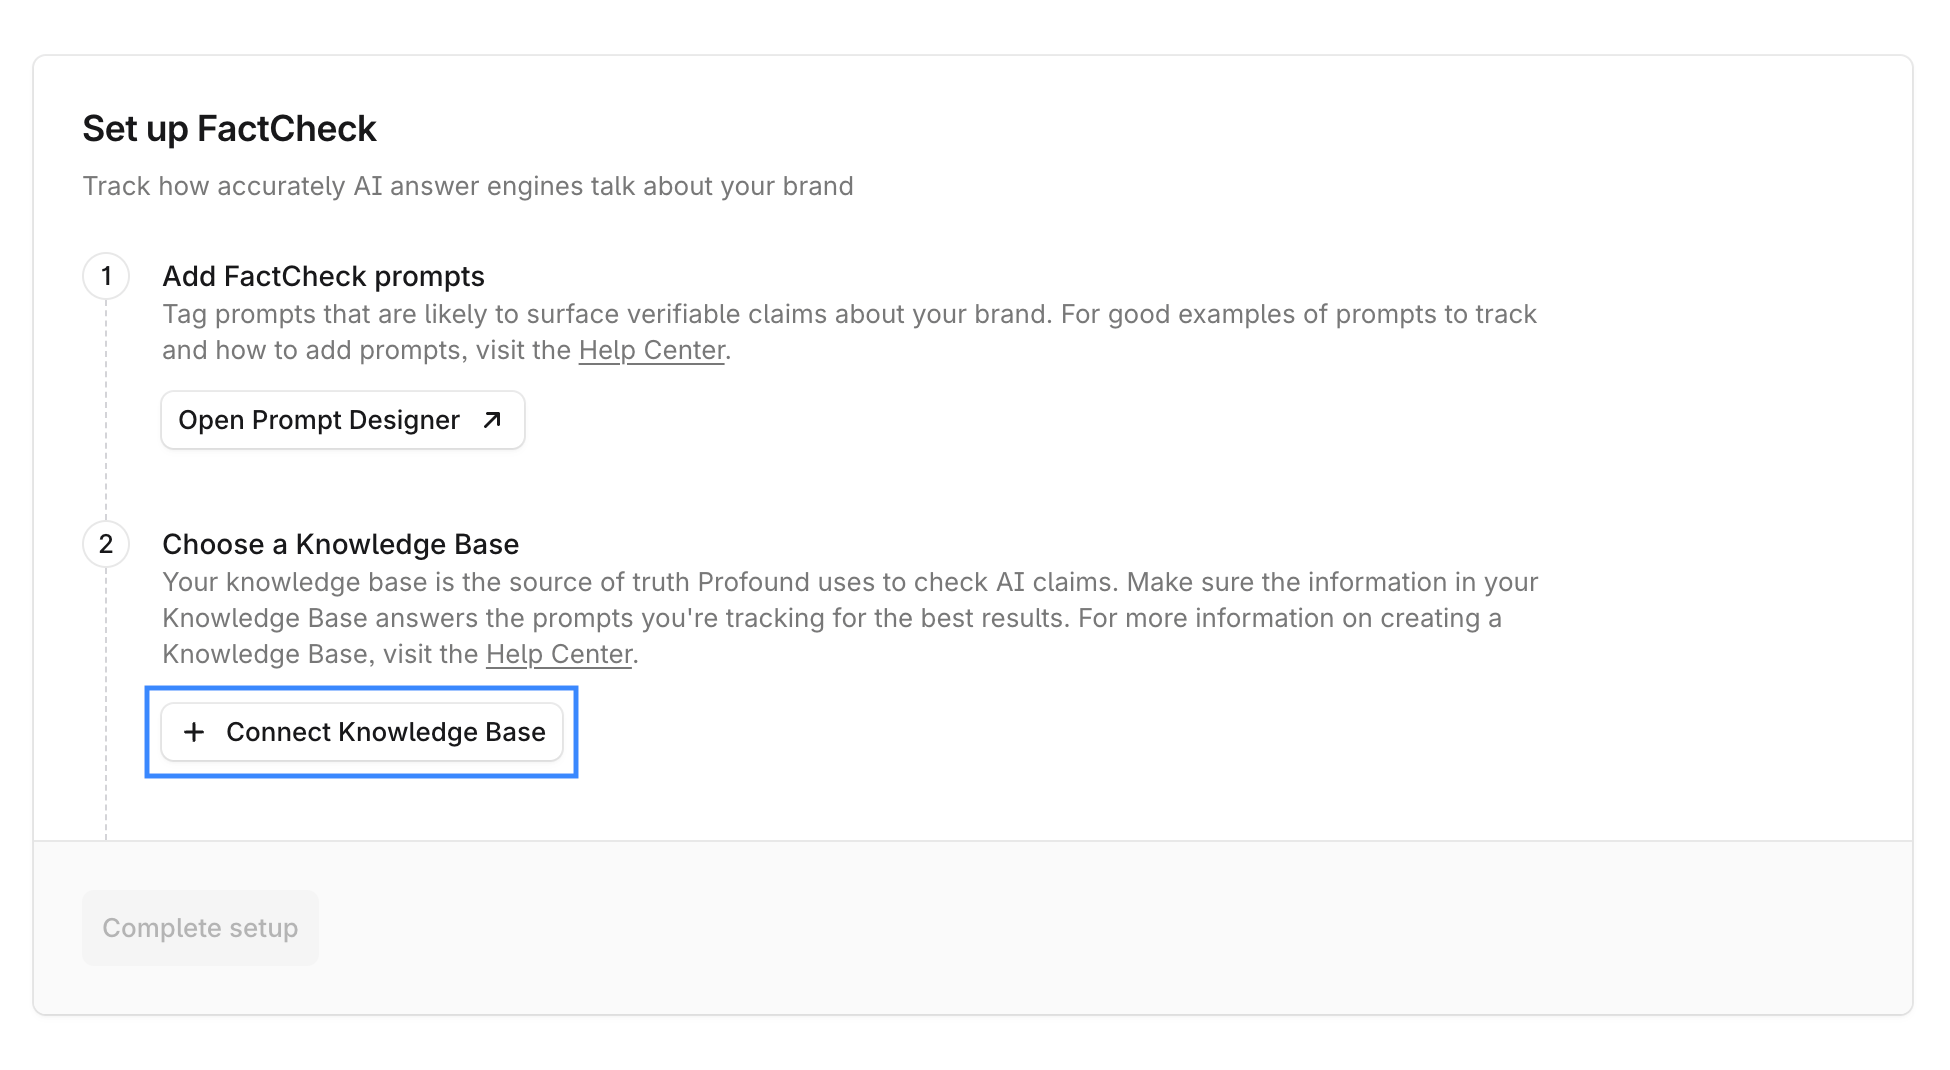
On the onboarding screen, select the **+ Connect Knowledge Base** and select the Knowledge Base you want FactCheck to use as its source of truth.
2. Select 100 to 200 fact-based prompts that are likely to surface verifiable claims about your brand. Good candidates include prompts about product specifications, pricing, policies, safety claims, features, and service terms. Avoid opinion-based or subjective prompts.
To learn more about FactCheck prompt best practices, see [How to get the best results working with FactCheck](/answer-engine-insights/how-tos/factcheck-best-results).
3. After you select the prompts, go to **Edit > Analysis Types** and set their analysis type to **FactCheck**.
4. If you're already tracking prompts for Visibility or Sentiment, you can add FactCheck to those or create new prompts specifically for FactCheck.
## Step 3: Connect a Knowledge Base
On the onboarding screen, select the **+ Connect Knowledge Base** and select the Knowledge Base you want FactCheck to use as its source of truth.
 FactCheck uses the entire Knowledge Base, so there's no need for a special file structure. Organize your documents however works best.
If you don't yet have a Knowledge Base you want to set up with FactCheck, go to **Knowledge Bases** in the left navigation menu, create a Knowledge Base, and upload your documentation as described in [Create and manage Knowledge Bases](/context-manager/manage-knowledge-bases).
You can connect only one Knowledge Base to FactCheck. Learn more about Knowledge Base best practices and setup limitations in [How to get the best results working with FactCheck](/answer-engine-insights/how-tos/factcheck-best-results).
## Step 4: Complete setup
Once your prompts carry the FactCheck analysis type and a Knowledge Base is connected, select **Complete setup**.
## Step 5: Explore the results
FactCheck results typically take 7 days to appear. Once available, go to **Answer Engine Insights** > **FactCheck** to review them:
* Browse **Inaccurate Claims** by theme and expand themes to view the claims and the ground truths they were evaluated against.
* Review the **Accuracy Breakdown** per citation, platform or prompt. Select citations or prompts to open a detailed analysis view.
## Step 6: Take action
Review the **Inaccuracy Drivers** table. It lists the pages that drive the most inaccurate claims about your brand. Take action directly from the table: select **Draft Outreach** in the **Suggested Action** column and have [AI Marketer](/aim/about) build an [Agent](/agents/about) to draft outreach for that source.
FactCheck uses the entire Knowledge Base, so there's no need for a special file structure. Organize your documents however works best.
If you don't yet have a Knowledge Base you want to set up with FactCheck, go to **Knowledge Bases** in the left navigation menu, create a Knowledge Base, and upload your documentation as described in [Create and manage Knowledge Bases](/context-manager/manage-knowledge-bases).
You can connect only one Knowledge Base to FactCheck. Learn more about Knowledge Base best practices and setup limitations in [How to get the best results working with FactCheck](/answer-engine-insights/how-tos/factcheck-best-results).
## Step 4: Complete setup
Once your prompts carry the FactCheck analysis type and a Knowledge Base is connected, select **Complete setup**.
## Step 5: Explore the results
FactCheck results typically take 7 days to appear. Once available, go to **Answer Engine Insights** > **FactCheck** to review them:
* Browse **Inaccurate Claims** by theme and expand themes to view the claims and the ground truths they were evaluated against.
* Review the **Accuracy Breakdown** per citation, platform or prompt. Select citations or prompts to open a detailed analysis view.
## Step 6: Take action
Review the **Inaccuracy Drivers** table. It lists the pages that drive the most inaccurate claims about your brand. Take action directly from the table: select **Draft Outreach** in the **Suggested Action** column and have [AI Marketer](/aim/about) build an [Agent](/agents/about) to draft outreach for that source.