> ## Documentation Index
> Fetch the complete documentation index at: https://docs.tryprofound.com/llms.txt
> Use this file to discover all available pages before exploring further.
# Connect G2 to Profound
This guide walks you through connecting your G2 account to Profound. Once connected, Profound Agents and Aim can access, edit, and manage your G2 data directly.
## Before you start
You'll need:
* [G2](https://www.g2.com/) vendor account
* [Profound](https://www.tryprofound.com/) account
## Setup guide
To locate the G2 integration in the Profound platform:
* Navigate to **Integrations** in the left sidebar.
* Search for **G2** and select it.
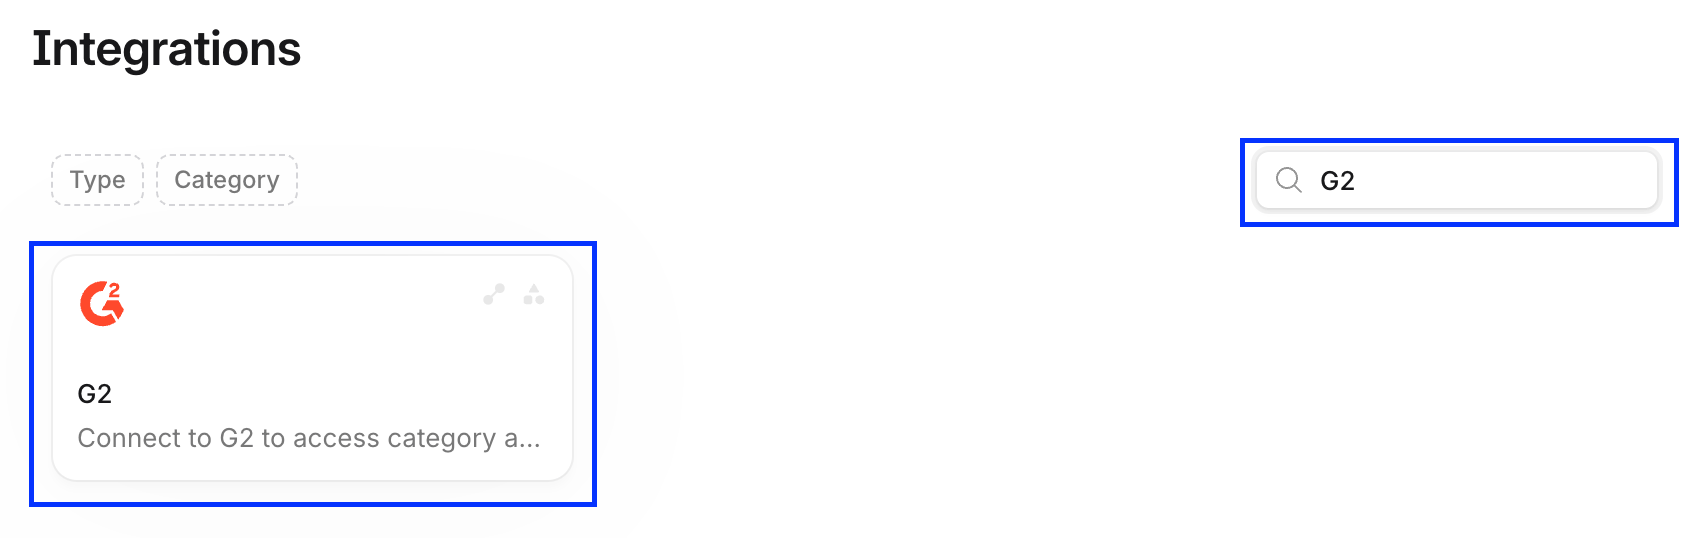 Depending on your needs, set up a G2 integration, a G2 connector, or both.
This is a one-time setup. After you connect your G2 account, it remains available for future use until you [revoke access](#revoking-access).
### G2 integration
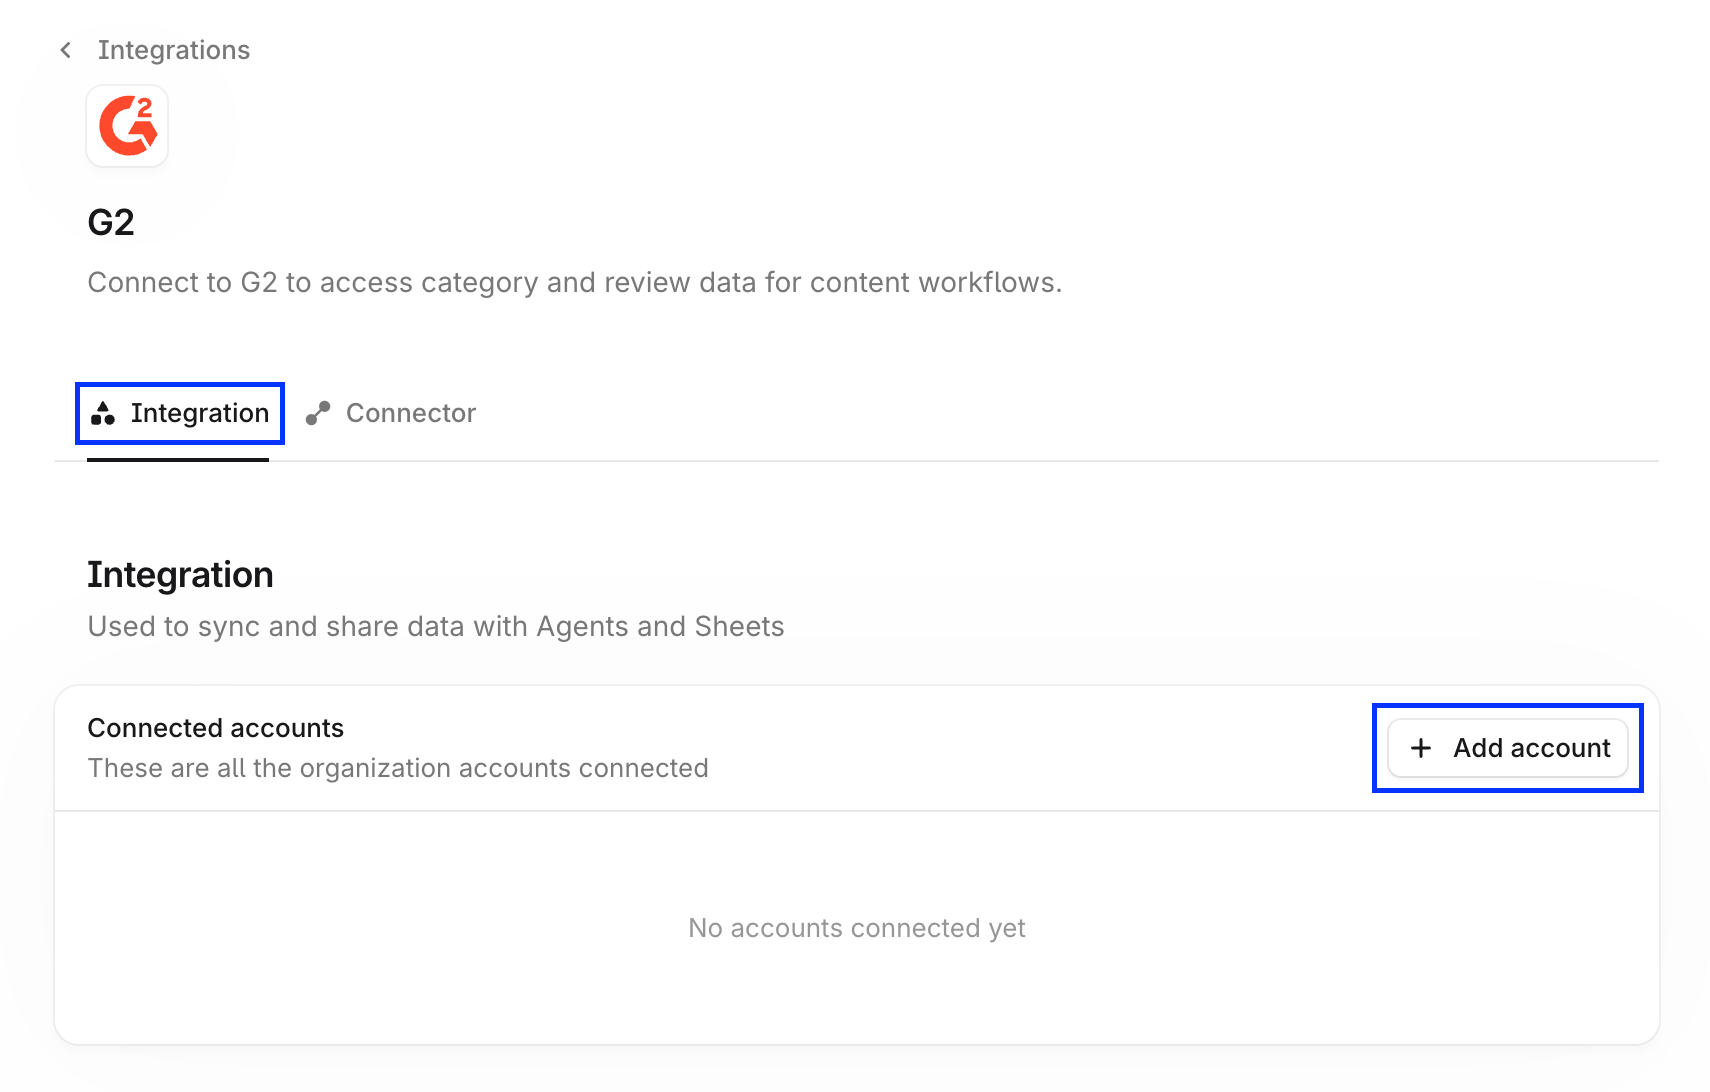
The G2 integration allows Profound Agents and Sheets to work with your G2 data.
* In the G2 integration view, navigate to the **Integration** tab.
* Select **+ Add account**.
Depending on your needs, set up a G2 integration, a G2 connector, or both.
This is a one-time setup. After you connect your G2 account, it remains available for future use until you [revoke access](#revoking-access).
### G2 integration
The G2 integration allows Profound Agents and Sheets to work with your G2 data.
* In the G2 integration view, navigate to the **Integration** tab.
* Select **+ Add account**.
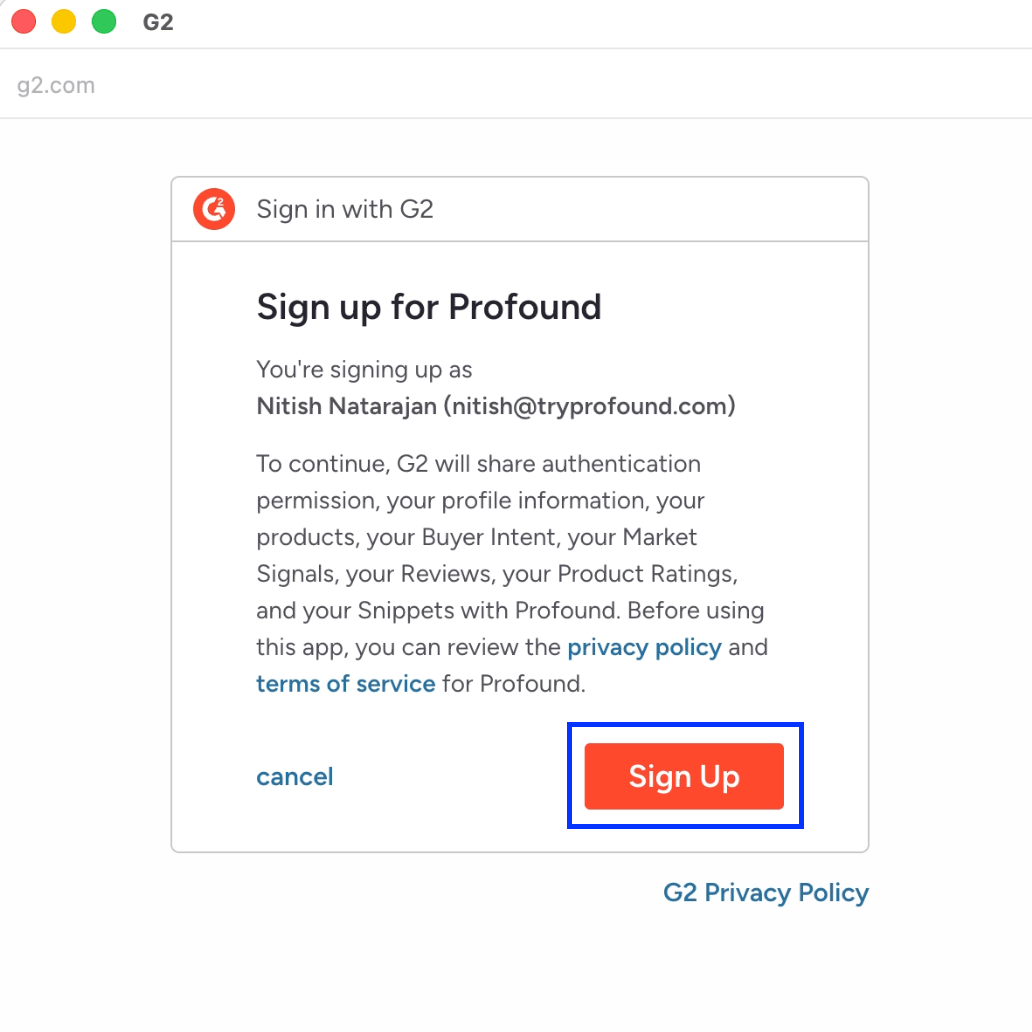
 Follow the pop-up dialog that prompts you to sign in to your G2 account and authorize Profound to access your account.
 If your G2 account appears in the list of connected accounts, the connection was successful and is ready to use with Profound.
You can also connect your G2 account to Profound directly in the Agent builder view. Navigate to **Agents** > **+ Create new**, add one of the G2 nodes to the canvas, select it to open its configuration panel, and follow the **Connect account** flow.
### G2 connector
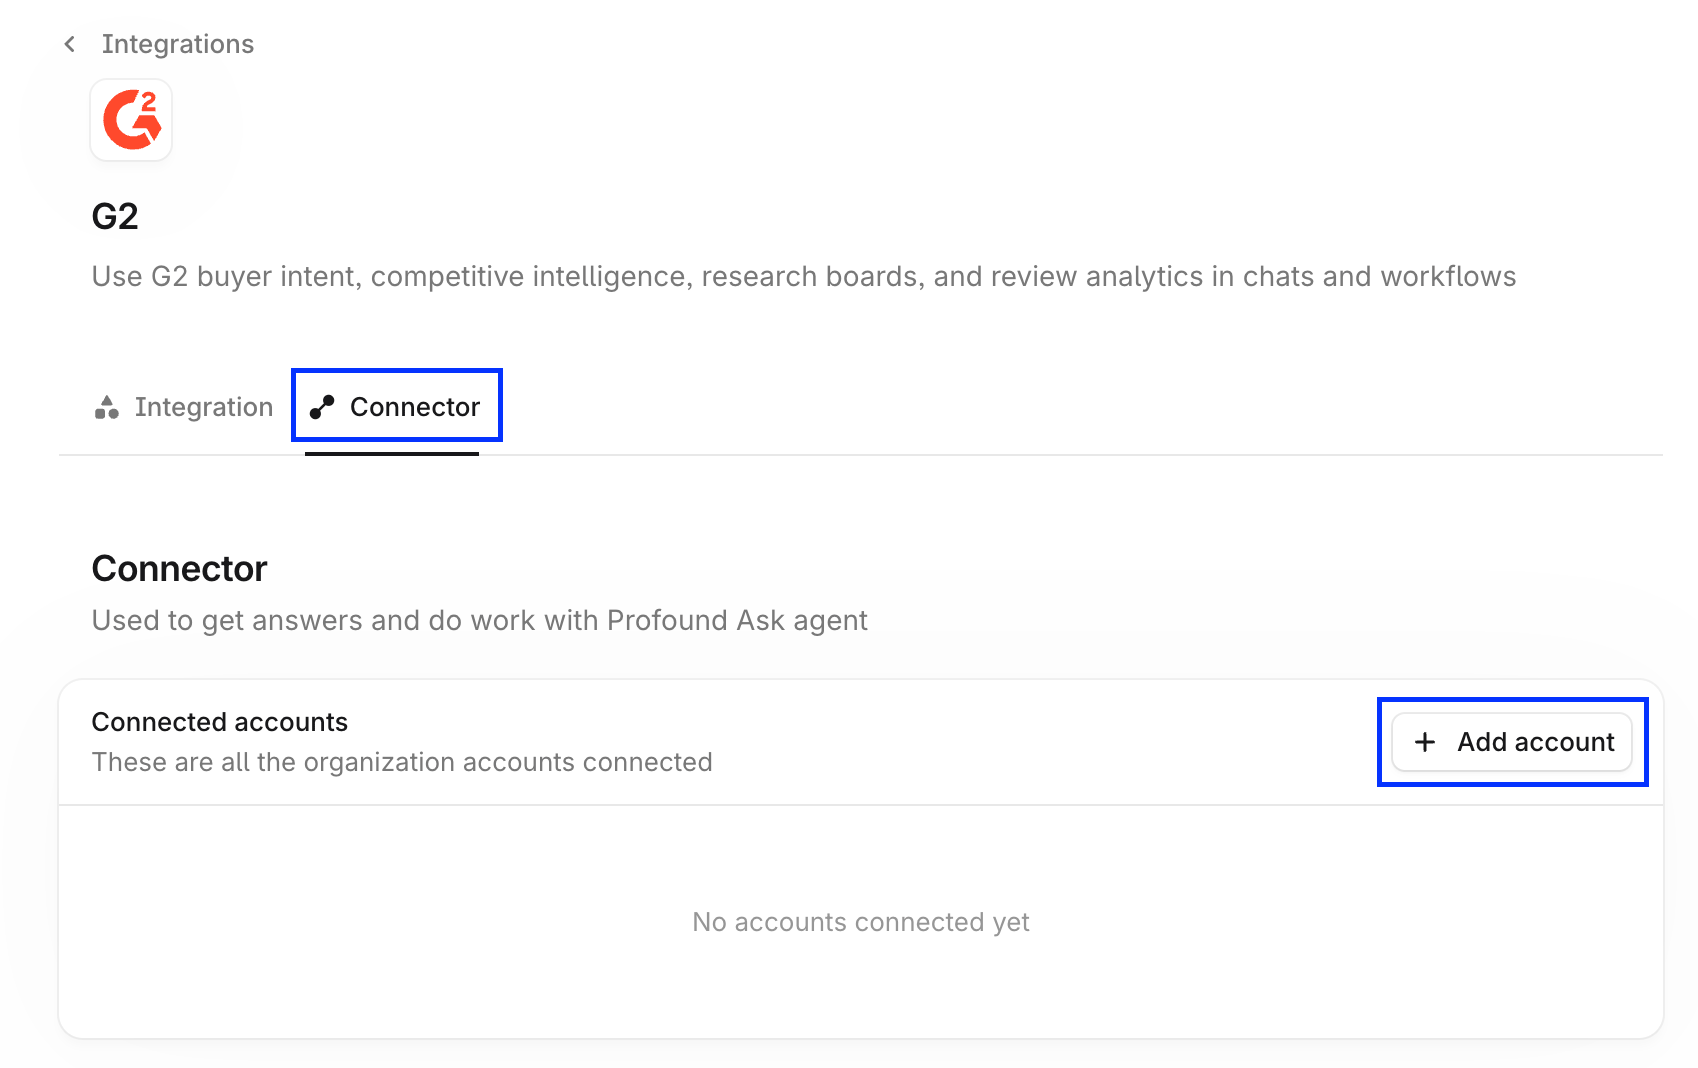
The G2 connector allows Aim to access your G2 data and use it in conversations live.
* In the G2 integration view, navigate to the **Connector** tab.
* Select **+ Add account**.
If your G2 account appears in the list of connected accounts, the connection was successful and is ready to use with Profound.
You can also connect your G2 account to Profound directly in the Agent builder view. Navigate to **Agents** > **+ Create new**, add one of the G2 nodes to the canvas, select it to open its configuration panel, and follow the **Connect account** flow.
### G2 connector
The G2 connector allows Aim to access your G2 data and use it in conversations live.
* In the G2 integration view, navigate to the **Connector** tab.
* Select **+ Add account**.
 Follow the pop-up dialog that prompts you to sing in to your G2 account and share authentication with Profound.
If your G2 account appears in the list of connected accounts, the connection was successful and is ready to use with Profound.
Follow the pop-up dialog that prompts you to sing in to your G2 account and share authentication with Profound.
If your G2 account appears in the list of connected accounts, the connection was successful and is ready to use with Profound.
 Review the permissions you want to give Profound Aim for the tools available with the G2 connector in the **Tools & permissions** table.
Each tool has three options:
* **Allow**: Aim can use the tool anytime
* **Ask**: Aim will ask you before using the tool
* **Block**: Aim can't use the tool
Review the permissions you want to give Profound Aim for the tools available with the G2 connector in the **Tools & permissions** table.
Each tool has three options:
* **Allow**: Aim can use the tool anytime
* **Ask**: Aim will ask you before using the tool
* **Block**: Aim can't use the tool
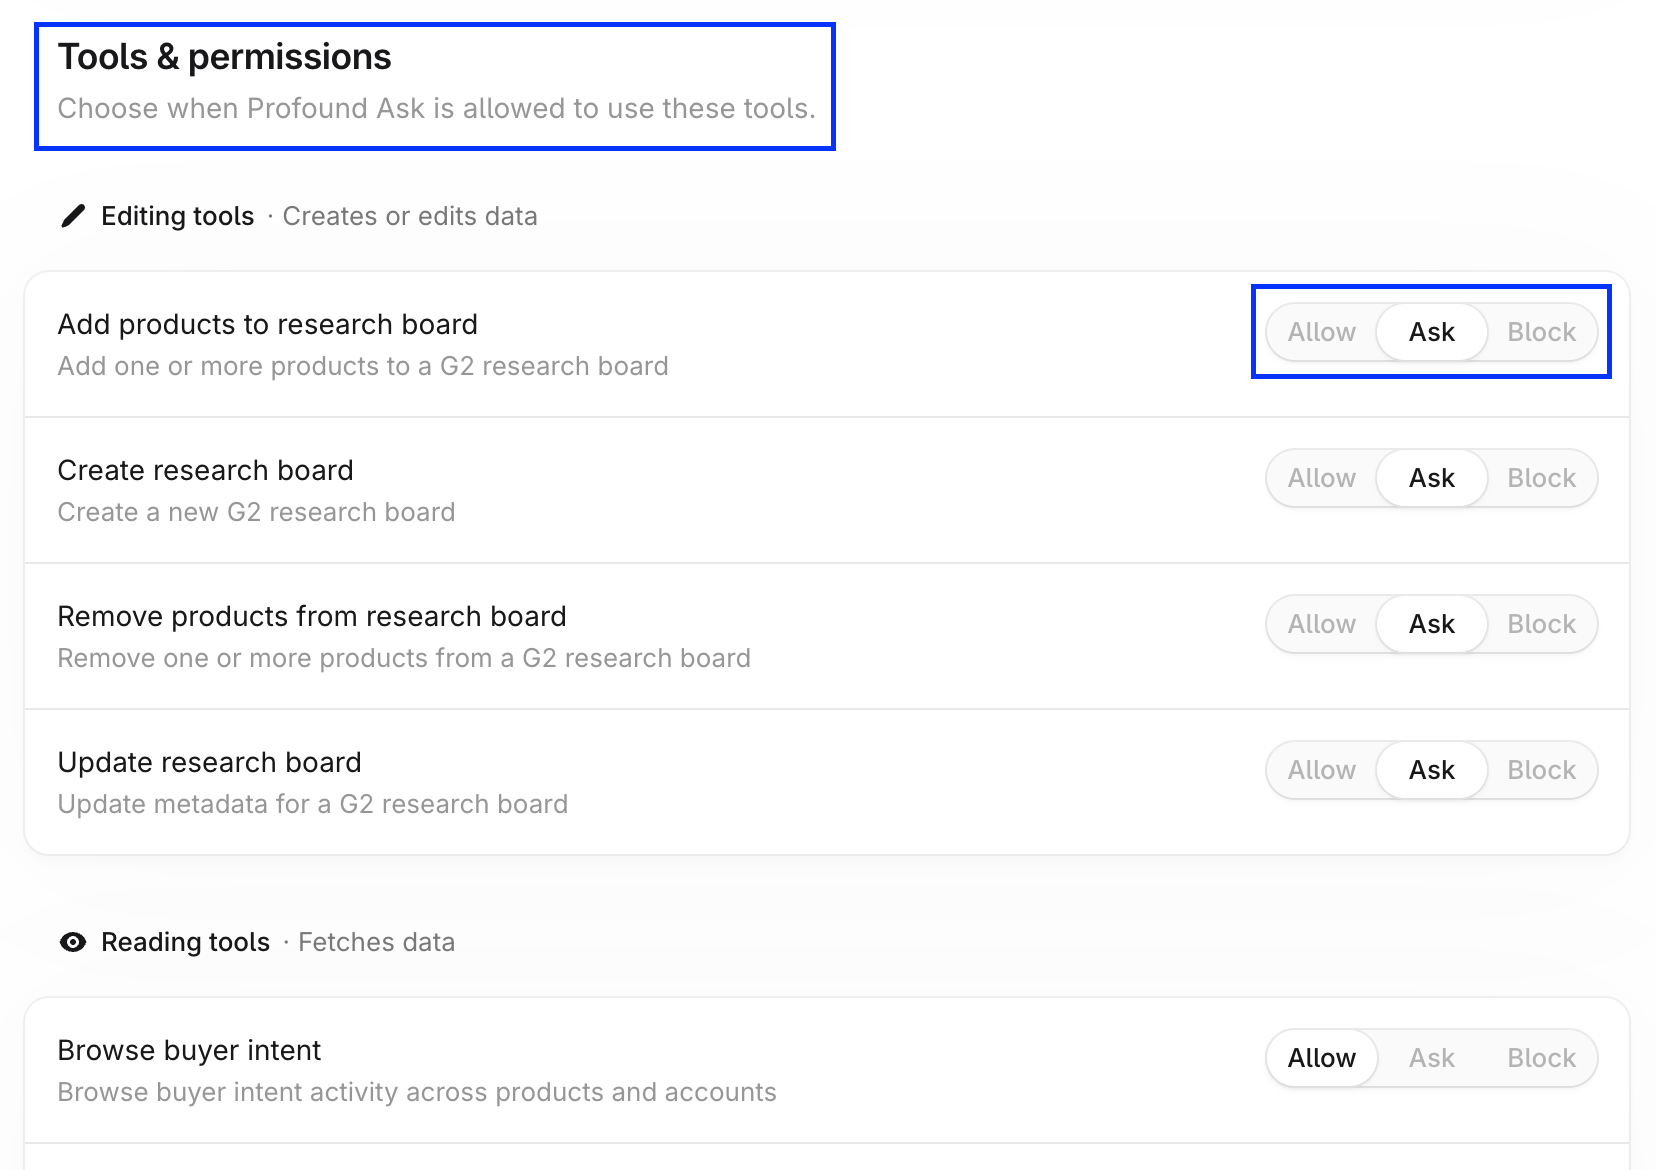 The tools that can cause irreversible deletions or edits are listed in the **Destructive tools** section. Block these tools by default or set them to **Ask**.
## Revoking access
Revoke Profound's access to your G2 account anytime by selecting Revoke in the integration account action menu.
The tools that can cause irreversible deletions or edits are listed in the **Destructive tools** section. Block these tools by default or set them to **Ask**.
## Revoking access
Revoke Profound's access to your G2 account anytime by selecting Revoke in the integration account action menu.
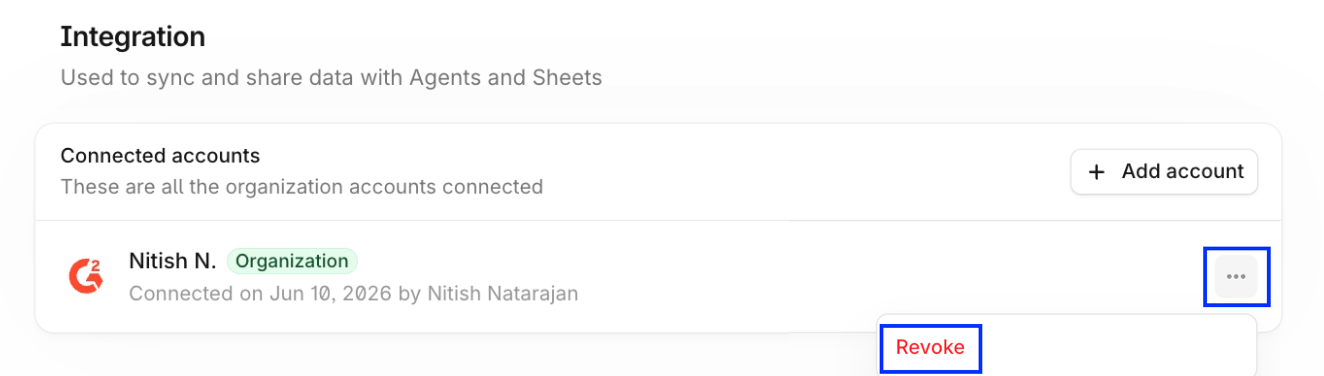 Revoke access separately for the integration and the connector.