> ## Documentation Index
> Fetch the complete documentation index at: https://docs.tryprofound.com/llms.txt
> Use this file to discover all available pages before exploring further.
# G2 を Profound に接続する
このガイドでは、G2 アカウントを Profound に接続する手順を説明します。接続すると、Profound Agents と Aim が G2 のデータに直接アクセスし、編集や管理を行えるようになります。
## 始める前に
次のものが必要です。
* [G2](https://www.g2.com/) のベンダーアカウント
* [Profound](https://www.tryprofound.com/) アカウント
## セットアップガイド
Profound プラットフォームで G2 インテグレーションを見つけるには、次の手順を実行します。
* Profound で、プラットフォームの左上にある組織名を選択し、**Settings** を選択します。
* 左サイドバーの **Account** の下にある **Integrations** を選択します。
* **G2** を検索して選択します。
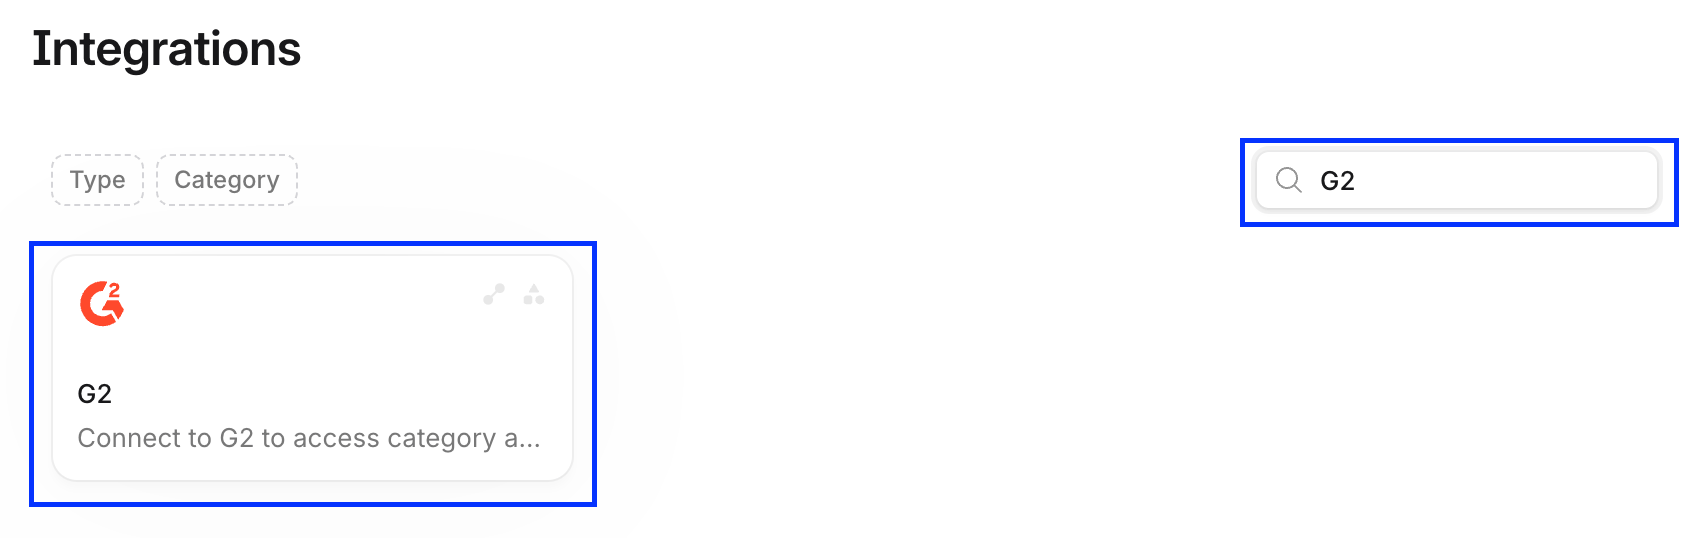 必要に応じて、G2 インテグレーション、G2 コネクター、またはその両方を設定してください。
この設定は 1 回だけ行います。G2 アカウントを接続すると、[アクセスを取り消す](#revoking-access)まで、今後も引き続き利用できます。
### G2 インテグレーション
G2 インテグレーションを使用すると、Profound Agents と Sheets で G2 のデータを扱えるようになります。
* G2 インテグレーション画面で、**Integration** タブに移動します。
* **+ Add account** を選択します。
必要に応じて、G2 インテグレーション、G2 コネクター、またはその両方を設定してください。
この設定は 1 回だけ行います。G2 アカウントを接続すると、[アクセスを取り消す](#revoking-access)まで、今後も引き続き利用できます。
### G2 インテグレーション
G2 インテグレーションを使用すると、Profound Agents と Sheets で G2 のデータを扱えるようになります。
* G2 インテグレーション画面で、**Integration** タブに移動します。
* **+ Add account** を選択します。
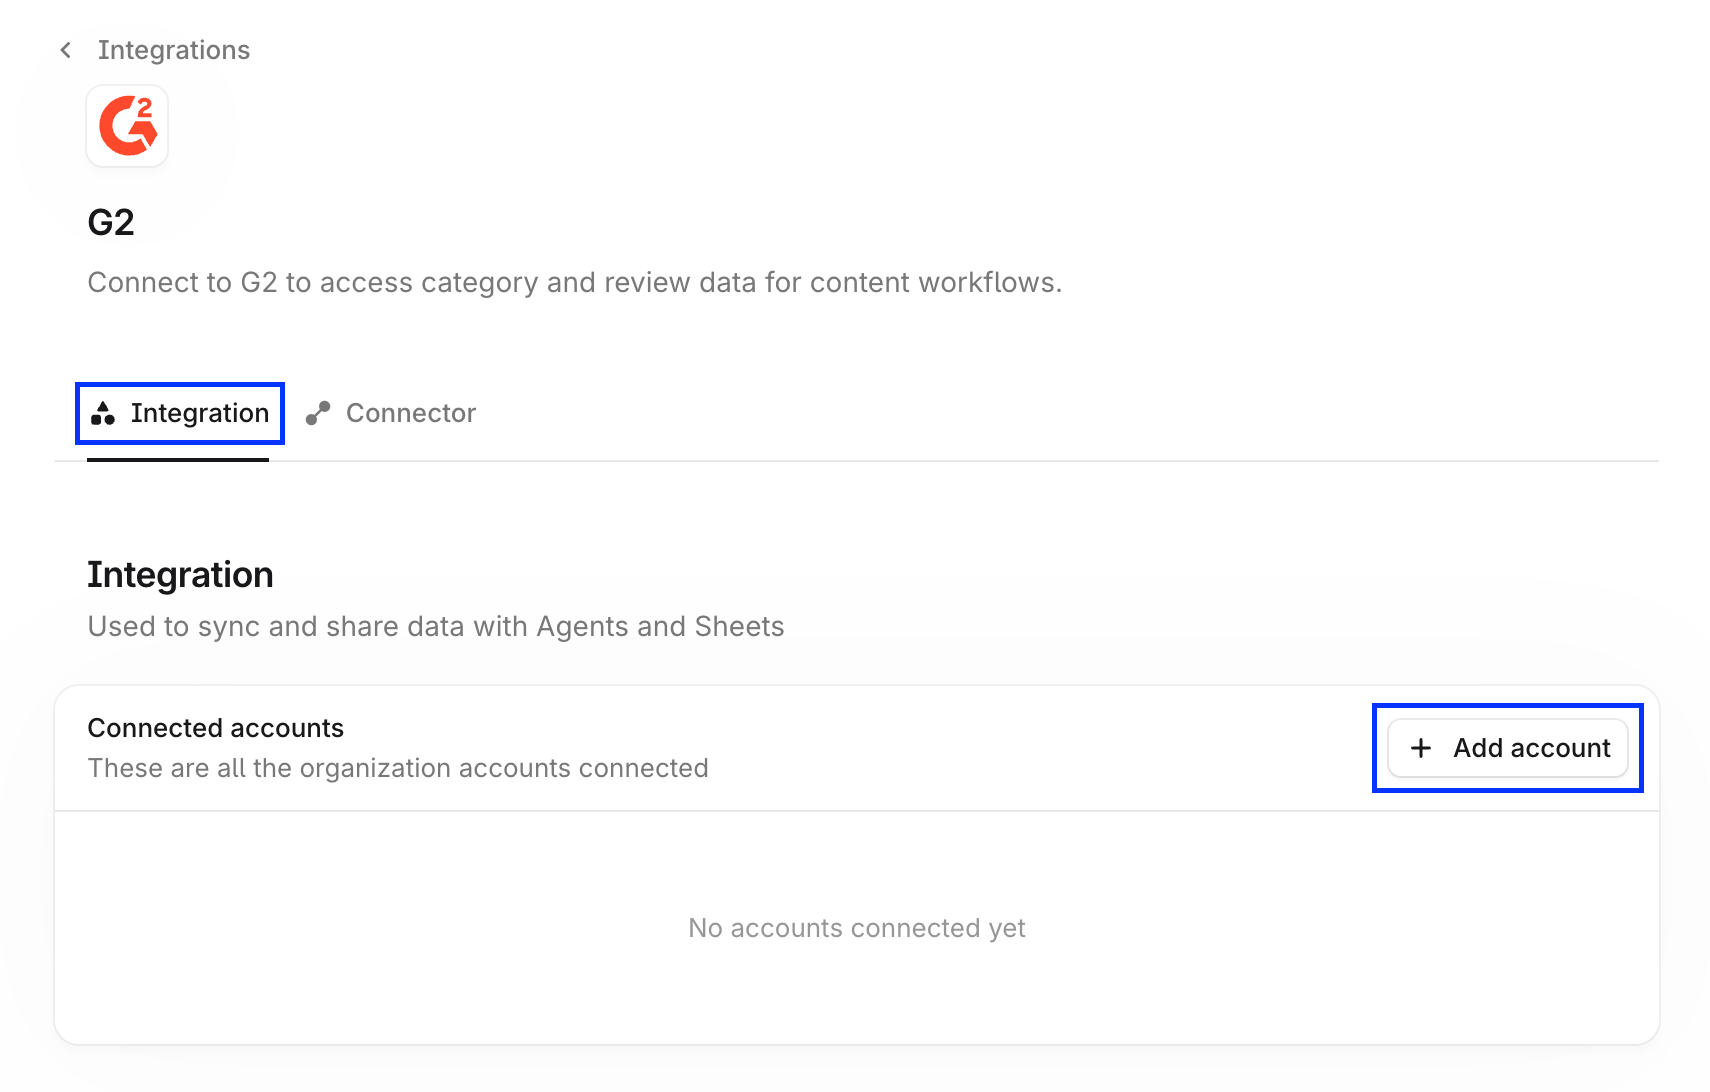 ポップアップダイアログの指示に従って G2 アカウントにサインインし、Profound によるアカウントへのアクセスを承認します。
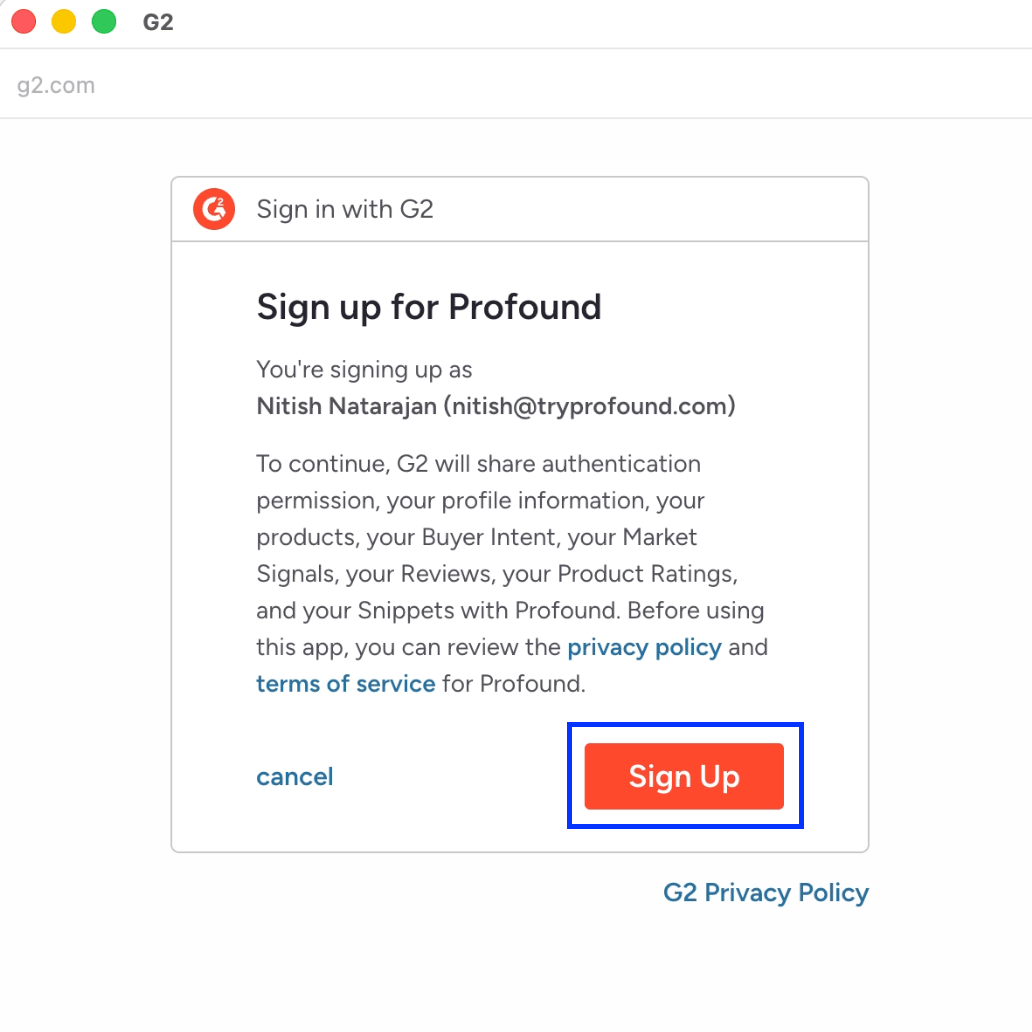 接続済みアカウントの一覧に G2 アカウントが表示されていれば、接続は成功しており、Profound で使用する準備が整っています。
Agent ビルダー画面から直接 G2 アカウントを Profound に接続することもできます。**Agents** > **+ Create new** に移動し、G2 ノードのいずれかをキャンバスに追加します。ノードを選択して設定パネルを開き、**Connect account** の手順に従ってください。
### G2 コネクター
G2 コネクターを使用すると、Aim が G2 のデータにアクセスし、会話の中でリアルタイムに使用できるようになります。
* G2 インテグレーション画面で、**Connector** タブに移動します。
* **+ Add account** を選択します。
接続済みアカウントの一覧に G2 アカウントが表示されていれば、接続は成功しており、Profound で使用する準備が整っています。
Agent ビルダー画面から直接 G2 アカウントを Profound に接続することもできます。**Agents** > **+ Create new** に移動し、G2 ノードのいずれかをキャンバスに追加します。ノードを選択して設定パネルを開き、**Connect account** の手順に従ってください。
### G2 コネクター
G2 コネクターを使用すると、Aim が G2 のデータにアクセスし、会話の中でリアルタイムに使用できるようになります。
* G2 インテグレーション画面で、**Connector** タブに移動します。
* **+ Add account** を選択します。
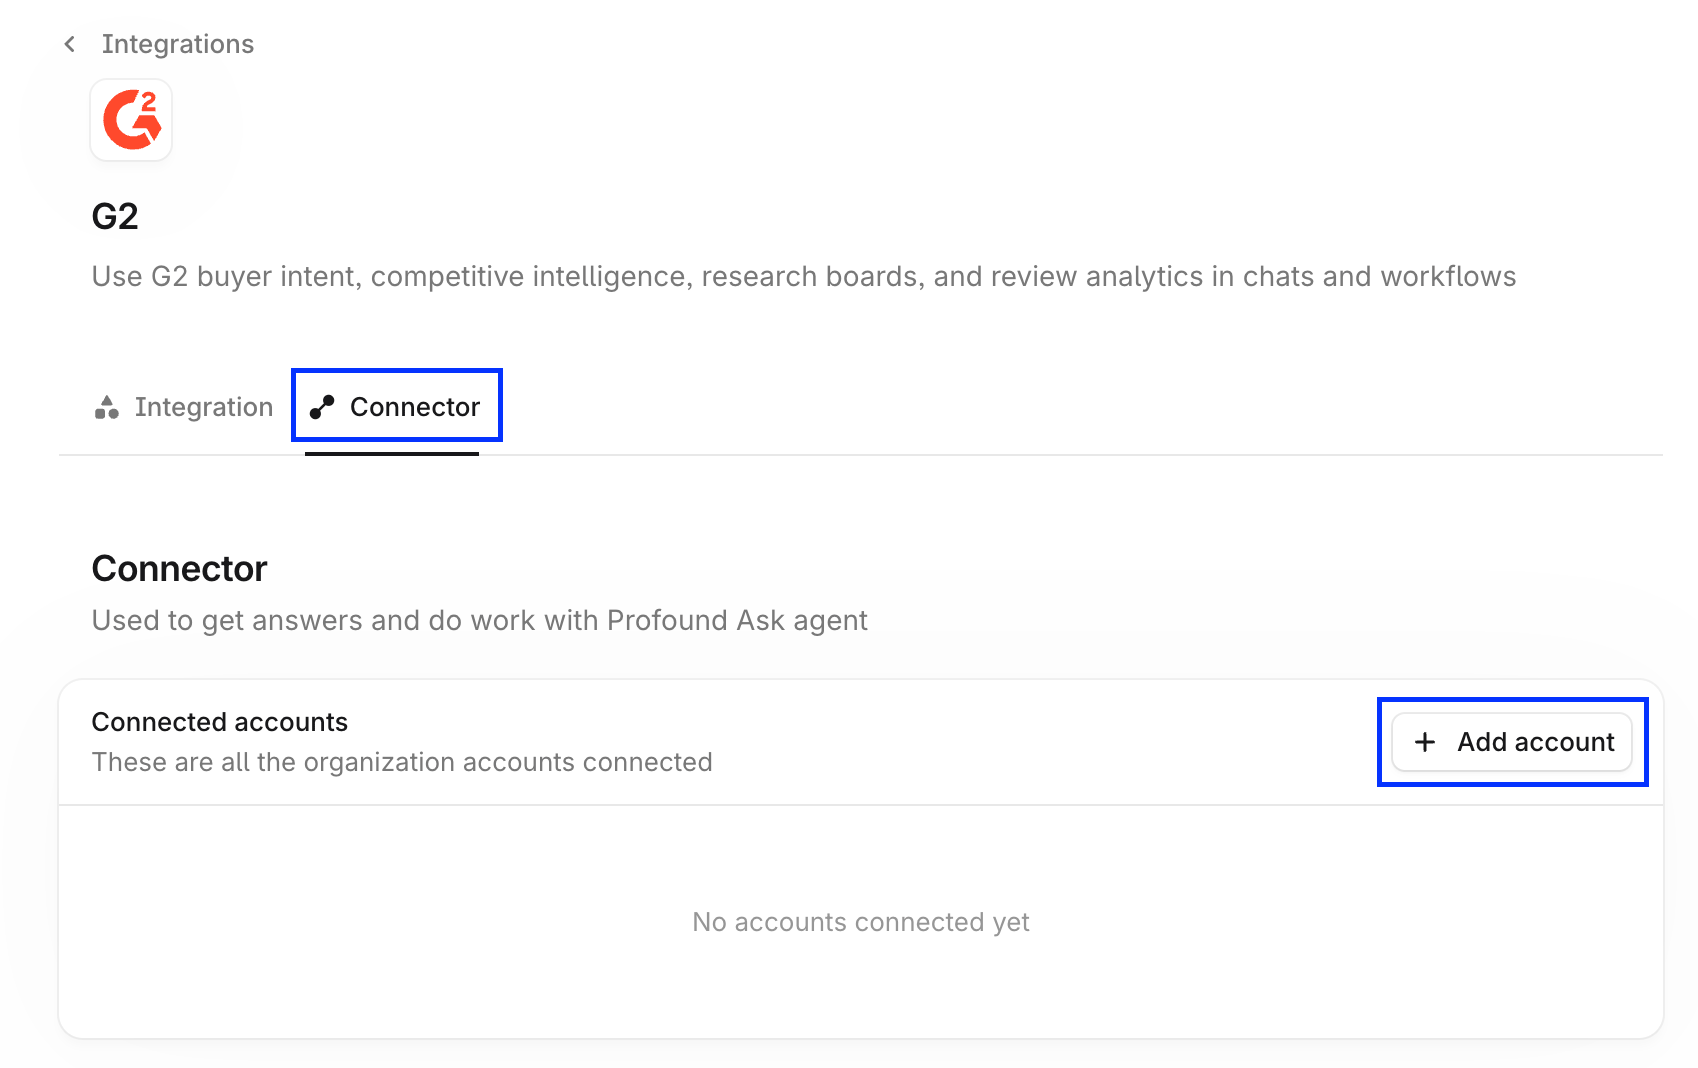 ポップアップダイアログの指示に従って G2 アカウントにサインインし、Profound と認証情報を共有します。
接続済みアカウントの一覧に G2 アカウントが表示されていれば、接続は成功しており、Profound で使用する準備が整っています。
ポップアップダイアログの指示に従って G2 アカウントにサインインし、Profound と認証情報を共有します。
接続済みアカウントの一覧に G2 アカウントが表示されていれば、接続は成功しており、Profound で使用する準備が整っています。
 **Tools & permissions** テーブルで、G2 コネクターで利用可能なツールについて Profound Aim に付与する権限を確認します。
各ツールには 3 つのオプションがあります。
* **Allow**: Aim はいつでもツールを使用できます
* **Ask**: Aim はツールを使用する前に確認を求めます
* **Block**: Aim はツールを使用できません
**Tools & permissions** テーブルで、G2 コネクターで利用可能なツールについて Profound Aim に付与する権限を確認します。
各ツールには 3 つのオプションがあります。
* **Allow**: Aim はいつでもツールを使用できます
* **Ask**: Aim はツールを使用する前に確認を求めます
* **Block**: Aim はツールを使用できません
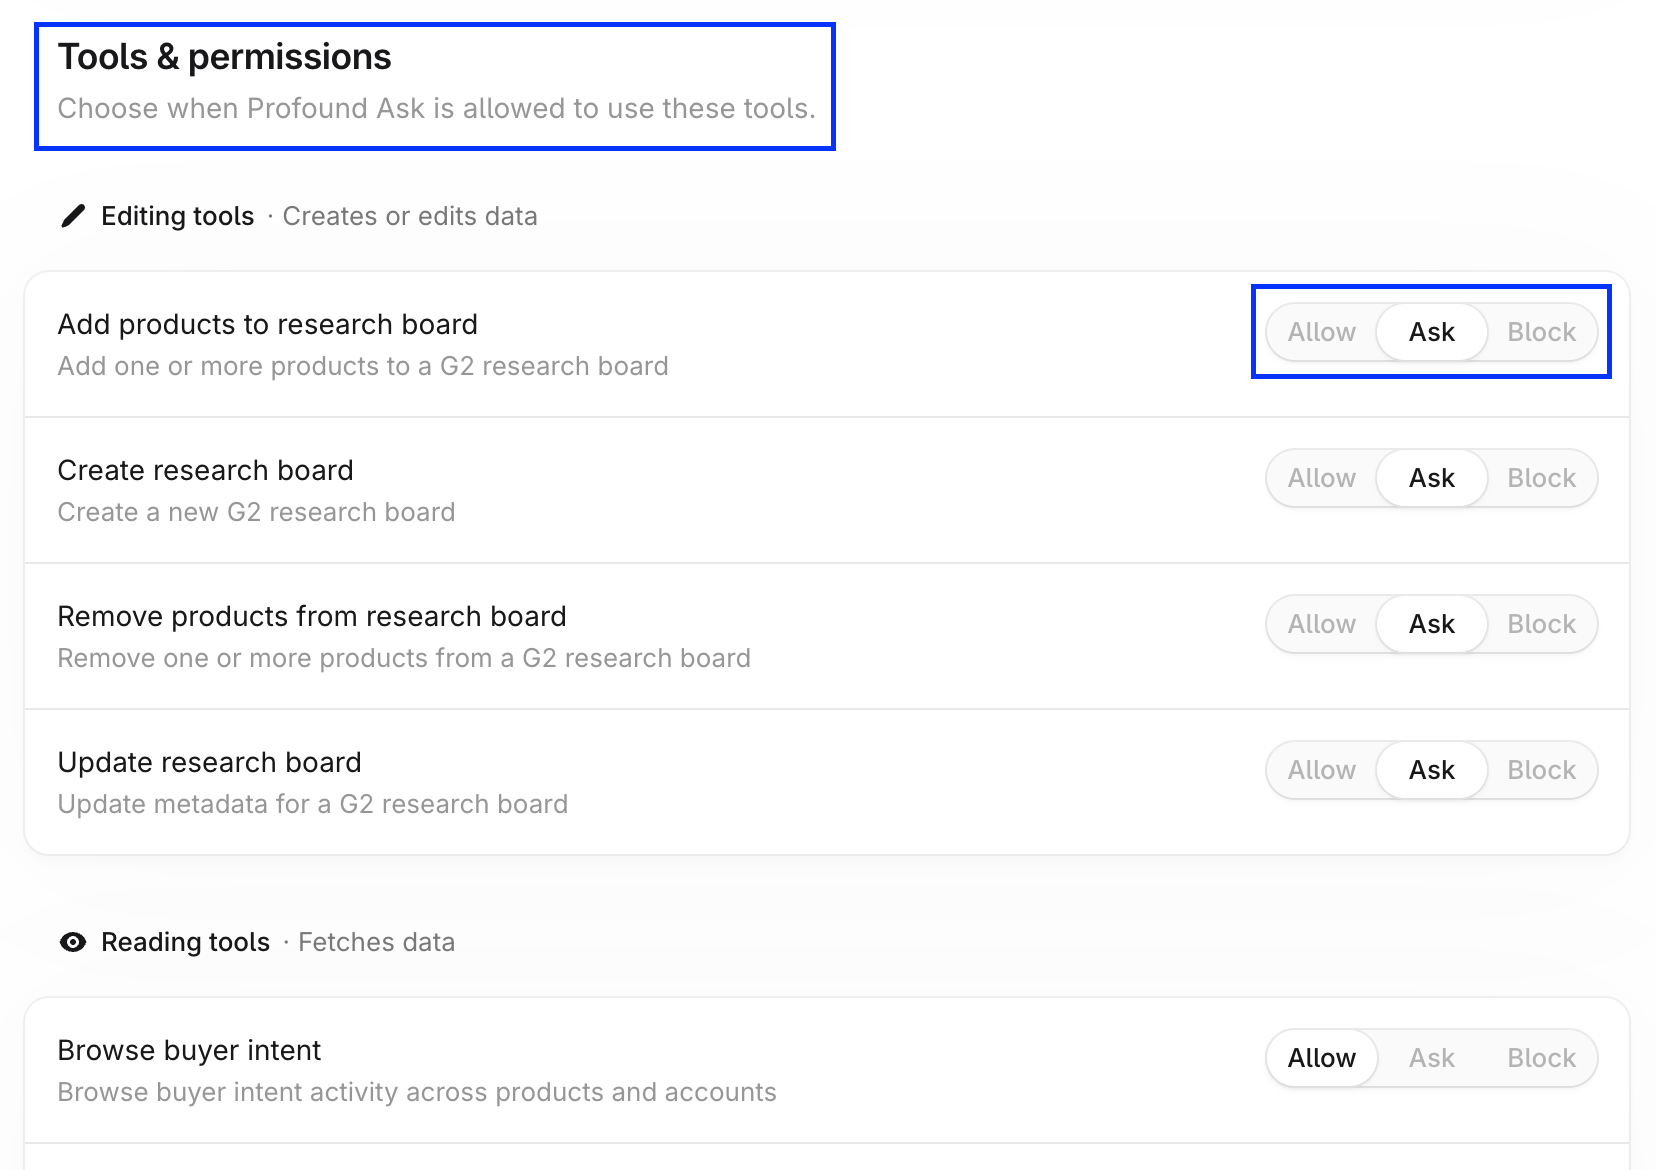 元に戻せない削除や編集を引き起こす可能性のあるツールは、**Destructive tools** セクションに表示されます。これらのツールはデフォルトでブロックするか、**Ask** に設定してください。
## アクセスを取り消す
インテグレーションアカウントのアクションメニューで Revoke を選択すると、いつでも Profound の G2 アカウントへのアクセスを取り消せます。
元に戻せない削除や編集を引き起こす可能性のあるツールは、**Destructive tools** セクションに表示されます。これらのツールはデフォルトでブロックするか、**Ask** に設定してください。
## アクセスを取り消す
インテグレーションアカウントのアクションメニューで Revoke を選択すると、いつでも Profound の G2 アカウントへのアクセスを取り消せます。
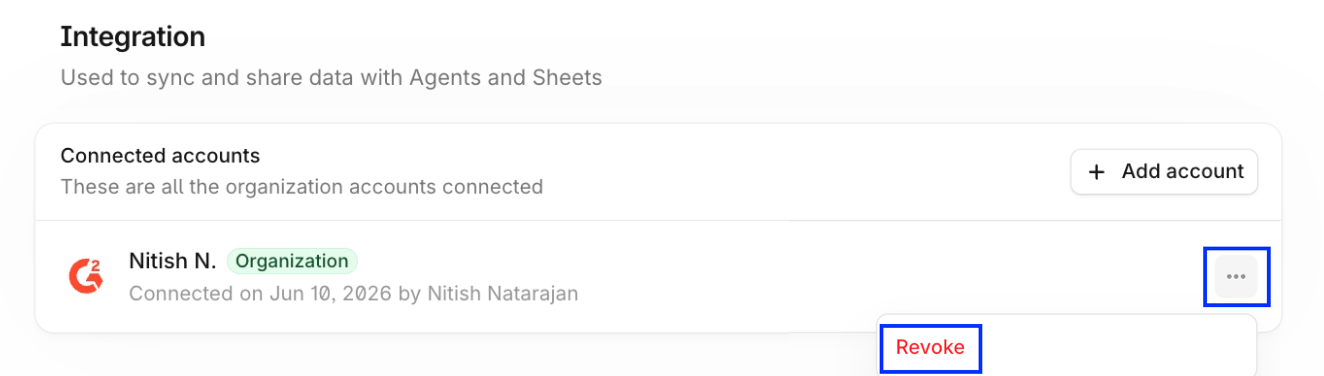 アクセスは、インテグレーションとコネクターでそれぞれ個別に取り消してください。