> ## Documentation Index
> Fetch the complete documentation index at: https://docs.tryprofound.com/llms.txt
> Use this file to discover all available pages before exploring further.
# Gemini CLI を Profound MCP に接続する
このガイドでは、Gemini CLI を Profound MCP サーバーに接続し、Gemini がターミナルから直接 Profound の可視性データを取得したり Profound のアクションを実行したりできるようにする方法を説明します。
## 始める前に
次のものが揃っていることを確認してください。
* [Gemini CLI](https://geminicli.com/) がインストールされていること
* [Profound](https://www.tryprofound.com/) アカウント
## セットアップガイド
1. ターミナルで Gemini CLI を実行します。
```bash theme={null}
gemini
```
2. **How would you like to authenticate for this project?** と尋ねられたら、**Sign in with Google** を選択します。Gemini がブラウザーセッションを起動します。
3. ブラウザーで Google アカウントを選択してサインインします。
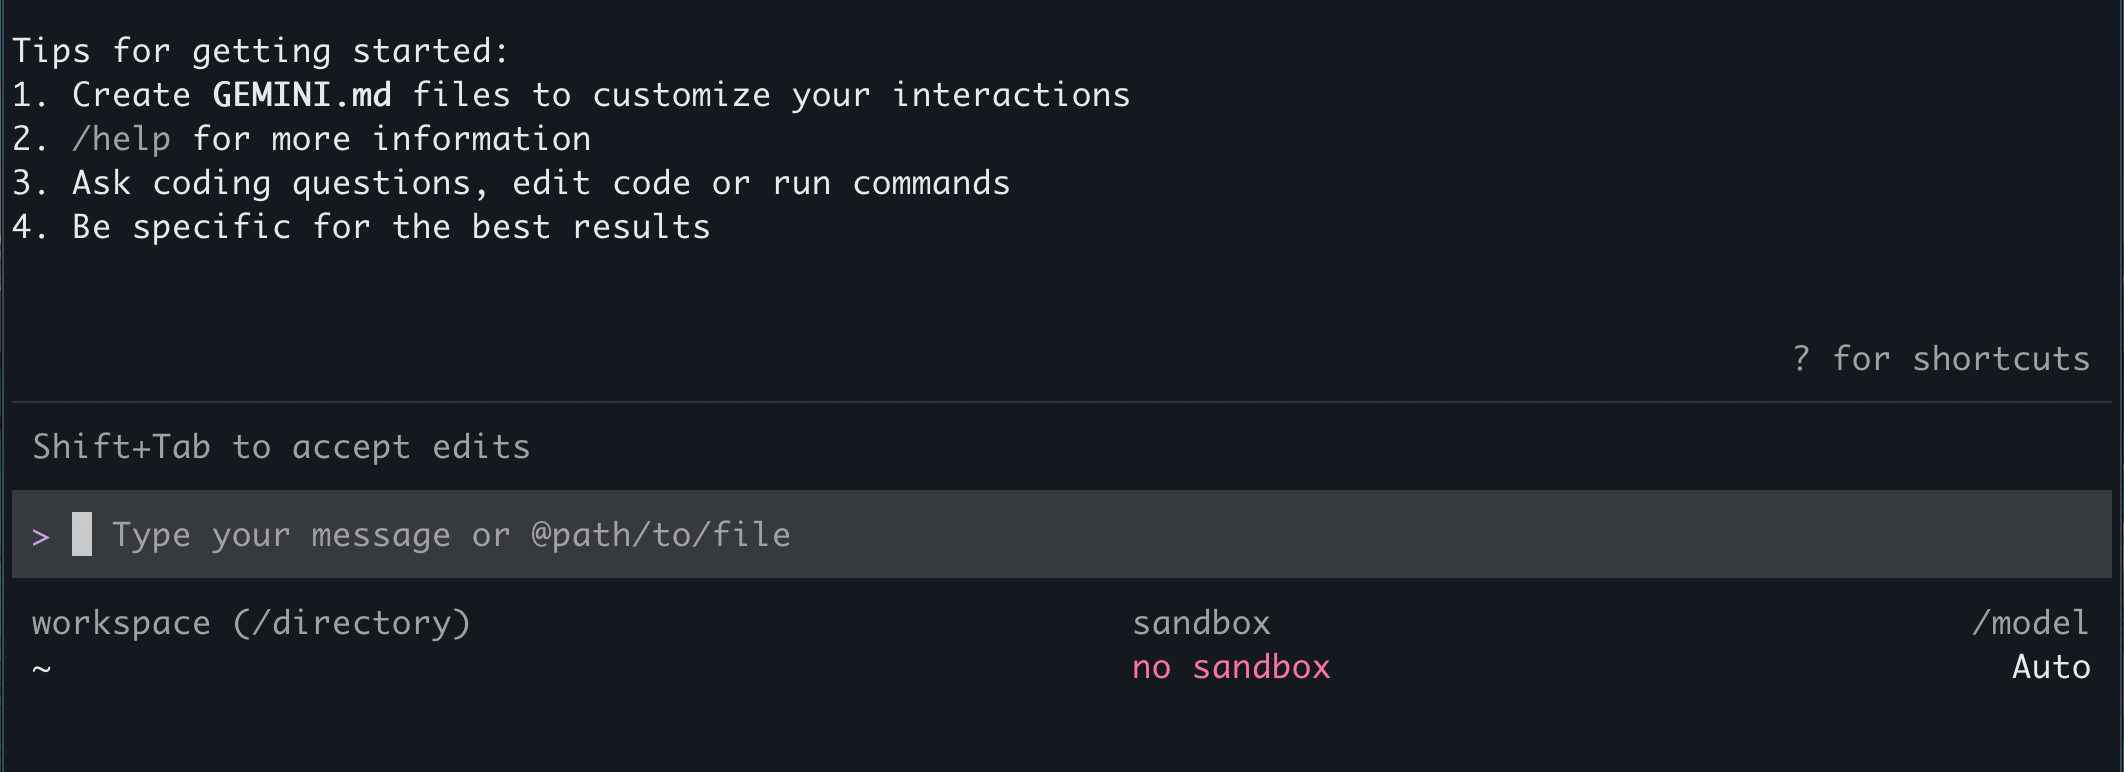
成功すると、使い始めるためのヒントとコマンドラインが表示されます。
 1. MCP サーバーは `~/.gemini/settings.json` 設定ファイルで設定します。Profound サーバーを追加するには、`settings.json` に Profound サーバーの詳細を含む `mcpServers` ブロックを作成します。
```json theme={null}
"mcpServers": {
"profound": {
"url": "https://mcp.tryprofound.com/mcp"
}
}
```
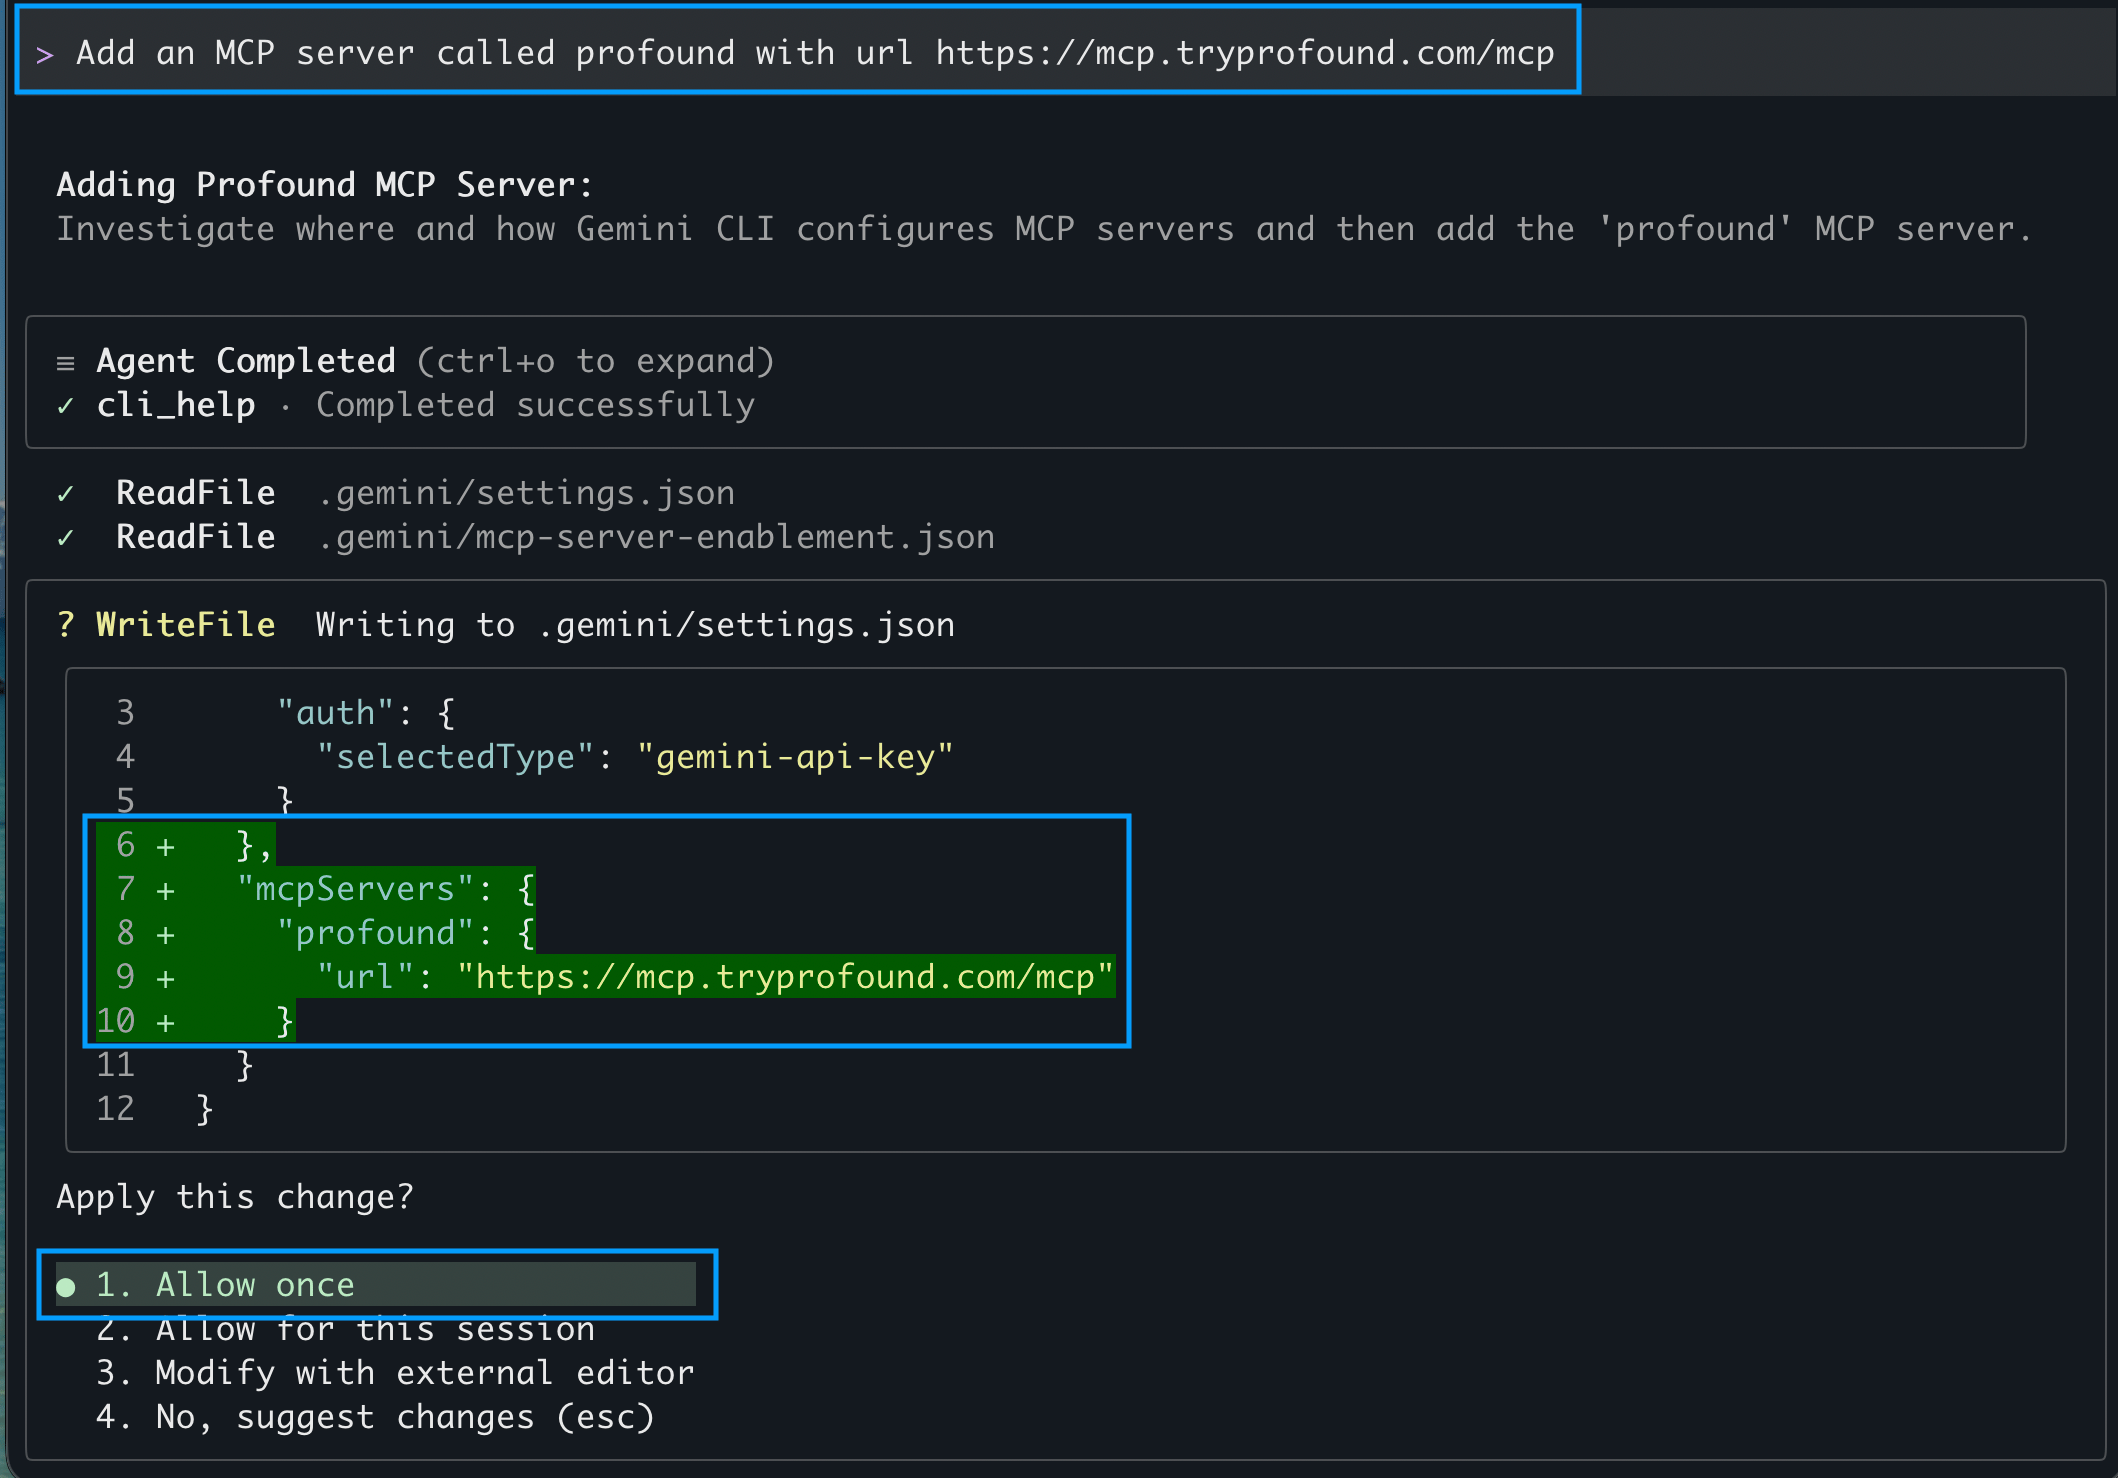
これは任意のコードエディターで行うことも、Gemini CLI で次のプロンプトを入力して直接行うこともできます。
```text theme={null}
Add an MCP server called profound with url https://mcp.tryprofound.com/mcp
```
2. 変更内容を確認し、`mcpServers` ブロックが正しければ適用します。
1. MCP サーバーは `~/.gemini/settings.json` 設定ファイルで設定します。Profound サーバーを追加するには、`settings.json` に Profound サーバーの詳細を含む `mcpServers` ブロックを作成します。
```json theme={null}
"mcpServers": {
"profound": {
"url": "https://mcp.tryprofound.com/mcp"
}
}
```
これは任意のコードエディターで行うことも、Gemini CLI で次のプロンプトを入力して直接行うこともできます。
```text theme={null}
Add an MCP server called profound with url https://mcp.tryprofound.com/mcp
```
2. 変更内容を確認し、`mcpServers` ブロックが正しければ適用します。
 3. 変更を反映させるため、Gemini CLI を終了して再度開きます。
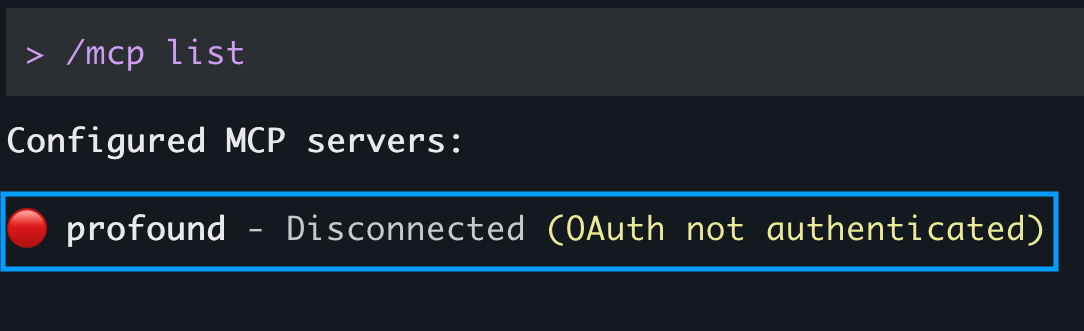
4. サーバーが追加されたことを確認するには、CLI 内で MCP サーバーを一覧表示するコマンドを実行します。
```bash theme={null}
/mcp list
```
設定済みの MCP サーバーの中に `profound` が表示されるはずです。
3. 変更を反映させるため、Gemini CLI を終了して再度開きます。
4. サーバーが追加されたことを確認するには、CLI 内で MCP サーバーを一覧表示するコマンドを実行します。
```bash theme={null}
/mcp list
```
設定済みの MCP サーバーの中に `profound` が表示されるはずです。
 Profound は OAuth で認証します。Gemini CLI は OAuth エンドポイントを自動的に検出するため、API キー、クライアント ID、シークレットは不要です。
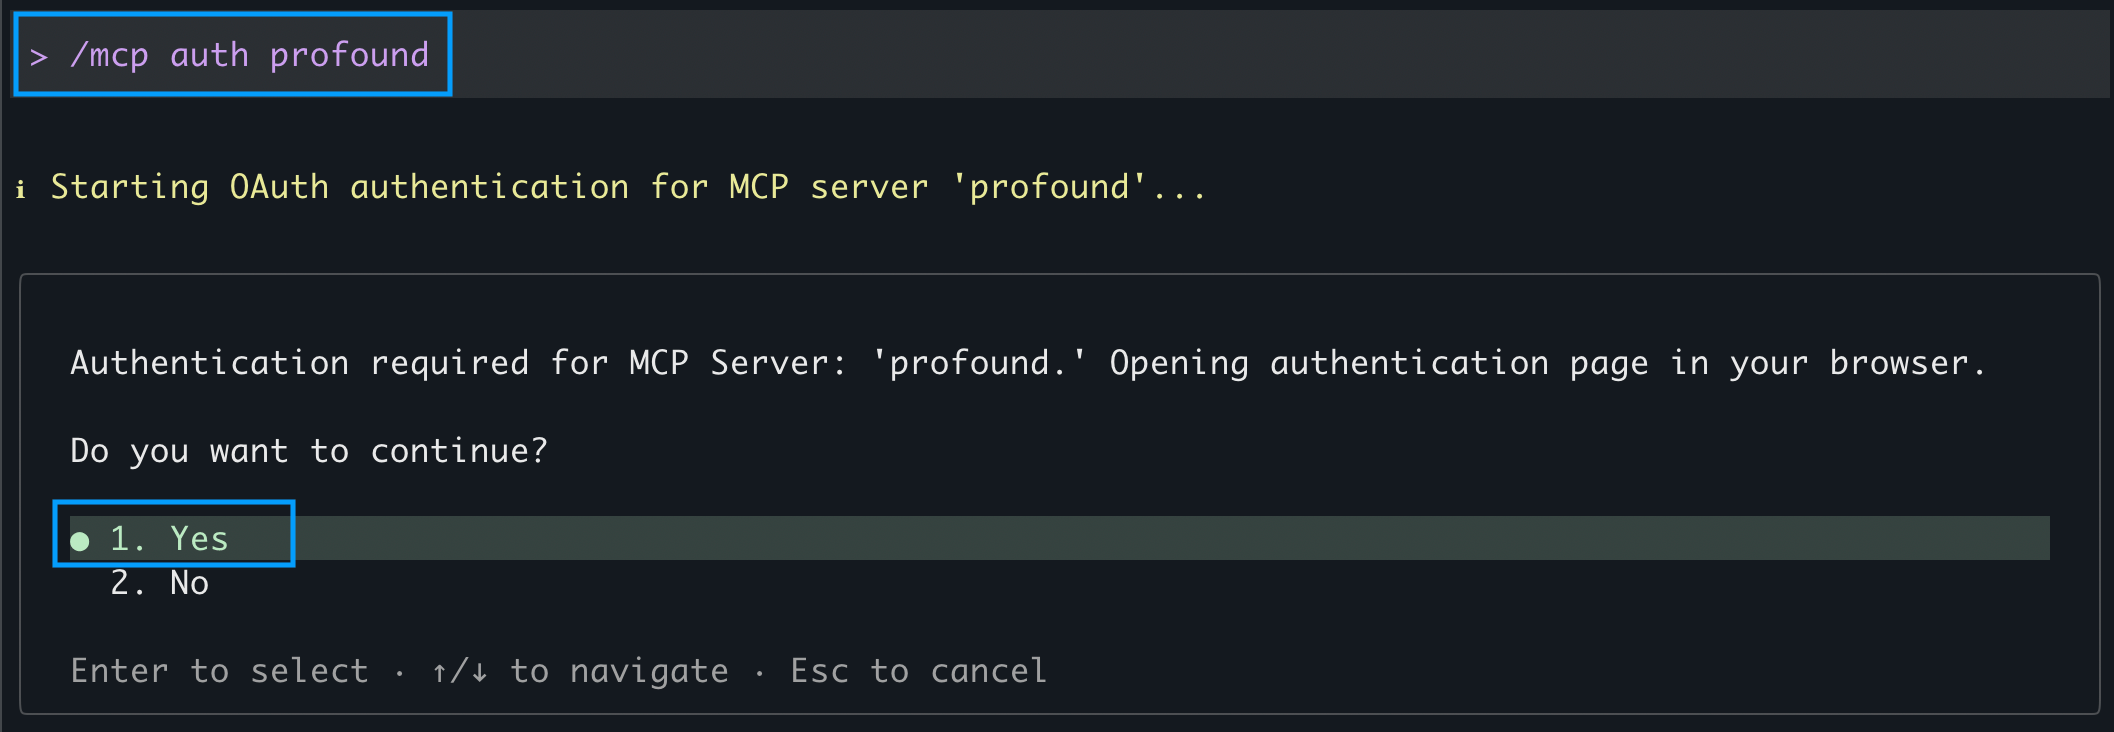
1. CLI 内で、Profound で認証するコマンドを実行します。
```bash theme={null}
/mcp auth profound
```
2. ブラウザーで認証するかどうかを尋ねられたら **Yes** を選択します。ブラウザーで Profound のサインインページが開きます。
Profound は OAuth で認証します。Gemini CLI は OAuth エンドポイントを自動的に検出するため、API キー、クライアント ID、シークレットは不要です。
1. CLI 内で、Profound で認証するコマンドを実行します。
```bash theme={null}
/mcp auth profound
```
2. ブラウザーで認証するかどうかを尋ねられたら **Yes** を選択します。ブラウザーで Profound のサインインページが開きます。
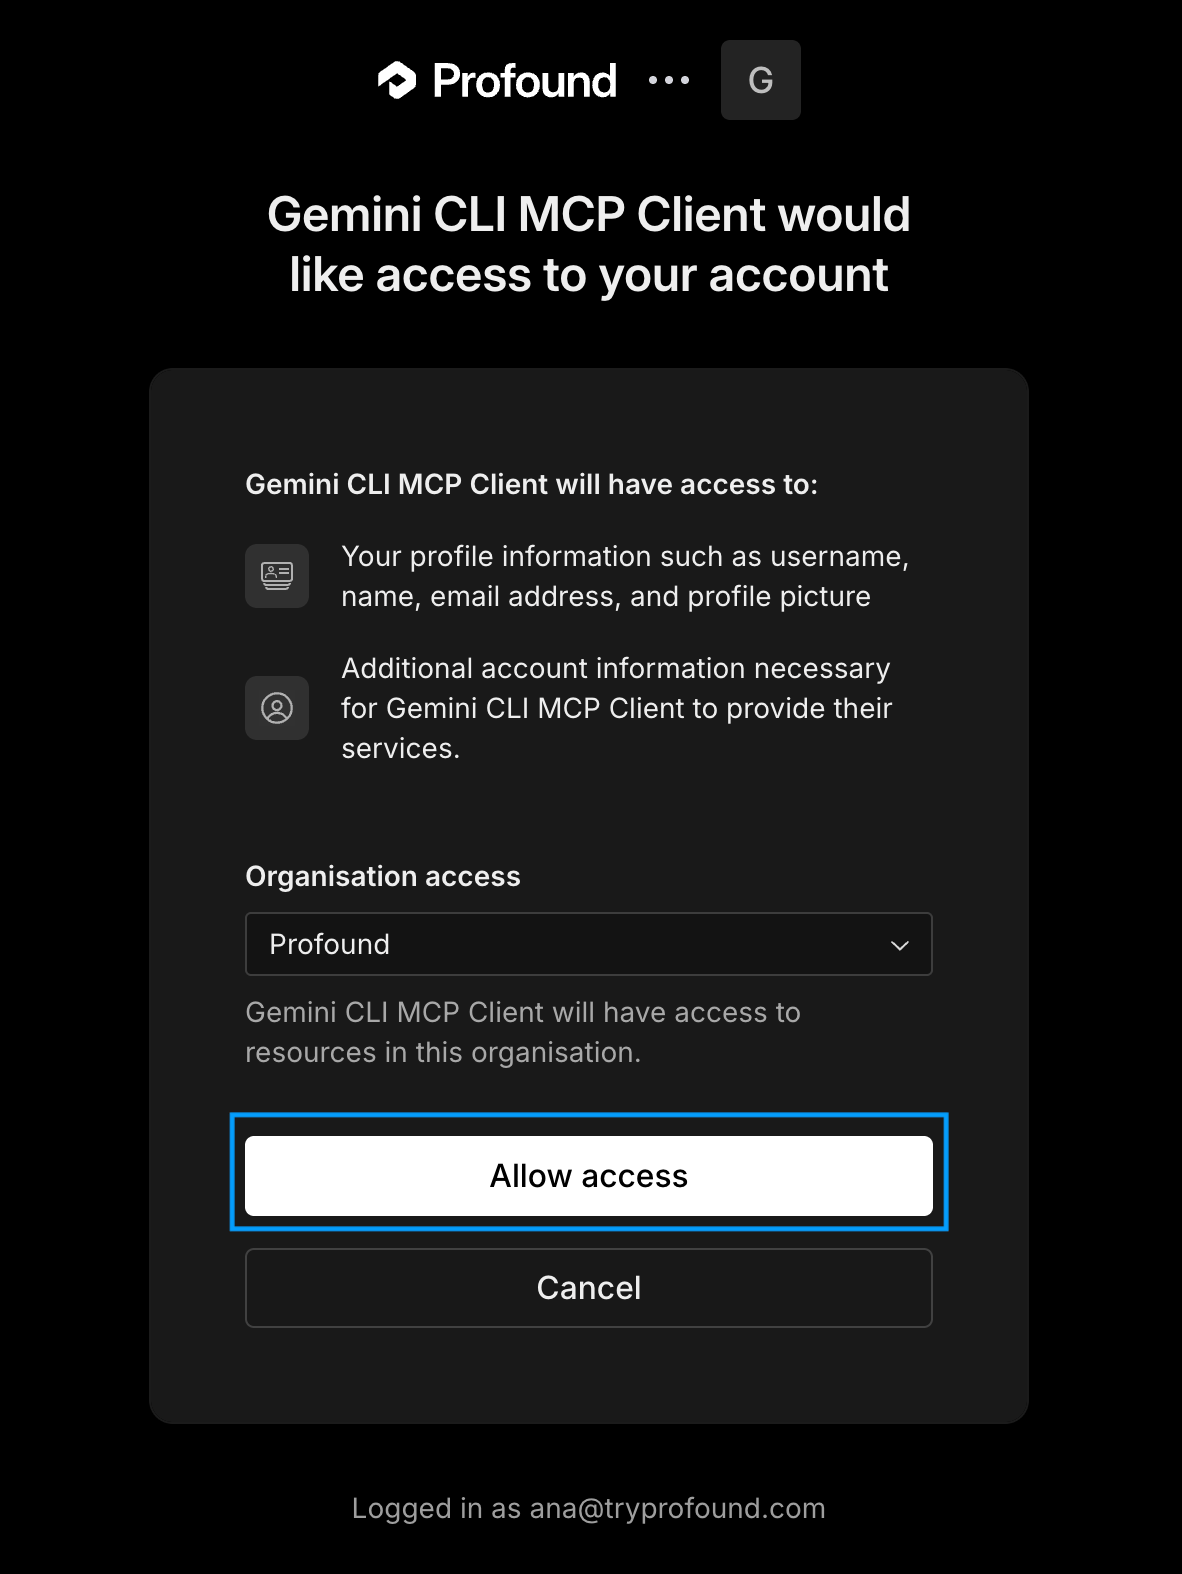
 3. ログインしていない場合は、画面の指示に従って Profound アカウントにログインします。その後、アクセスを承認します。
 成功メッセージが表示されたら、ターミナルの Gemini CLI セッションに戻ります。
Gemini CLI 内で、MCP の一覧表示コマンドを再度実行します。
```bash theme={null}
/mcp list
```
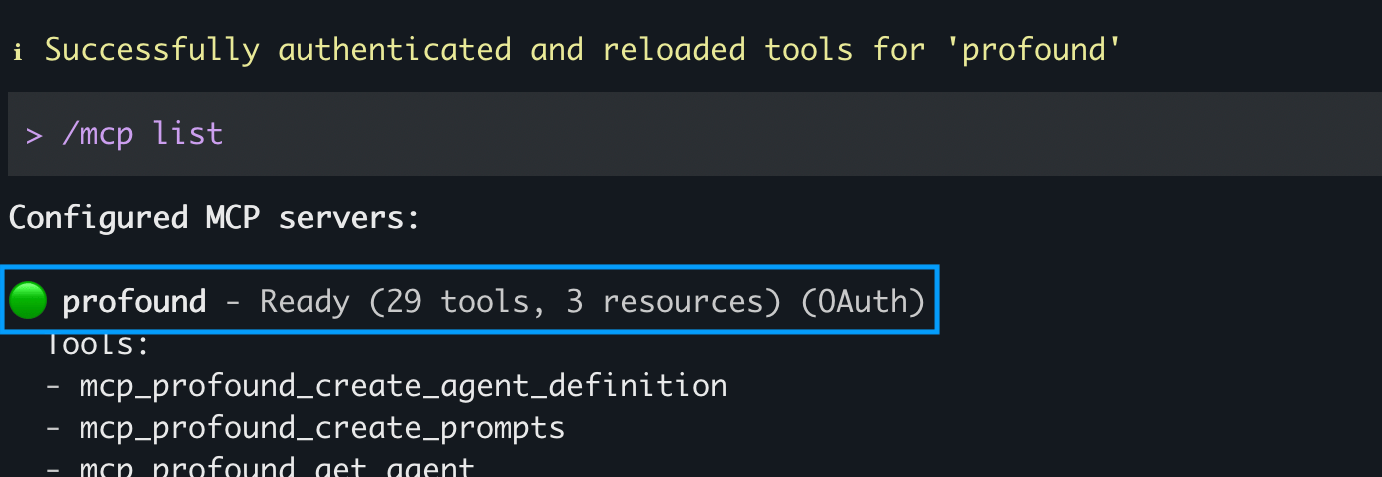
Profound サーバーが緑色の丸付きで **Ready** と表示され、利用可能なツールが一覧表示されていれば、接続が完了し使用できる状態です。
成功メッセージが表示されたら、ターミナルの Gemini CLI セッションに戻ります。
Gemini CLI 内で、MCP の一覧表示コマンドを再度実行します。
```bash theme={null}
/mcp list
```
Profound サーバーが緑色の丸付きで **Ready** と表示され、利用可能なツールが一覧表示されていれば、接続が完了し使用できる状態です。
 Gemini CLI での MCP サーバー接続の設定について詳しくは、Gemini CLI の [MCP サーバーのドキュメント](https://geminicli.com/docs/tools/mcp-server)を参照してください。
## トラブルシューティング
### サインイン中にブラウザーが開かない
ローカルにブラウザーがインストールされていることを確認してください。ブラウザーにアクセスできないヘッドレスセッションやリモートセッションでは、OAuth は機能しません。ブラウザーを開ける環境でセットアップを実行し、サインインまたは Profound での認証を再試行してください。
### Profound サーバーが切断済みと表示される
`/mcp auth profound` を再実行してトークンを更新します。それでも失敗する場合は、ブラウザーで Profound からサインアウトし、再度サインインしてから再試行します。
Gemini CLI での MCP サーバー接続の設定について詳しくは、Gemini CLI の [MCP サーバーのドキュメント](https://geminicli.com/docs/tools/mcp-server)を参照してください。
## トラブルシューティング
### サインイン中にブラウザーが開かない
ローカルにブラウザーがインストールされていることを確認してください。ブラウザーにアクセスできないヘッドレスセッションやリモートセッションでは、OAuth は機能しません。ブラウザーを開ける環境でセットアップを実行し、サインインまたは Profound での認証を再試行してください。
### Profound サーバーが切断済みと表示される
`/mcp auth profound` を再実行してトークンを更新します。それでも失敗する場合は、ブラウザーで Profound からサインアウトし、再度サインインしてから再試行します。