

example.com. After a domain is verified, Profound can trust it for features that need a higher level of security, starting with Single Sign-On (SSO).
Verification is self-serve. You add a single DNS TXT record containing a token that Profound generates for your organization. Profound checks your DNS for the record and marks the domain as Verified when it finds it. You don’t need to change your website, mail setup, or other DNS records.
How it works
- You enter the domain you want to verify in the SSO configuration portal.
- Profound generates a unique verification token for that domain and shows you the TXT record to add. When it recognizes your DNS provider, it also shows provider-specific instructions.
- You add the TXT record in your DNS provider’s console, alongside any records already on the host.
- Profound looks up the domain’s TXT records. When it finds the token, the domain becomes Verified and you can continue with the rest of your SSO configuration.
Before you start
You’ll need:- The Admin role in your Profound organization
- Access to the DNS records for the domain you want to verify (or an IT contact who has it)
- The domain that appears in your users’ email addresses. For example, if your team signs in with
name@example.com, verifyexample.com, even if your identity provider runs atexample.myidp.com
Verify a domain
1
Open the SSO configuration portal
- In Profound, select your organization name at the top left of the screen, then select Settings.
- Select Enterprise Setup under Organization in the left navigation sidebar. The Single Sign-On card lists your domains and their verification status.
-
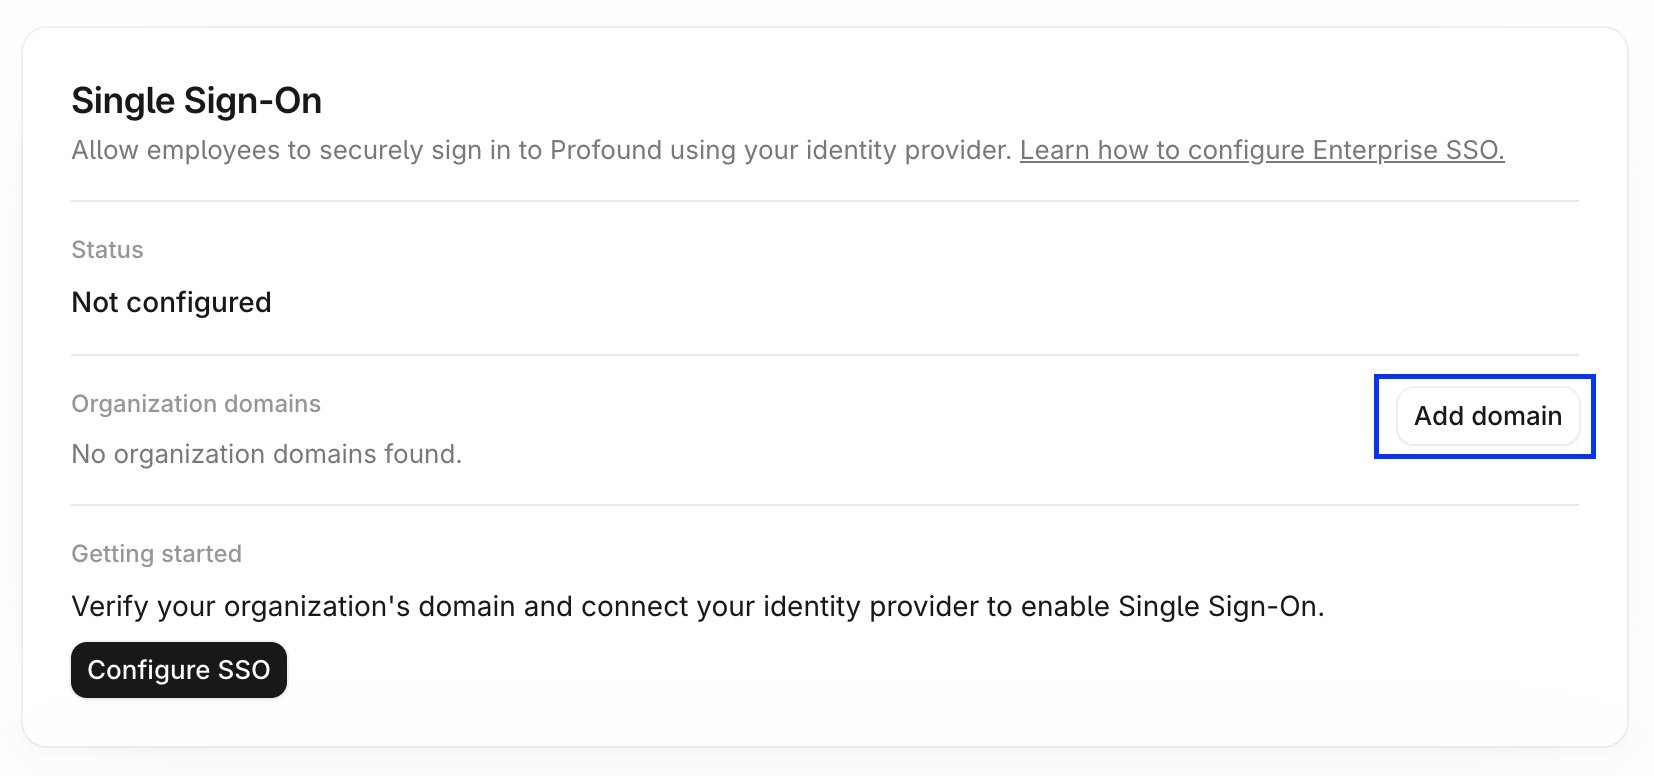
Select Add domain, and the SSO configuration portal opens on the domain verification step.
2
Enter your domain
Enter the domain you want to verify and select Continue.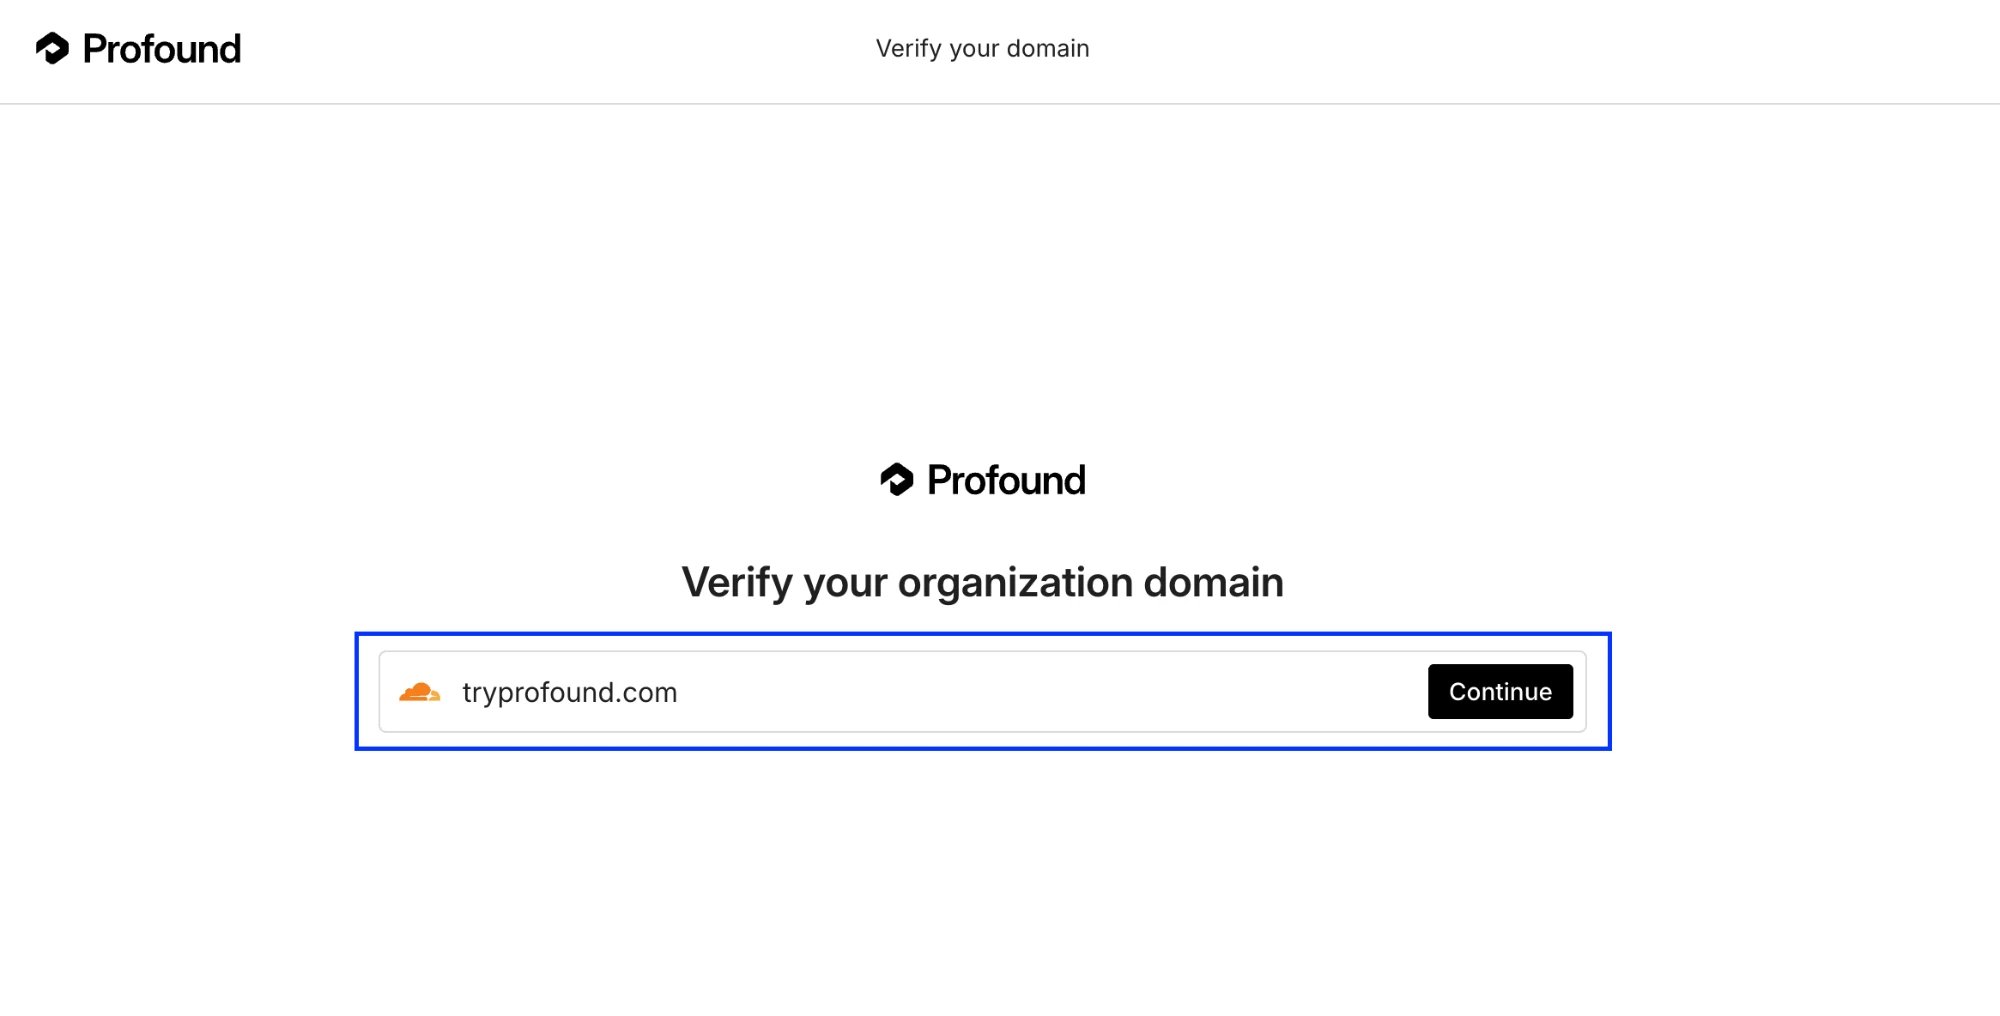
3
Get the TXT record from the portal
The portal generates a verification token and shows the TXT record to add: the Host (or Name) and the Value that contains the token.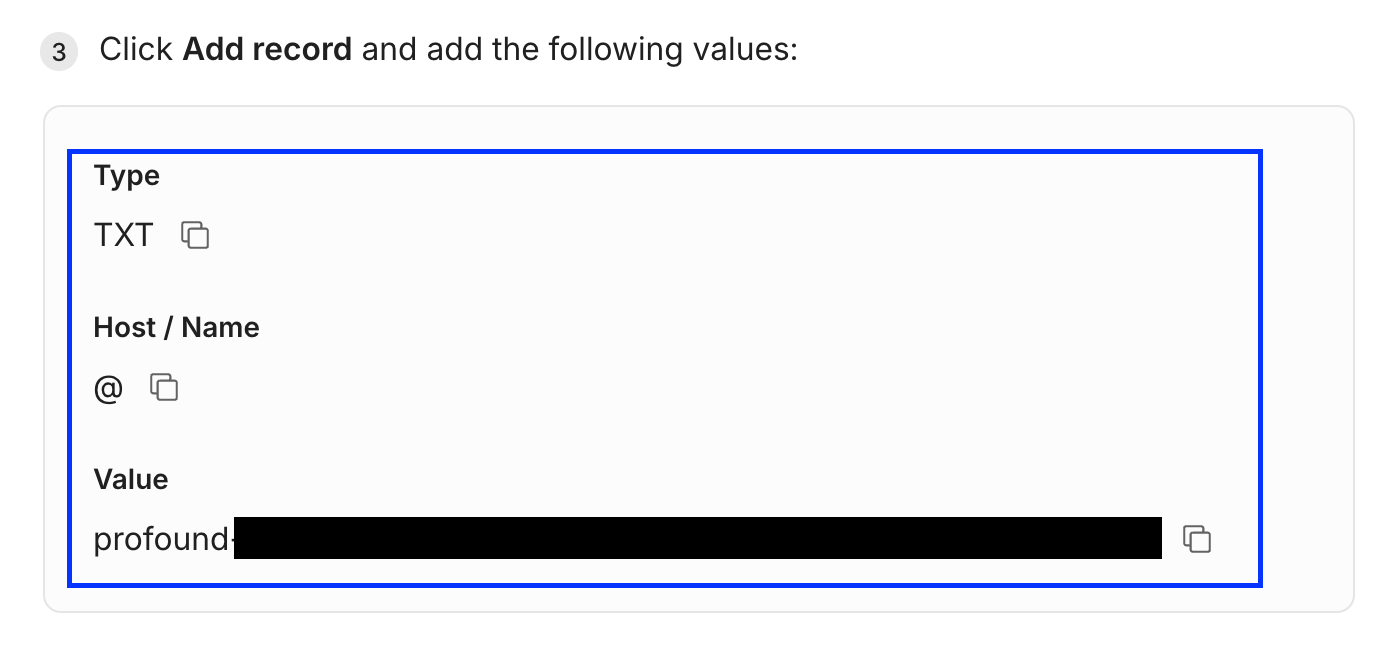
4
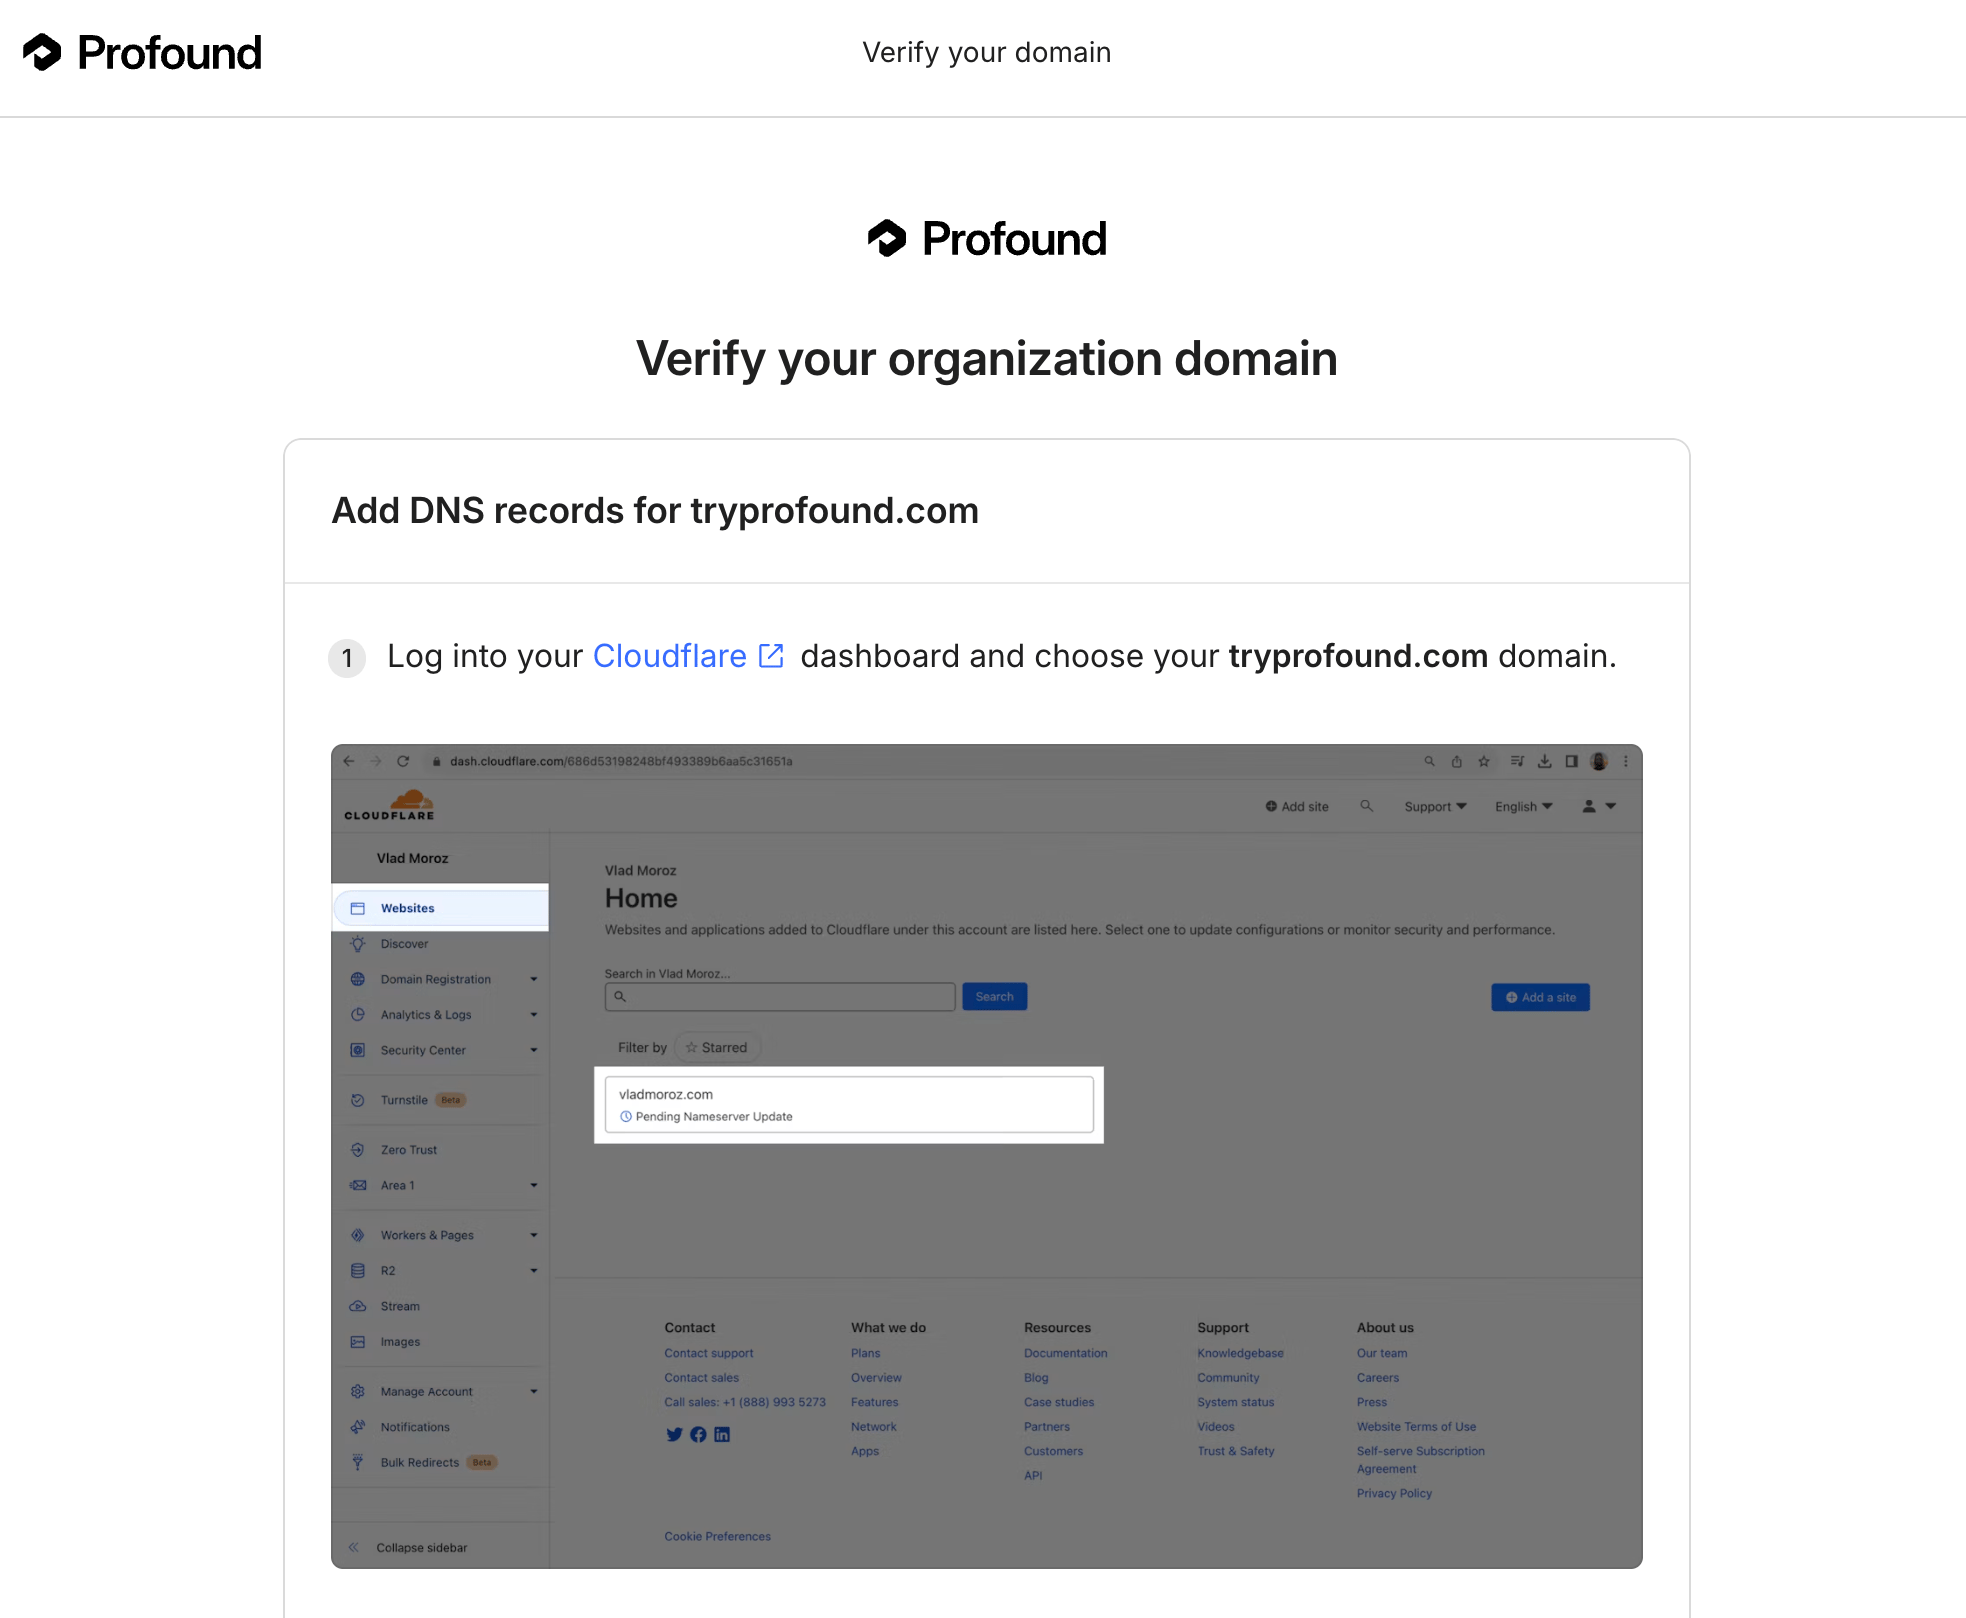
Add the TXT record in your DNS provider
Sign in to your DNS provider (for example, Cloudflare, GoDaddy, Route 53, or Squarespace Domains) and create a new TXT record with the host and value shown in the portal. Leave the time to live (TTL) at your provider’s default.Keep any existing TXT records on the same host, such as the Sender Policy Framework (SPF) record, or other verification records from other services. Add the new record next to them instead of replacing them.If someone else manages your DNS, copy the host and value from the portal and send them to that person. They don’t need a Profound account to add the record.
5
Wait for Profound to detect the record
Return to the SSO configuration portal and select the option to check the record, or select Check status on the Enterprise Setup page. When Profound finds the token, the domain status changes to Verified.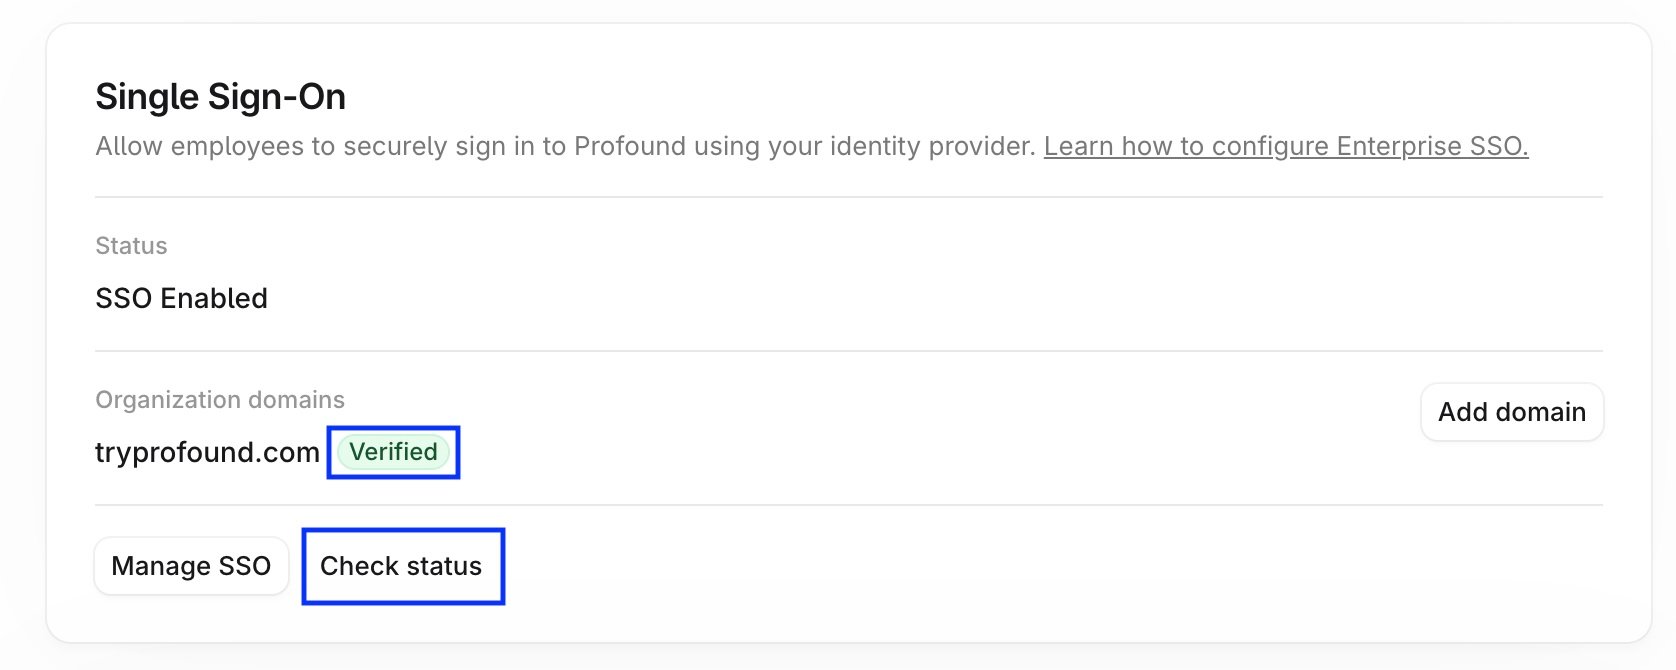
Verify multiple domains
Each domain gets its own verification token, so repeat the domain verification steps for every domain your users sign in with. Add each TXT record to the domain it was issued for. For example, a record issued forwww.example.com belongs on www.example.com, and example.com needs the separate record issued for example.com.
Each subdomain needs its own verification. Verifying example.com doesn’t verify mail.example.com, and each subdomain also needs its own SSO connection.
Keep the record in place
Keep the verification TXT record in your DNS for as long as you use SSO with that domain. Profound rechecks the record periodically. If the record is removed or changed, the domain returns to Pending and sign-in through your identity provider stops working until the record is restored.Troubleshooting
The domain stays Pending after adding the record.
The domain stays Pending after adding the record.
Confirm you added the record as a TXT record on the correct host and that the value matches the token in the portal, including any prefix. Then allow up to 48 hours for DNS propagation and select Check status again. If after 48 hours your domain verification is still pending, contact customer support.
The TXT record ended up on example.com.example.com.
The TXT record ended up on example.com.example.com.
in many DNS consoles, the Host or Name field is relative to your domain, so entering
example.com there creates a record for example.com.example.com. When the portal asks for a host of example.com, enter @ or leave the field blank instead. Both mean the domain itself.You need to verify a domain again.
You need to verify a domain again.
If the domain verification token has changed, remove the old TXT record from your DNS provider, and add the new one as instructed in the domain verification guide above.