

SSO is available for customers on the Enterprise plan. Setup requires the Admin role in your Profound organization.
Before you start
You’ll need:- The Admin role in your Profound organization
- Administrative access to your IdP
- The domain you want to enable for SSO
- Access to your DNS records to verify domain ownership
Setup steps
1
Open the SSO configuration portal
Go to Settings in the settings icon menu at the bottom left of the platform.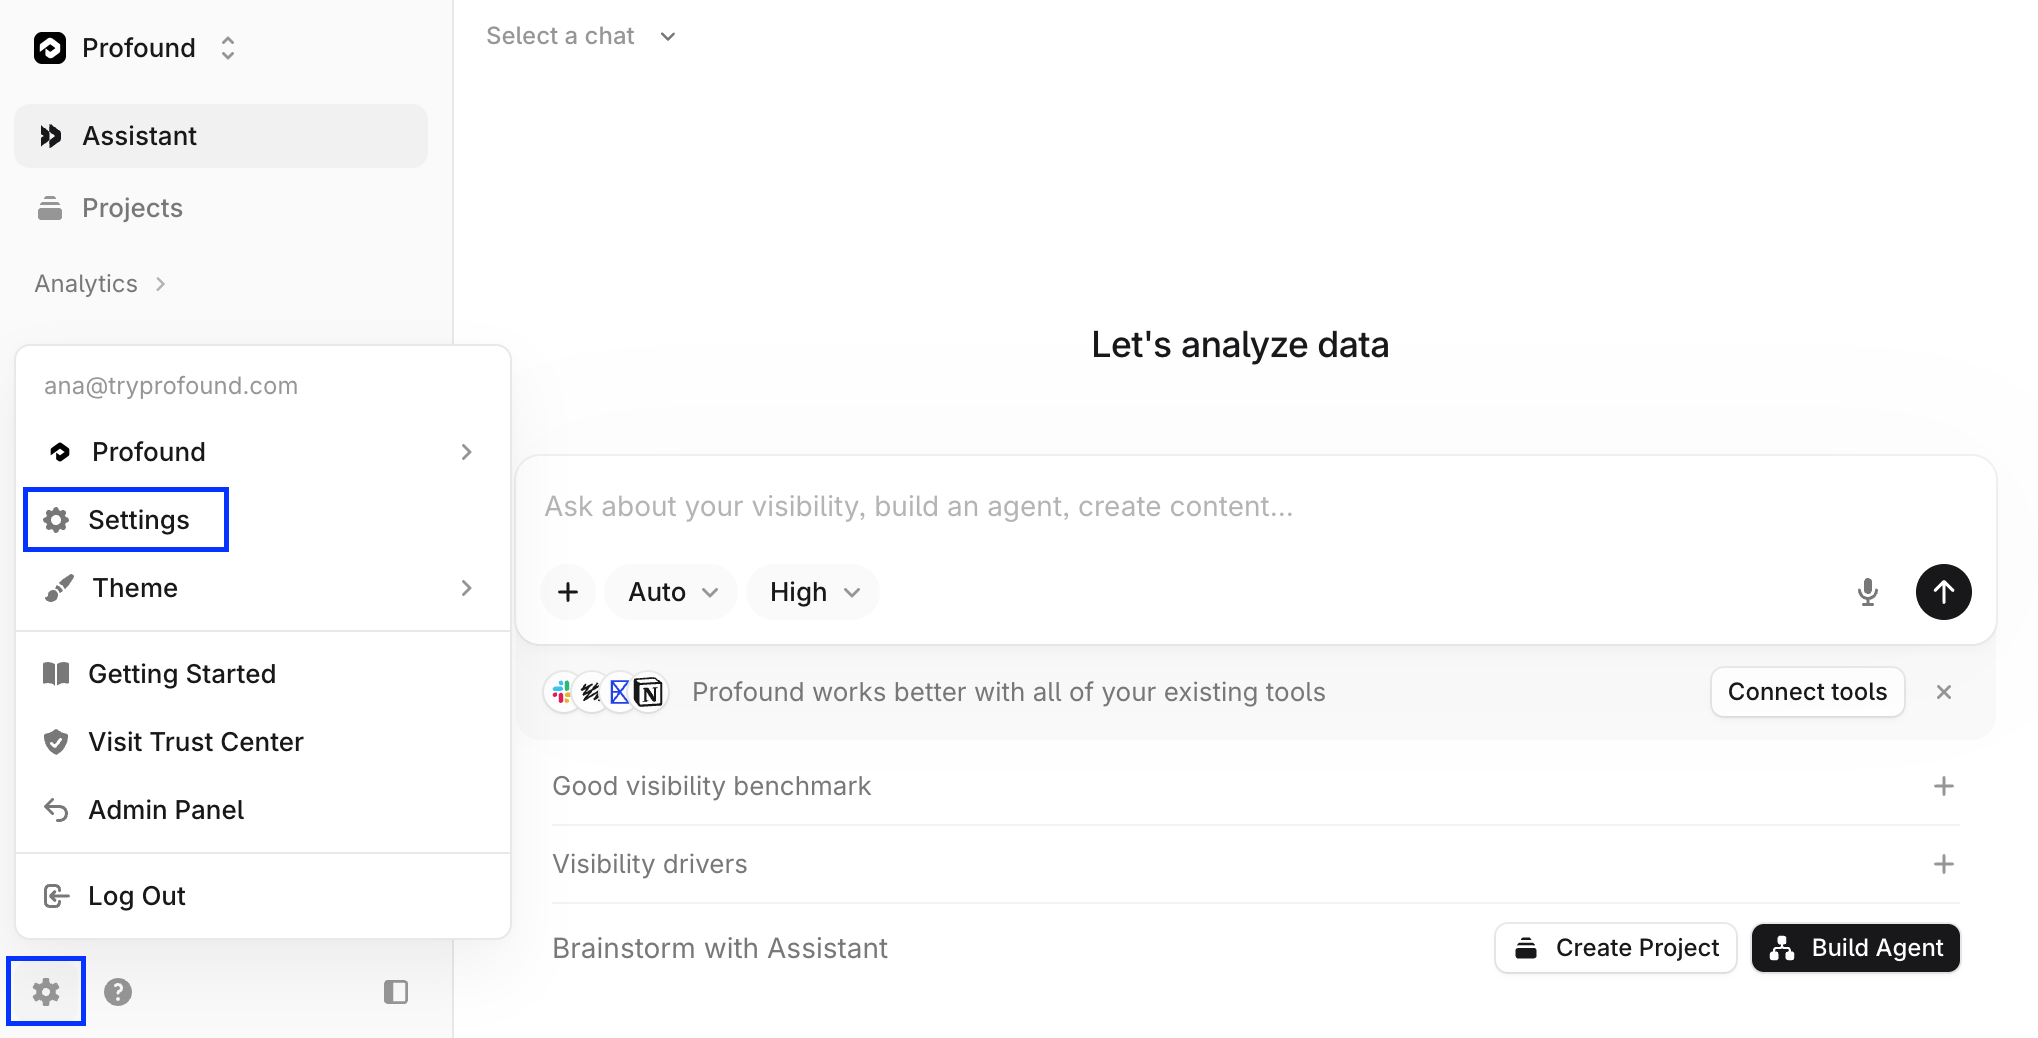
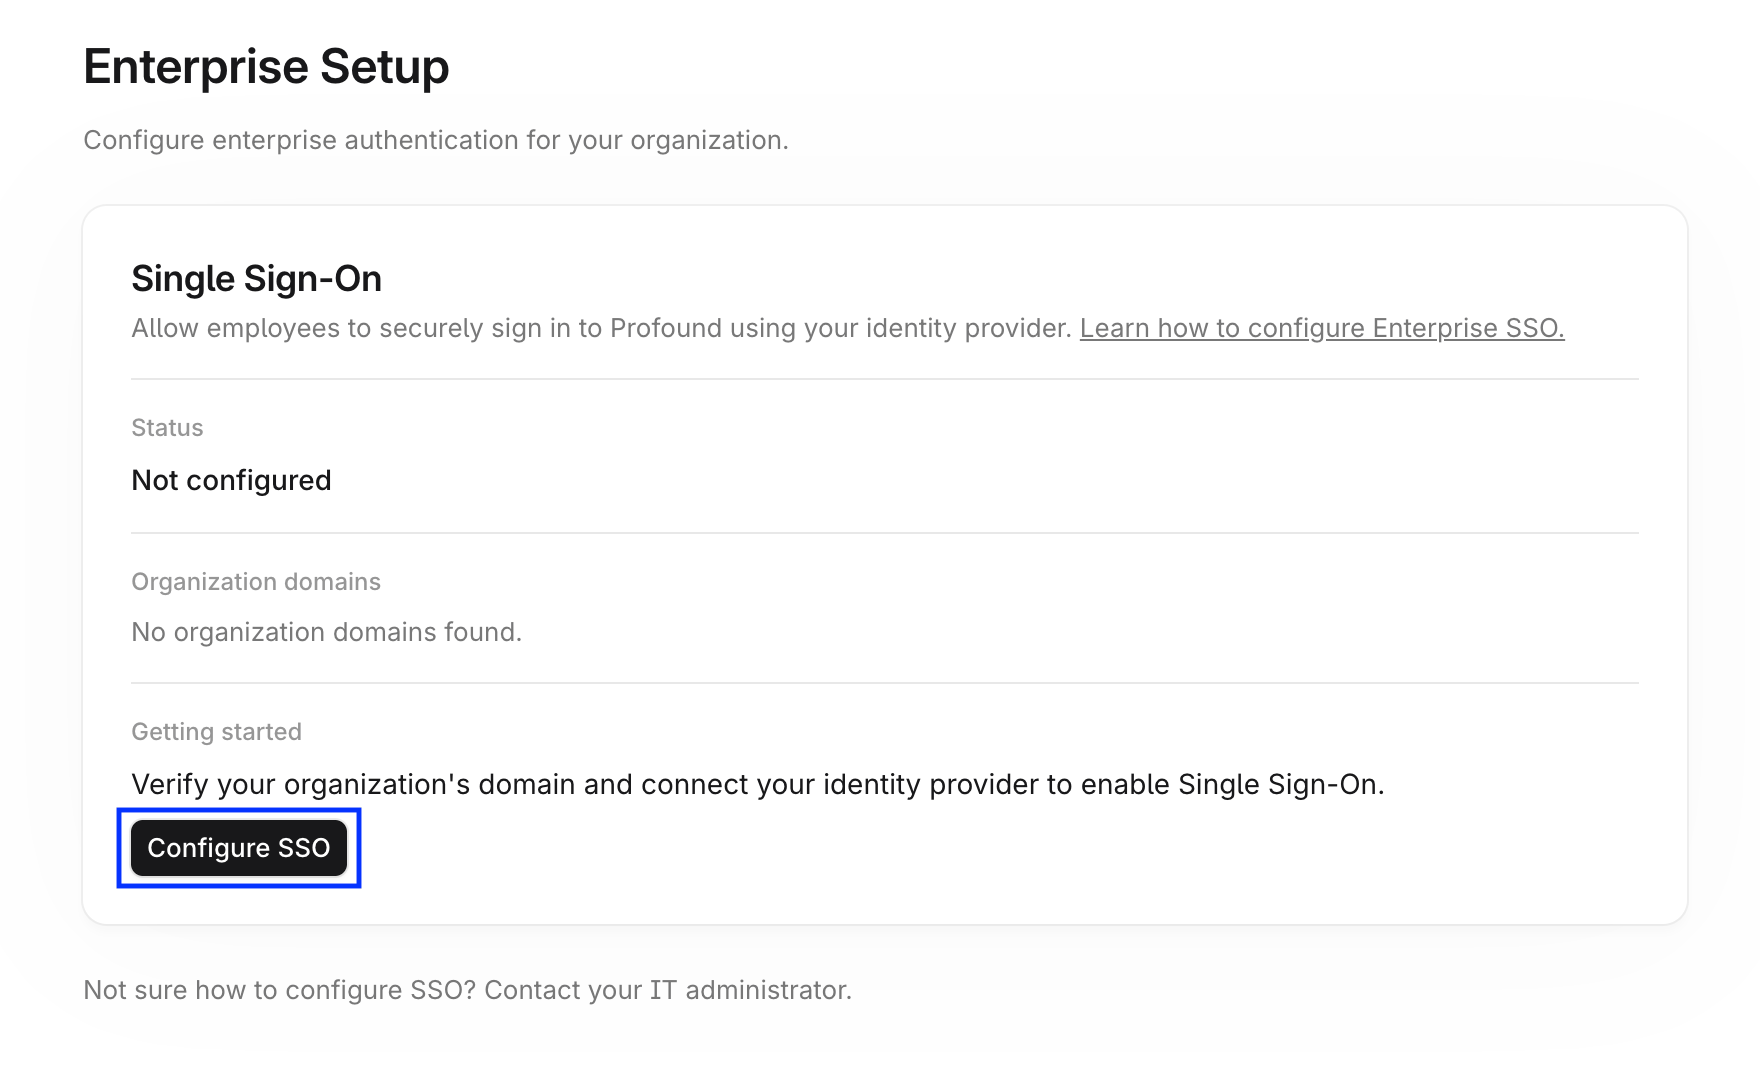
2
Verify your domain
Follow the domain verification step in the portal and add the record it provides to your DNS. Verification confirms your organization owns the domain and unlocks the rest of the configuration.
3
Select your identity provider
Select your IdP from the list of supported options. The portal tailors the setup experience to your IdP: once you make your selection, it shows step-by-step instructions specific to your provider.If your provider is not on the list, custom SAML or OIDC connection options are available.
4
Follow the IdP-specific instructions
The portal walks you through connecting your IdP to Profound. It shows the values to copy from Profound into your IdP, and the values to retrieve from your IdP and enter into the portal.The values you exchange depend on your SSO protocol:Follow the instructions shown in the portal for your specific IdP and protocol.
- OIDC
- SAML
- Profound → IdP: the Authorized Redirect URI
- IdP → Profound: the Discovery Endpoint, Client ID, and Client Secret
5
Test and enable
The configuration portal includes a built-in test feature. Use it to verify the connection and the login flow before going live.Once the test passes, enable SSO for your domain directly from the portal. Back on the Enterprise Setup page, the status reads SSO Enabled and your domain is marked Verified. Select Check status to refresh.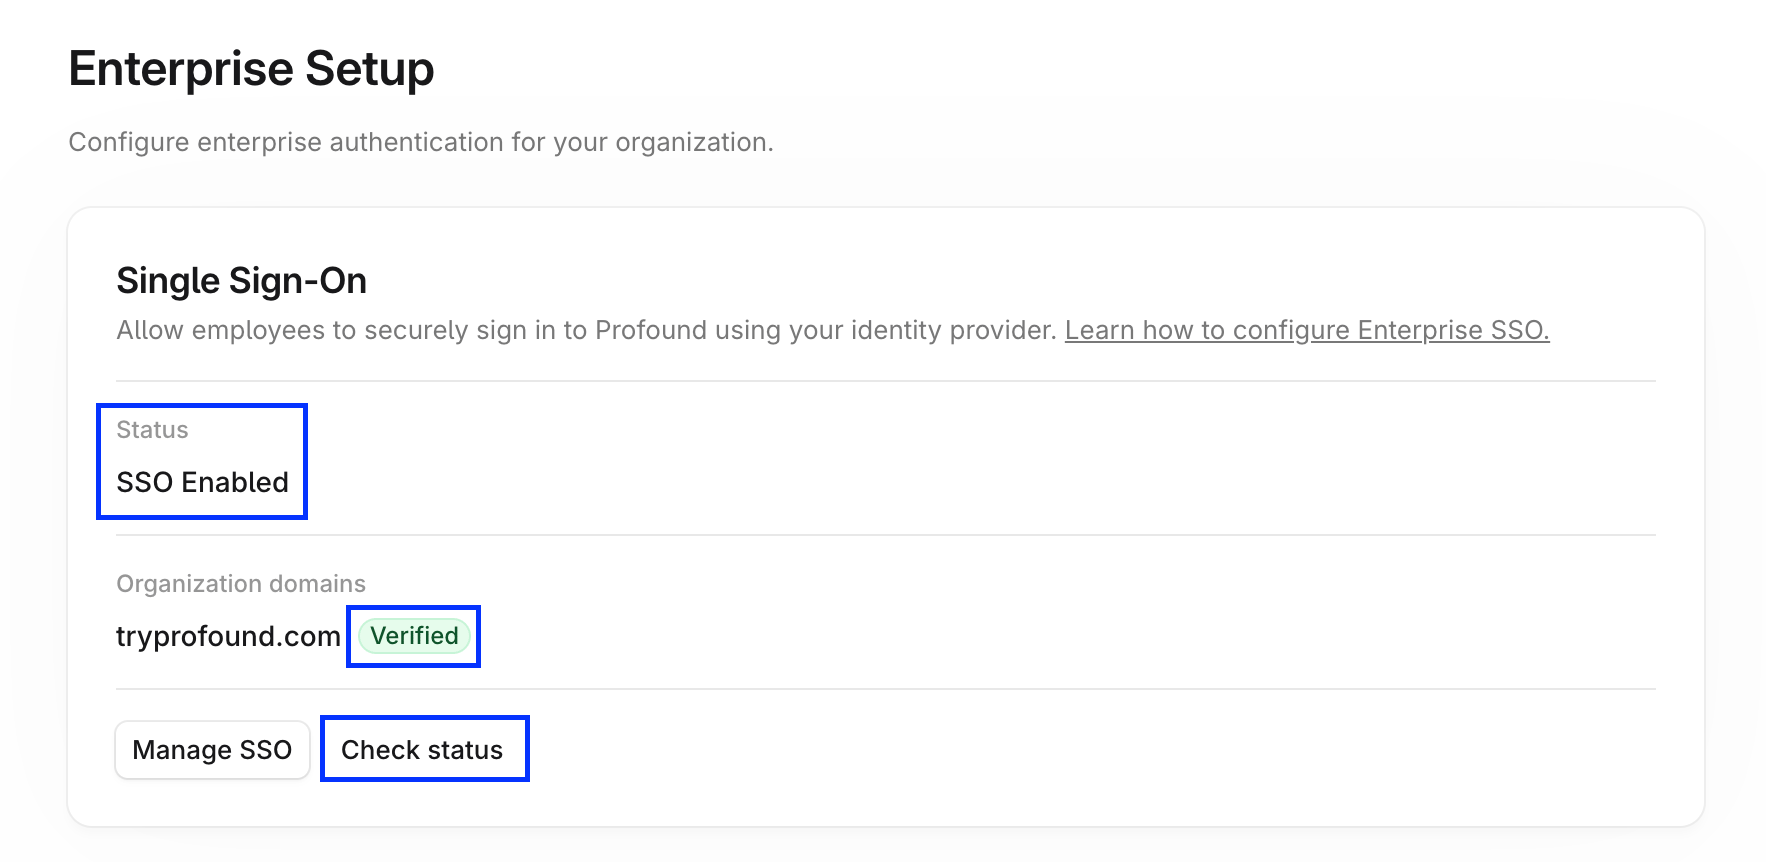
Notes
- SSO is configured per Profound organization: each organization needs its own connection.
- Subdomains cannot use the same SSO connection as the root domain: each subdomain needs its own connection.
- Contact customer support if you need assistance during setup.