

Overview
Send Cloudflare Logpush logs to your assigned Profound S3 destination to see agent traffic in Agent Analytics. This guide covers Cloudflare HTTP request logs and uses SSE-S3 encryption.Contact Profound support to receive your S3 bucket name and destination prefix. The destination region is
us-west-2 (US West, Oregon). When Cloudflare asks you to verify ownership, contact support for your ownership token.Prerequisites
- Access to Cloudflare HTTP request Logpush.
- Permission to create and manage Logpush jobs for your domain.
Encryption
Use SSE-S3 (AES256) for this Cloudflare integration. Amazon S3 encrypts your stored logs. You do not need to configure a KMS key.Configuration
1
Get your destination settings
Contact Profound support with your domain and Cloudflare zone details to receive your S3 bucket name and destination prefix. The destination region is Use the prefix exactly as provided by Profound.
us-west-2 (US West, Oregon). Use these values exactly as supplied.Profound configures the source, destination bucket, and write permissions for your organization.Your S3 destination uses this format:
2
Open Cloudflare Logpush
Sign in to the Cloudflare dashboard, select your domain, and open Investigate → Logpush. Select Create a Logpush job.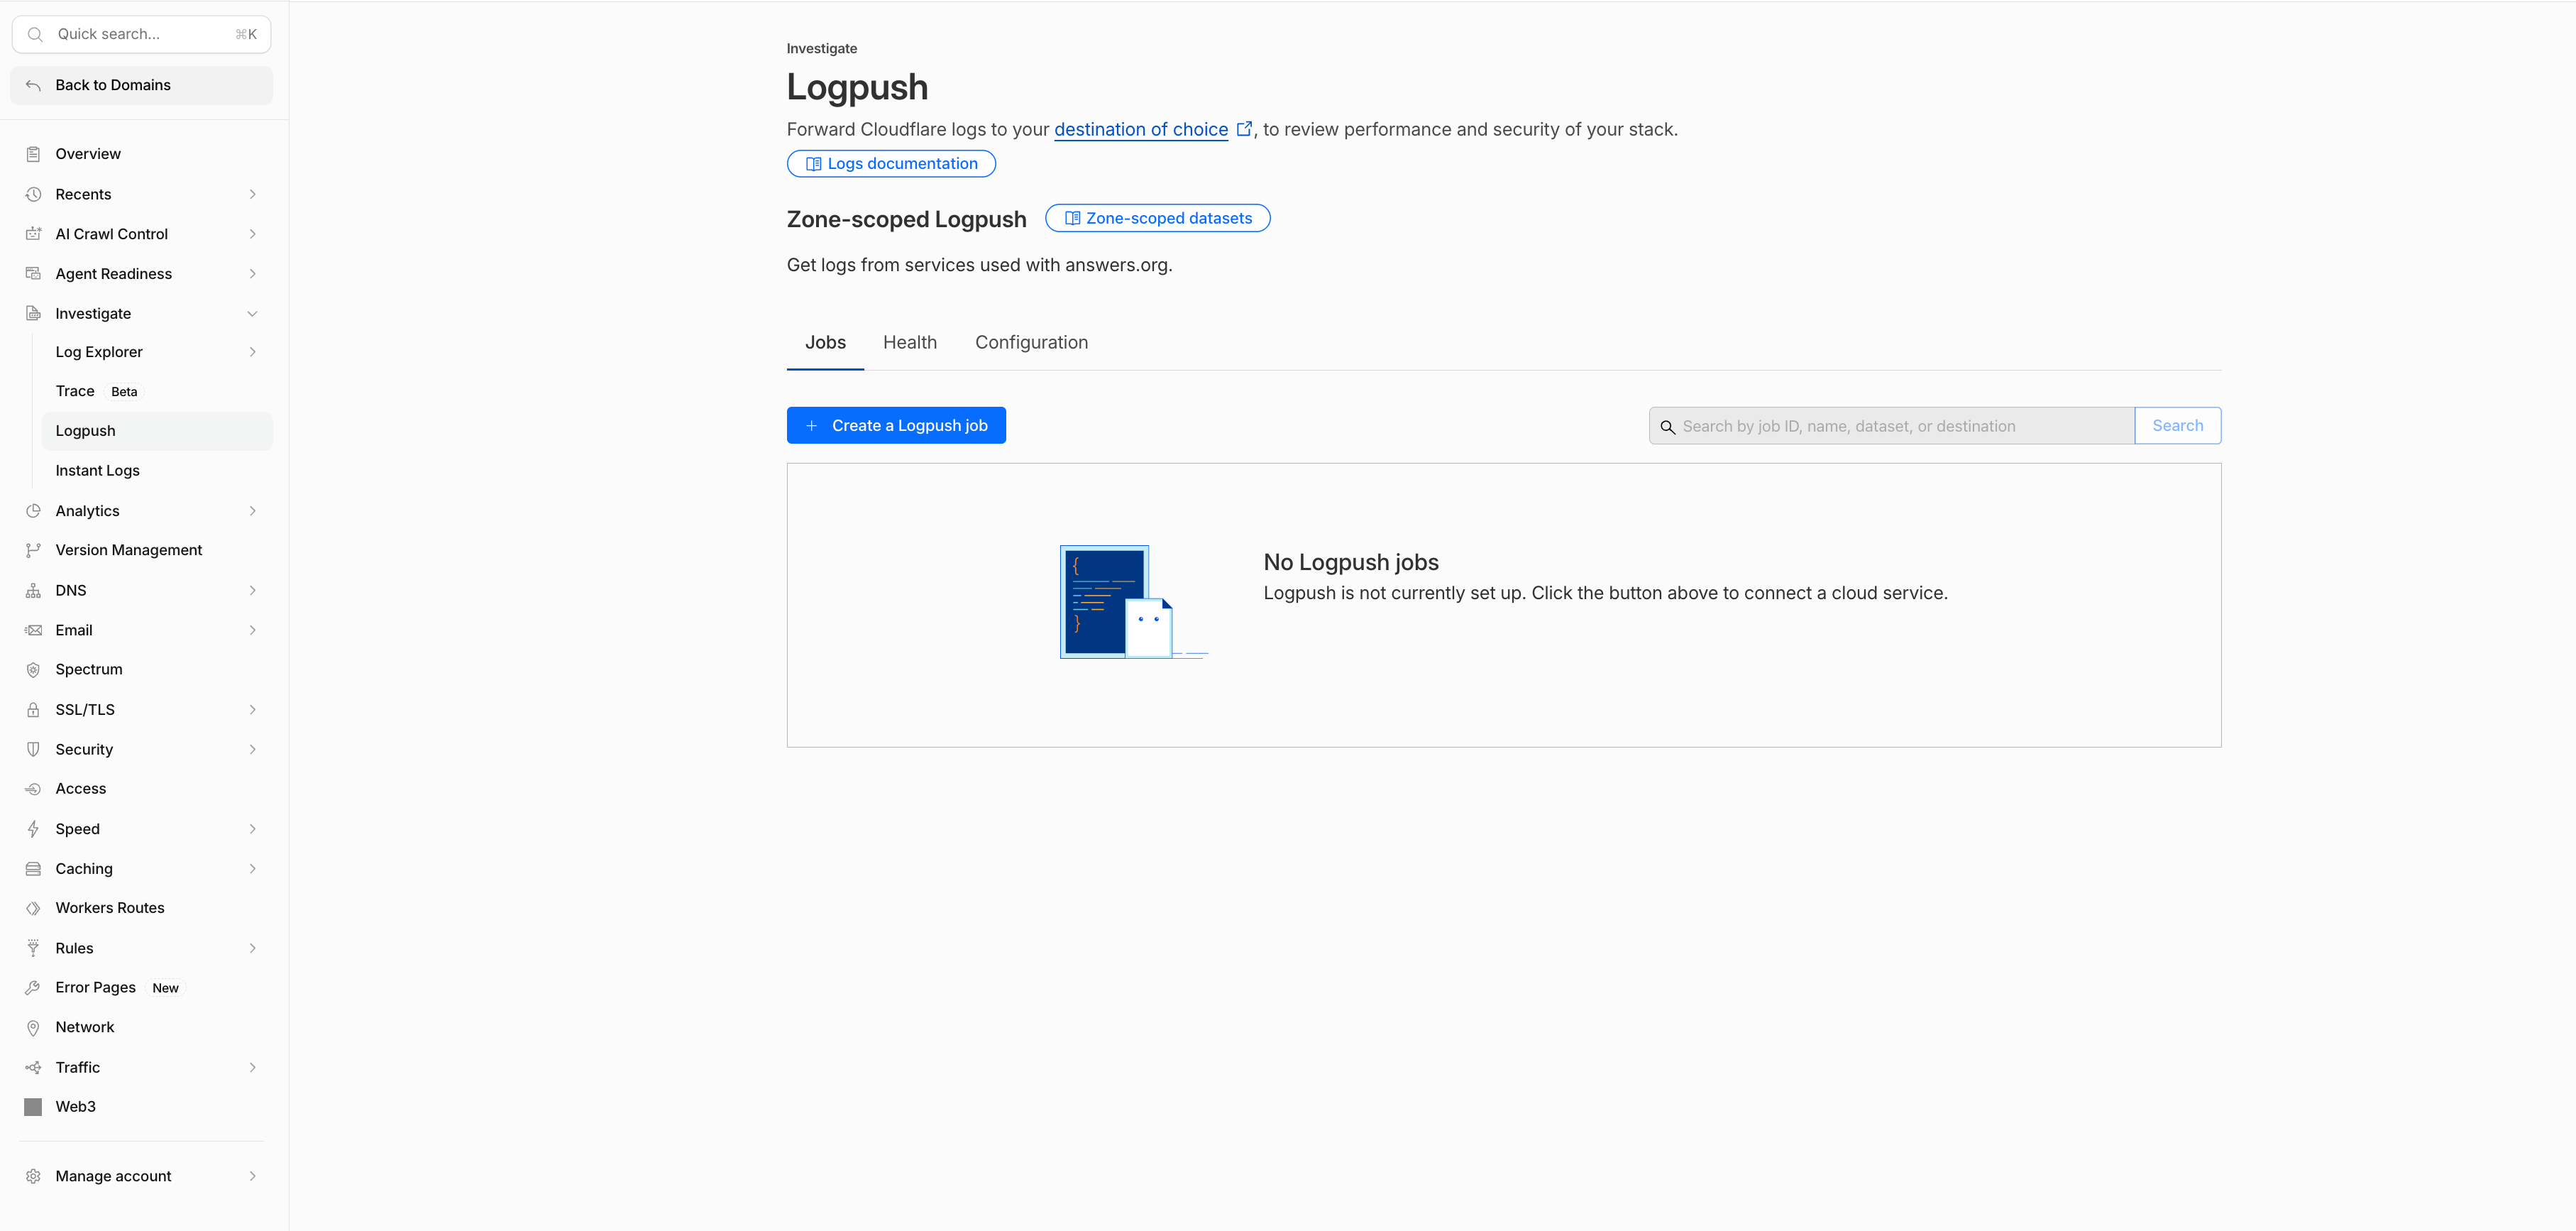
3
Select Amazon S3
Choose Amazon S3 as the destination.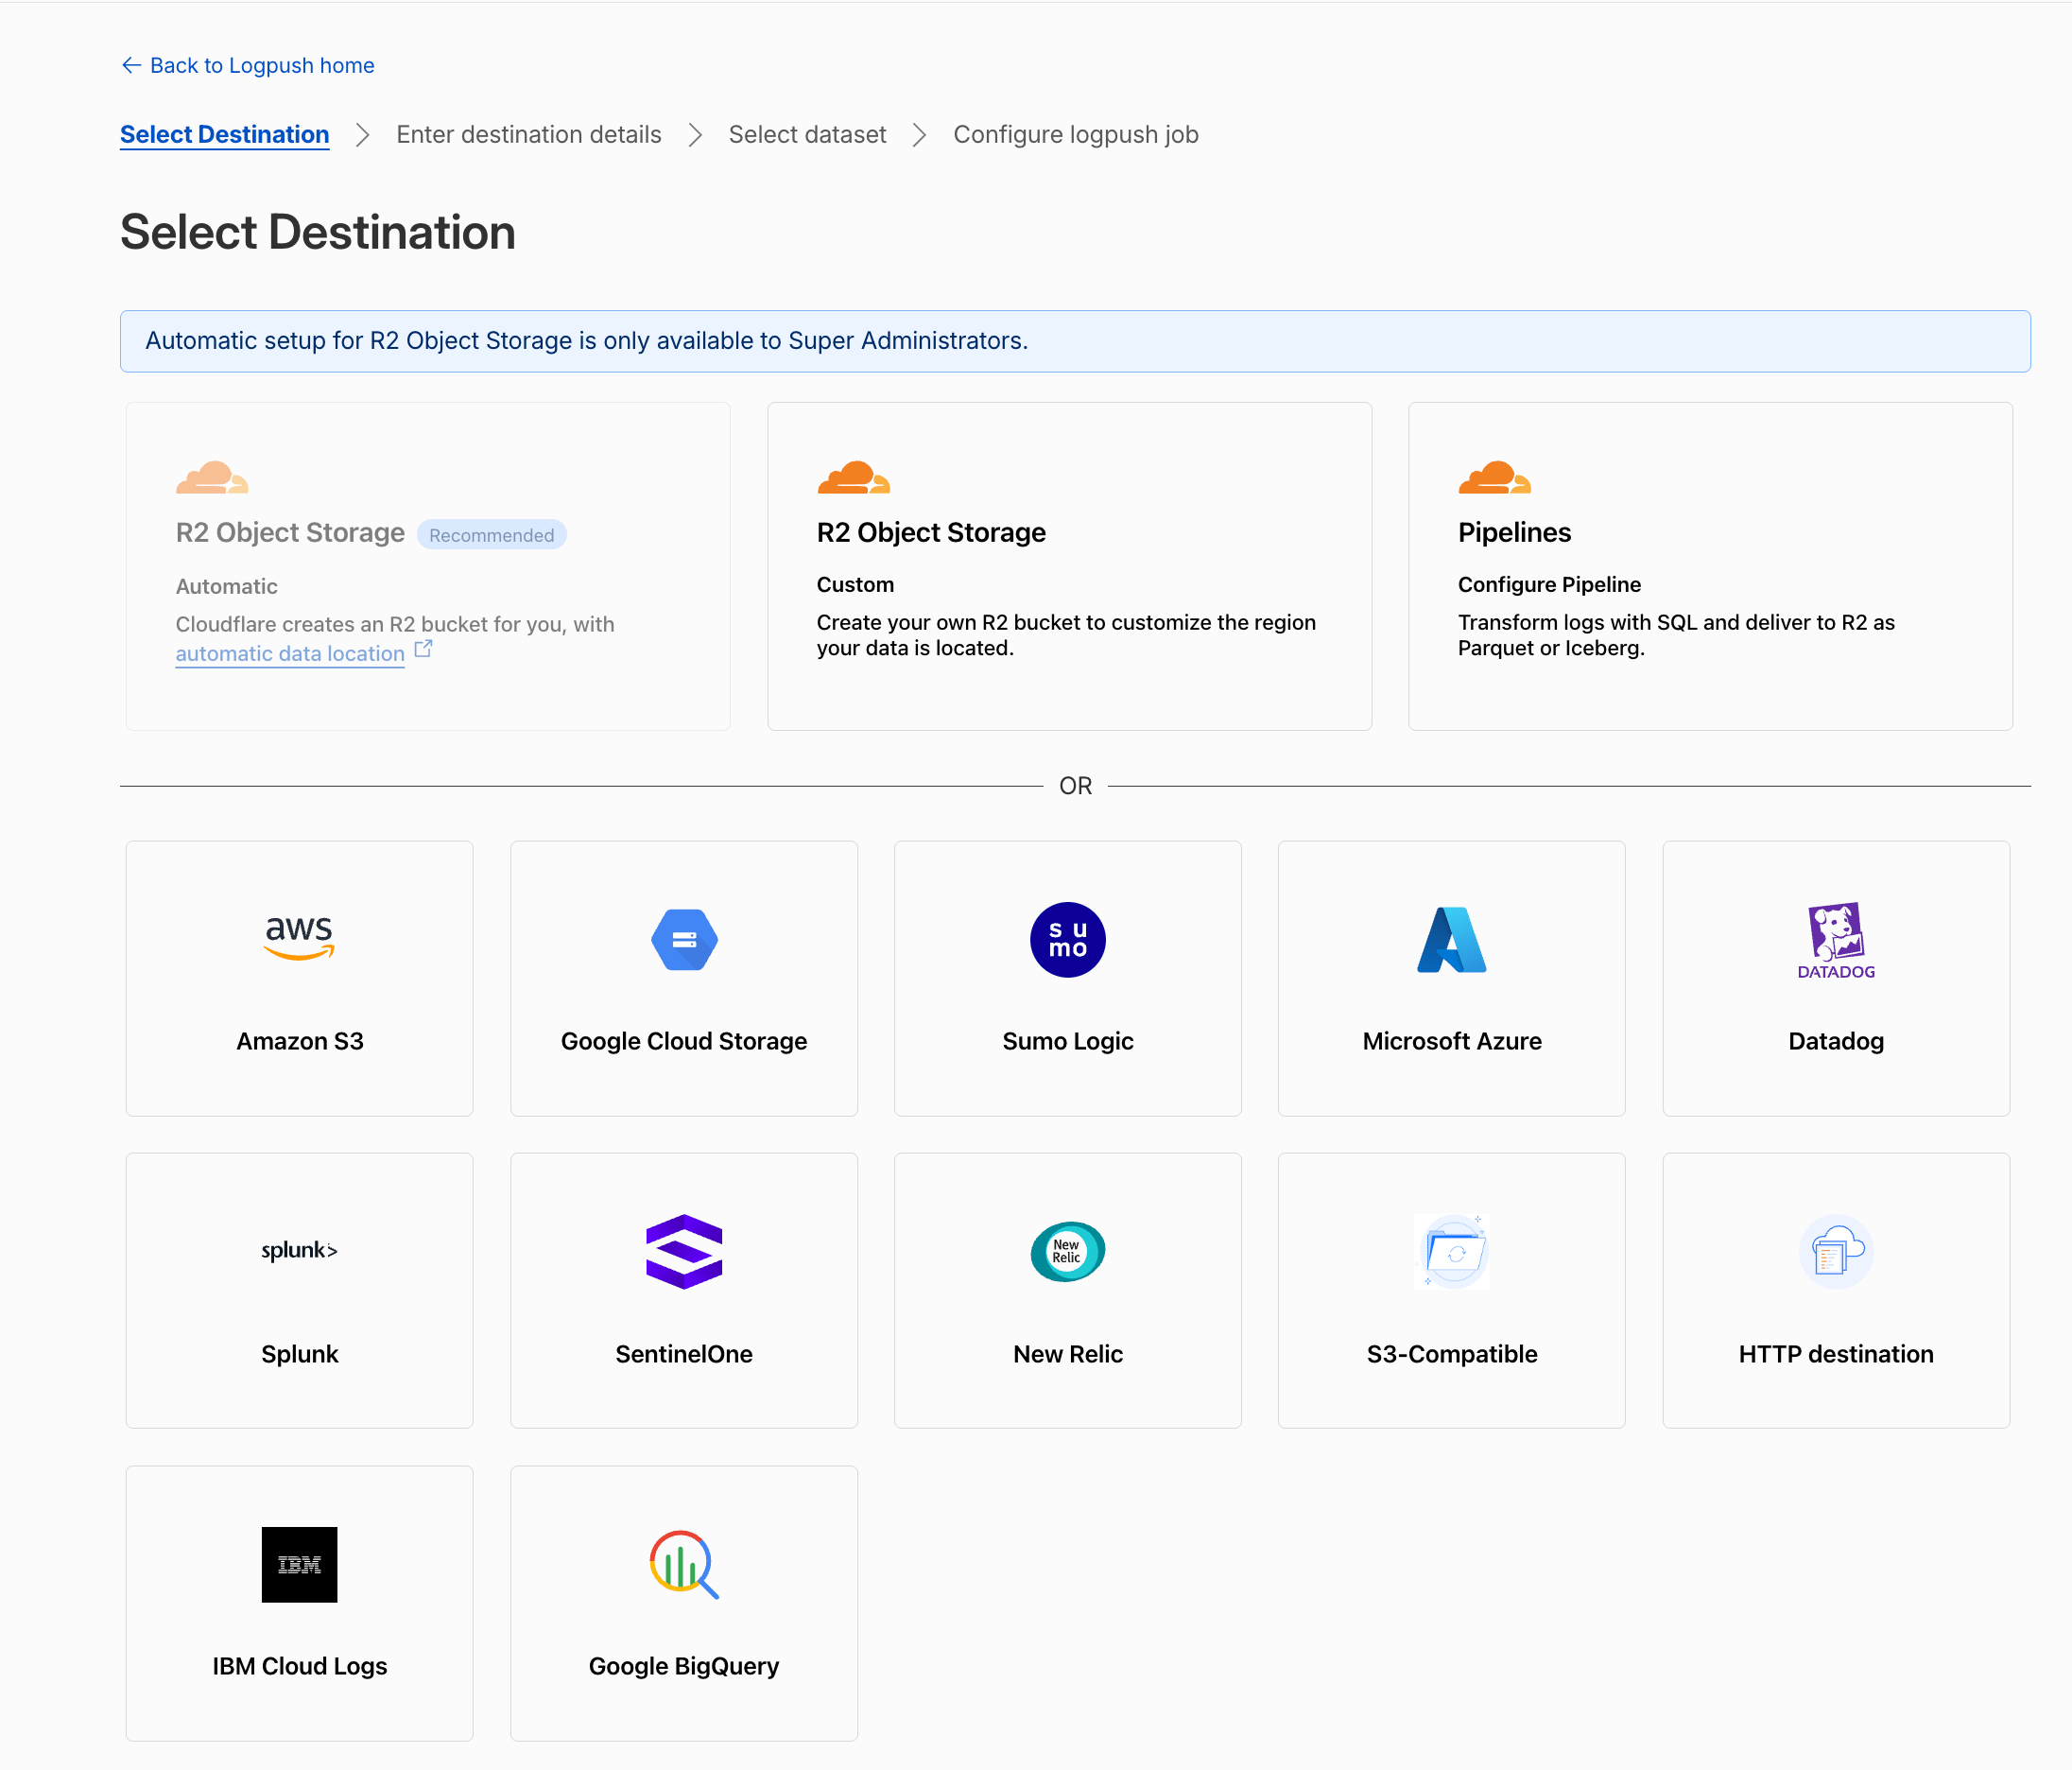
4
Enter your destination details
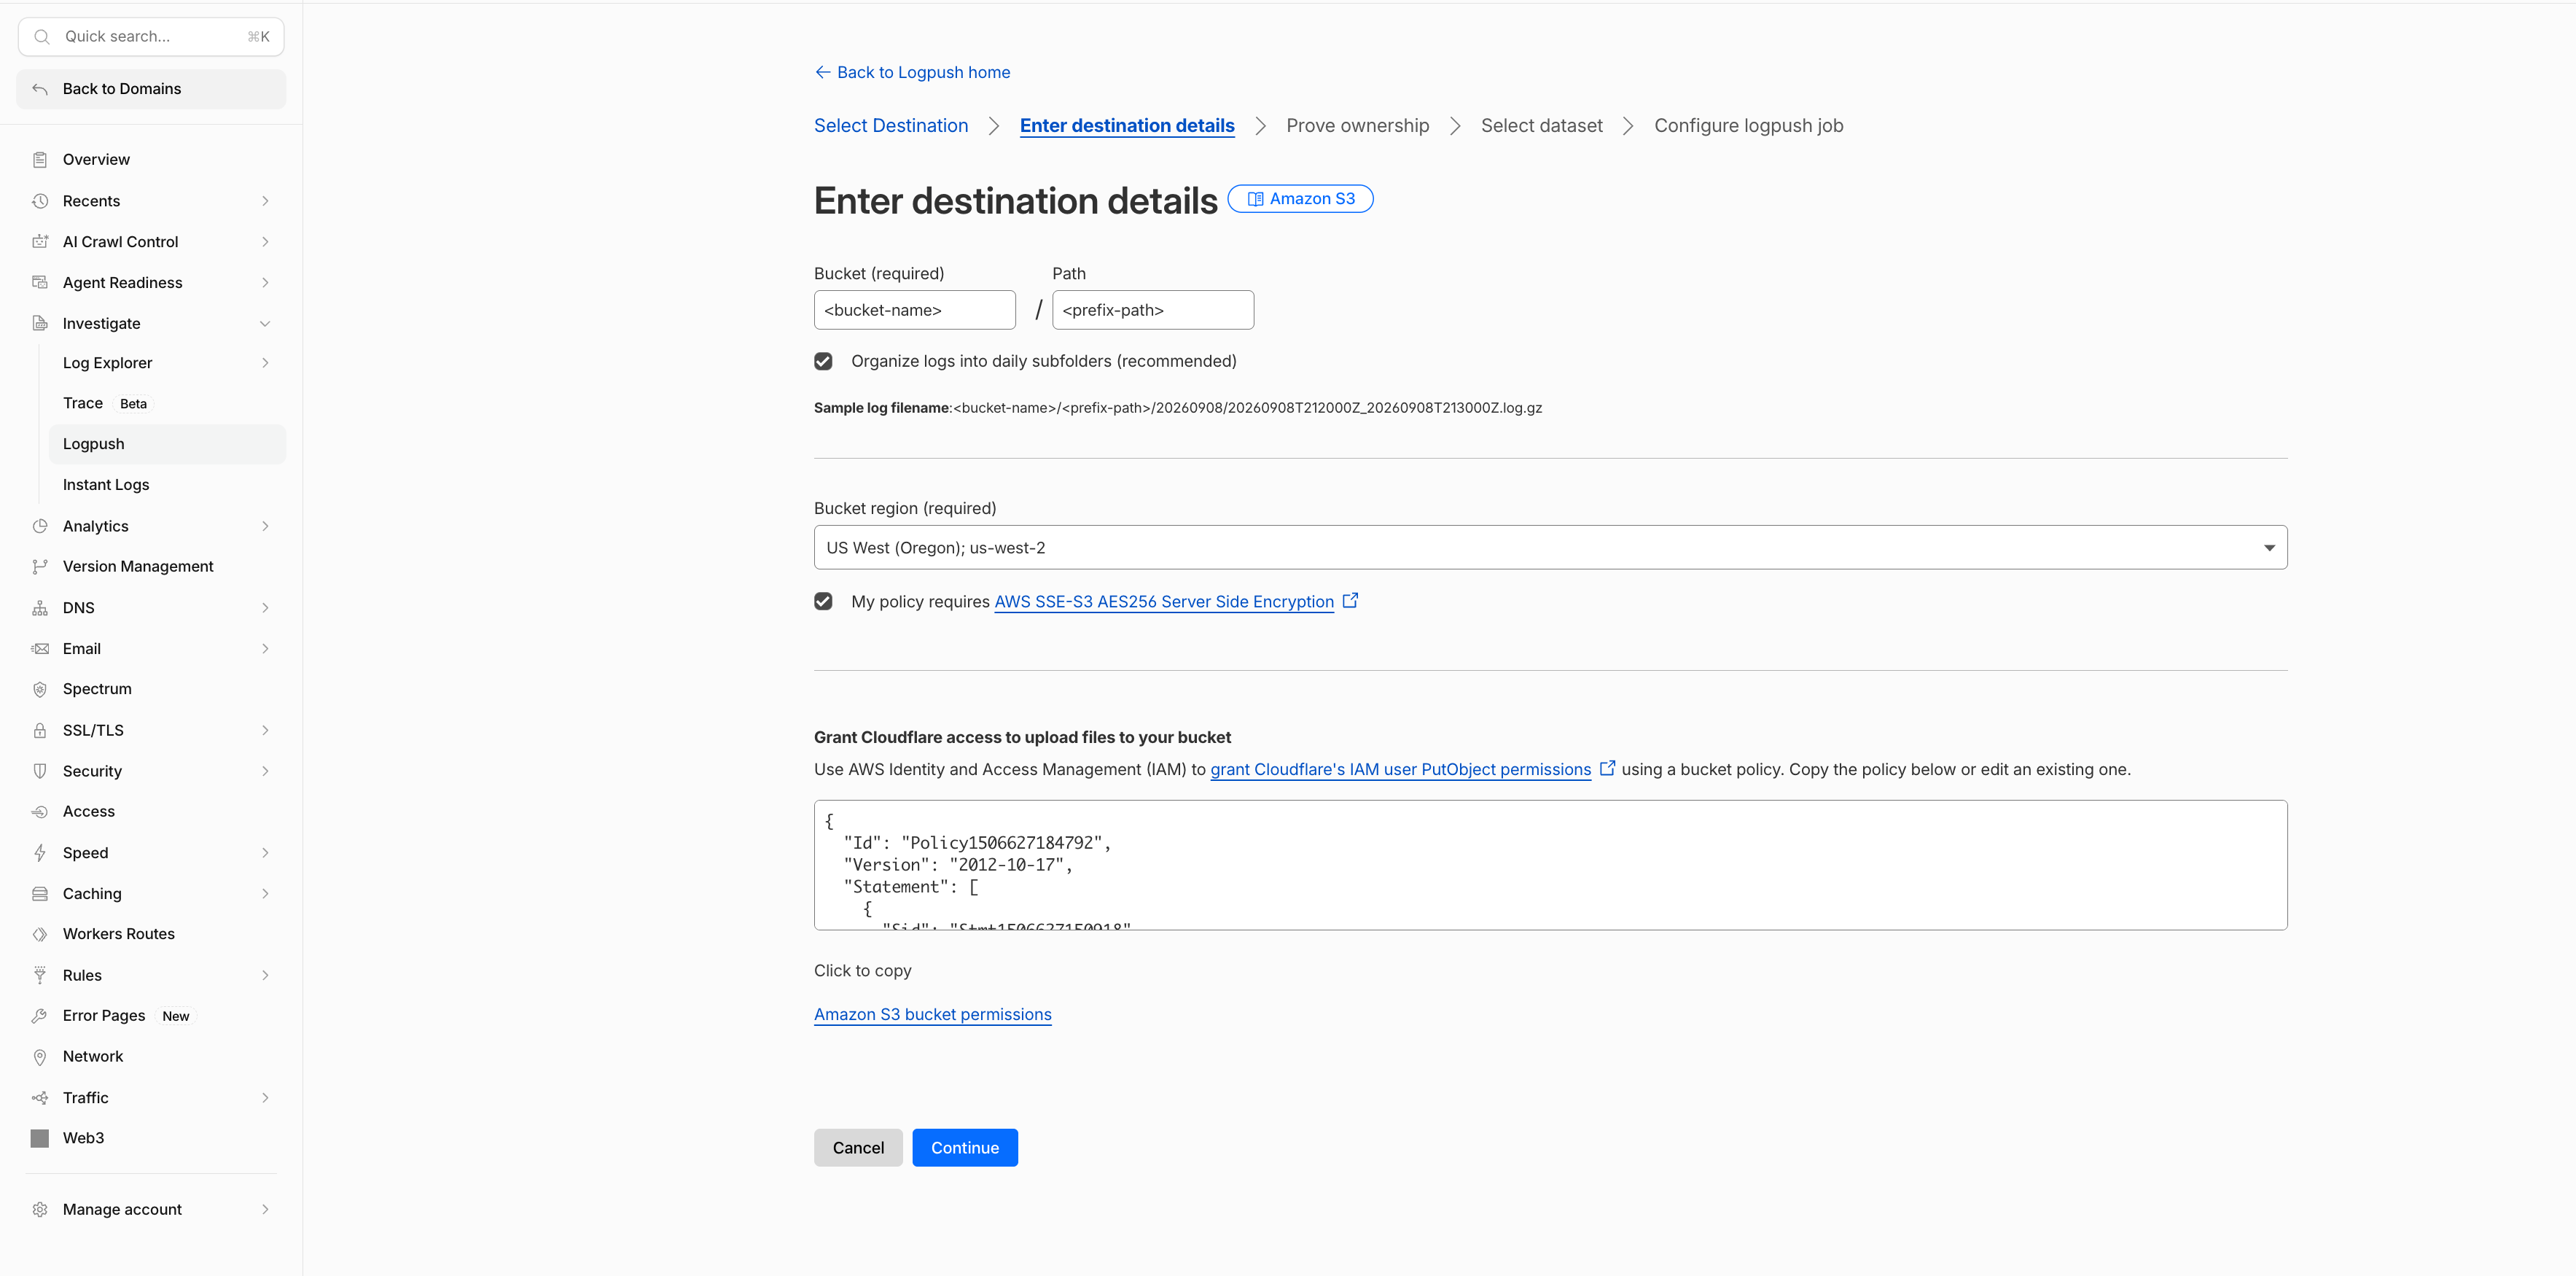
- Enter the bucket name and destination path supplied by Profound.
- Set Bucket region to US West (Oregon) —
us-west-2. - Select My policy requires AWS SSE-S3 AES256 Server Side Encryption.
- Select Continue to start ownership verification.
5
Complete ownership verification
Cloudflare writes a challenge file to the destination. Ask Profound support for the token associated with your source, then enter it in Cloudflare to verify the destination.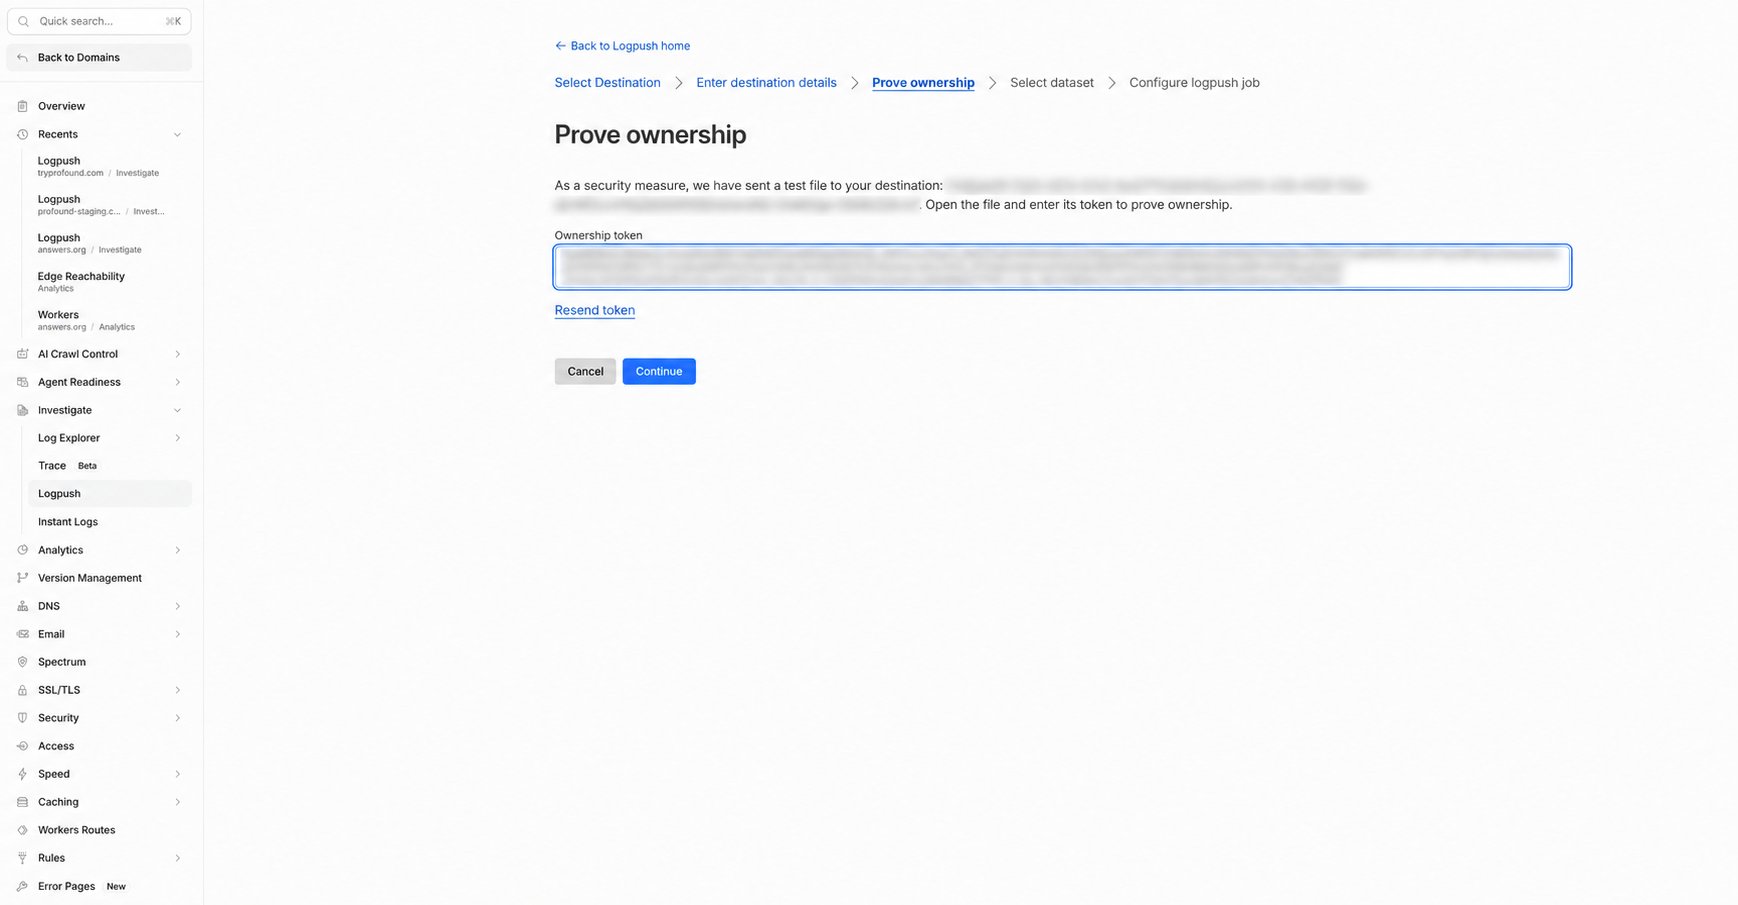
6
Configure HTTP request logs
Select the HTTP requests dataset. Include the fields below, filter the hostname to your configured domain, and use RFC3339 timestamps. Keep the standard JSON output, with one record per line.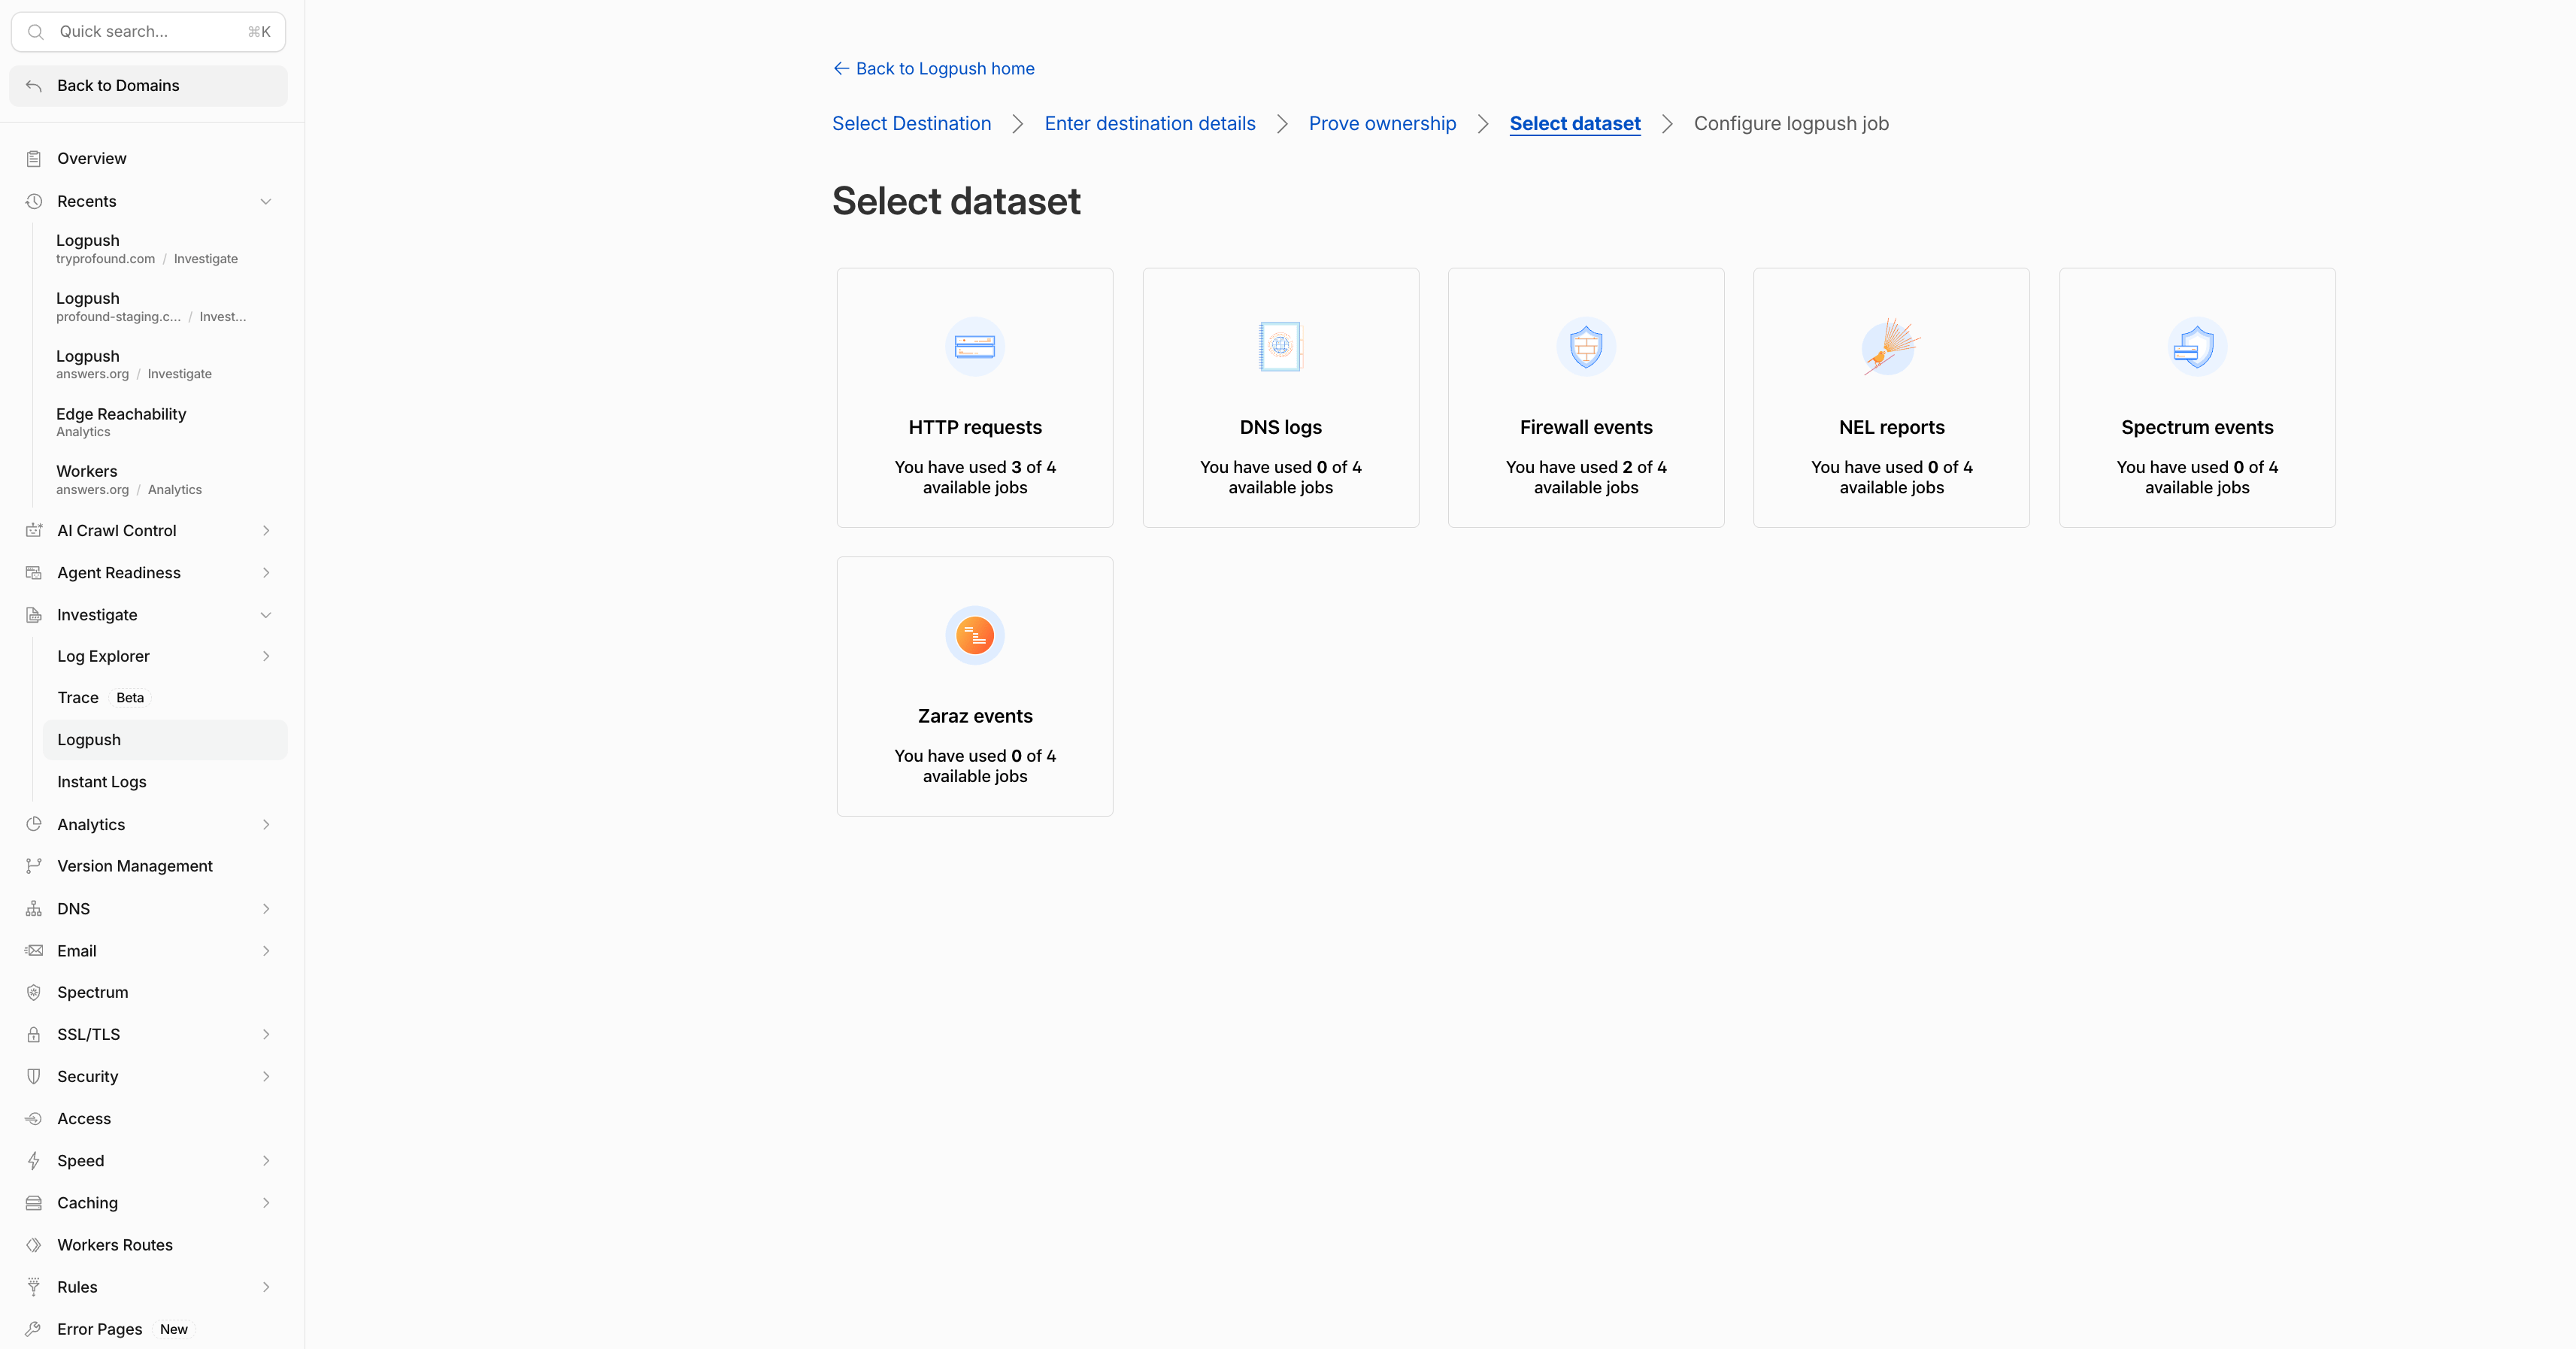
These are the same record fields used by Profound’s Cloudflare streaming integration. To capture all traffic, turn off sampling.
7
Enable delivery
Once ownership verification is complete and Profound confirms the source is ready, save and enable your job. Generate traffic to your configured domain and check Cloudflare for delivery errors.