Before you start
Before you get started, you’ll need:- Access to a Microsoft Copilot Studio account with an agent set up
- A Profound account
Setup guide
1
Open your agent in Copilot Studio
- Sign in to Microsoft Copilot Studio
- Go to the Agents tab in the left navigation bar
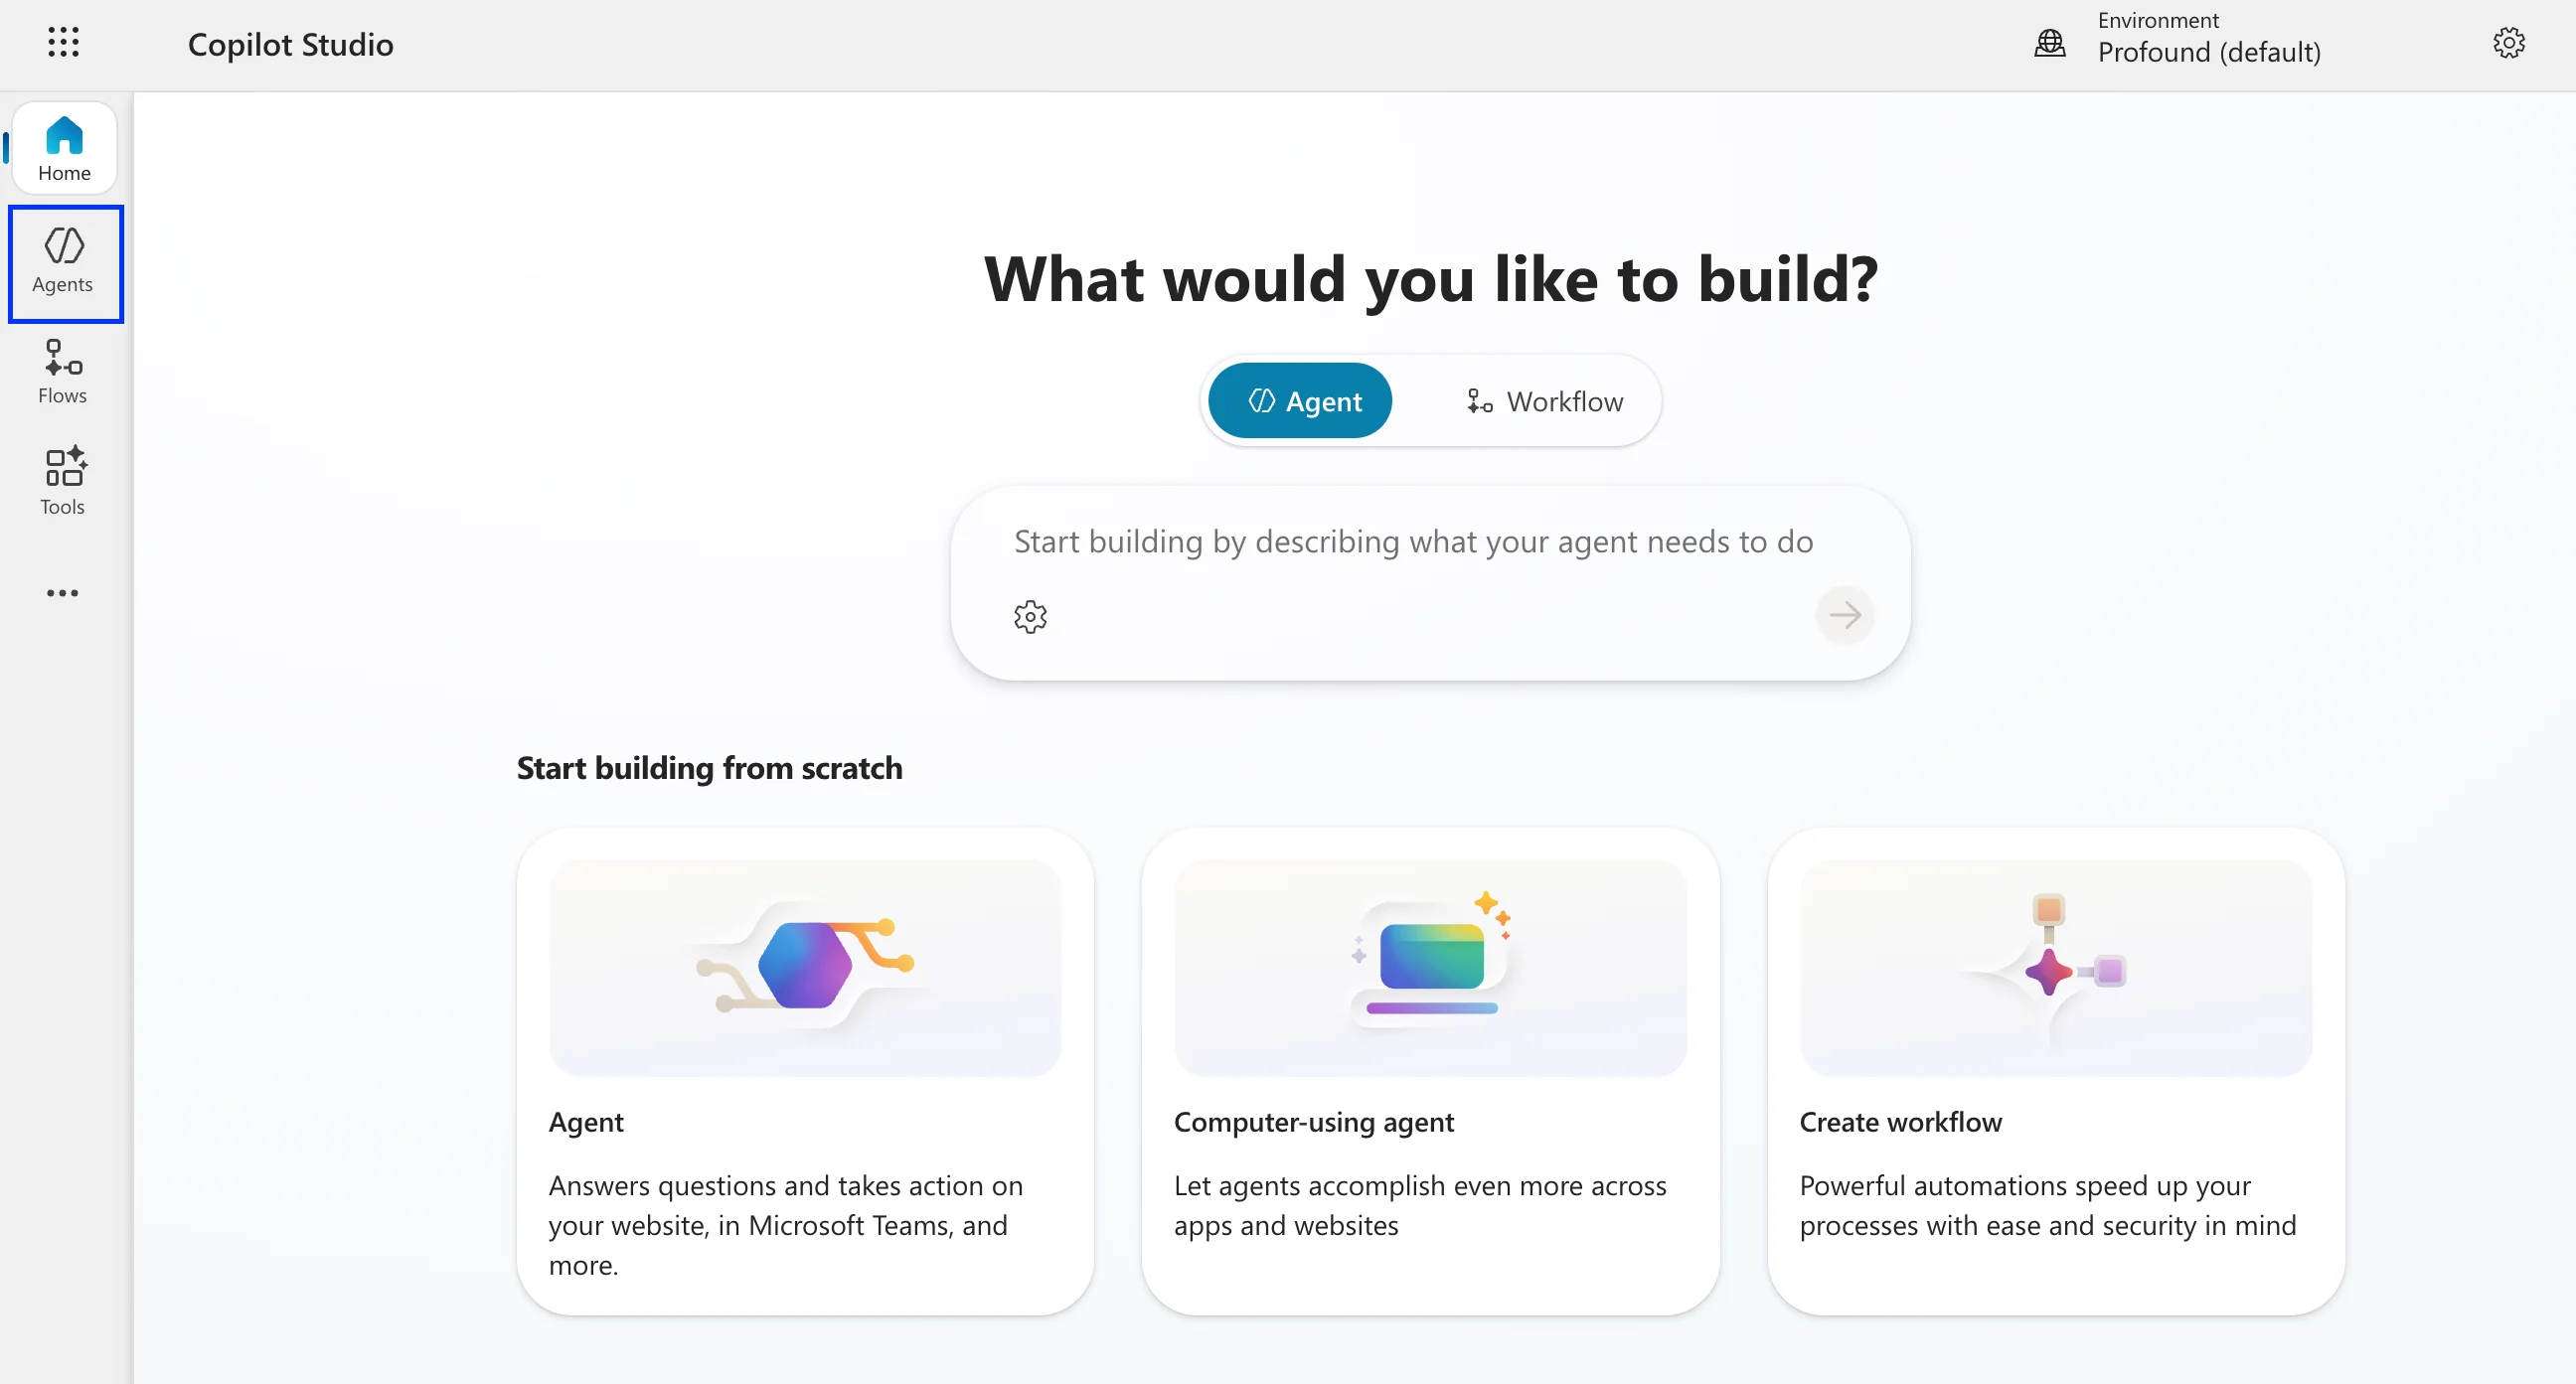
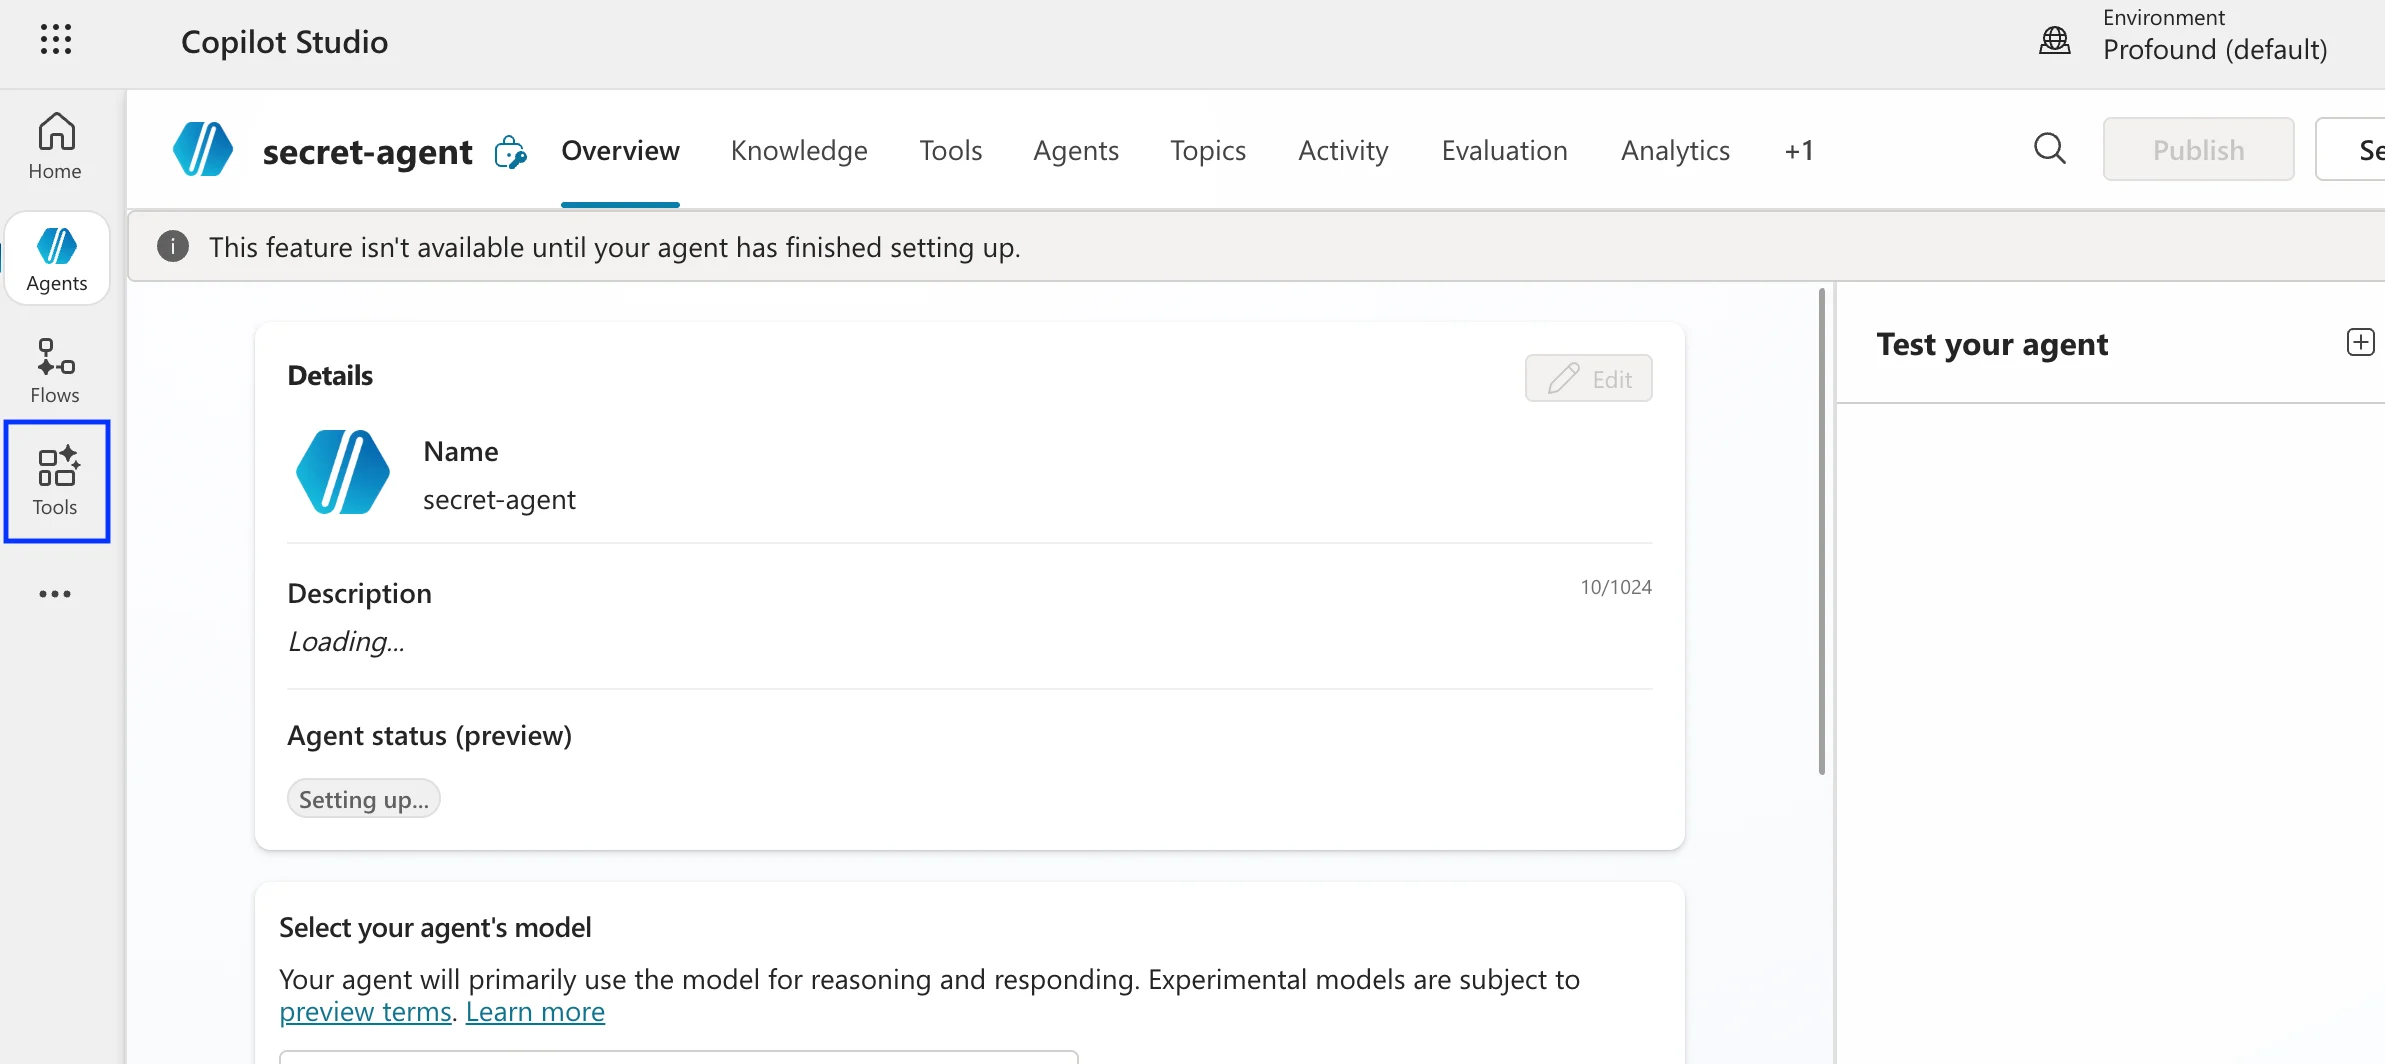
- Select and open the agent you want to connect Profound to
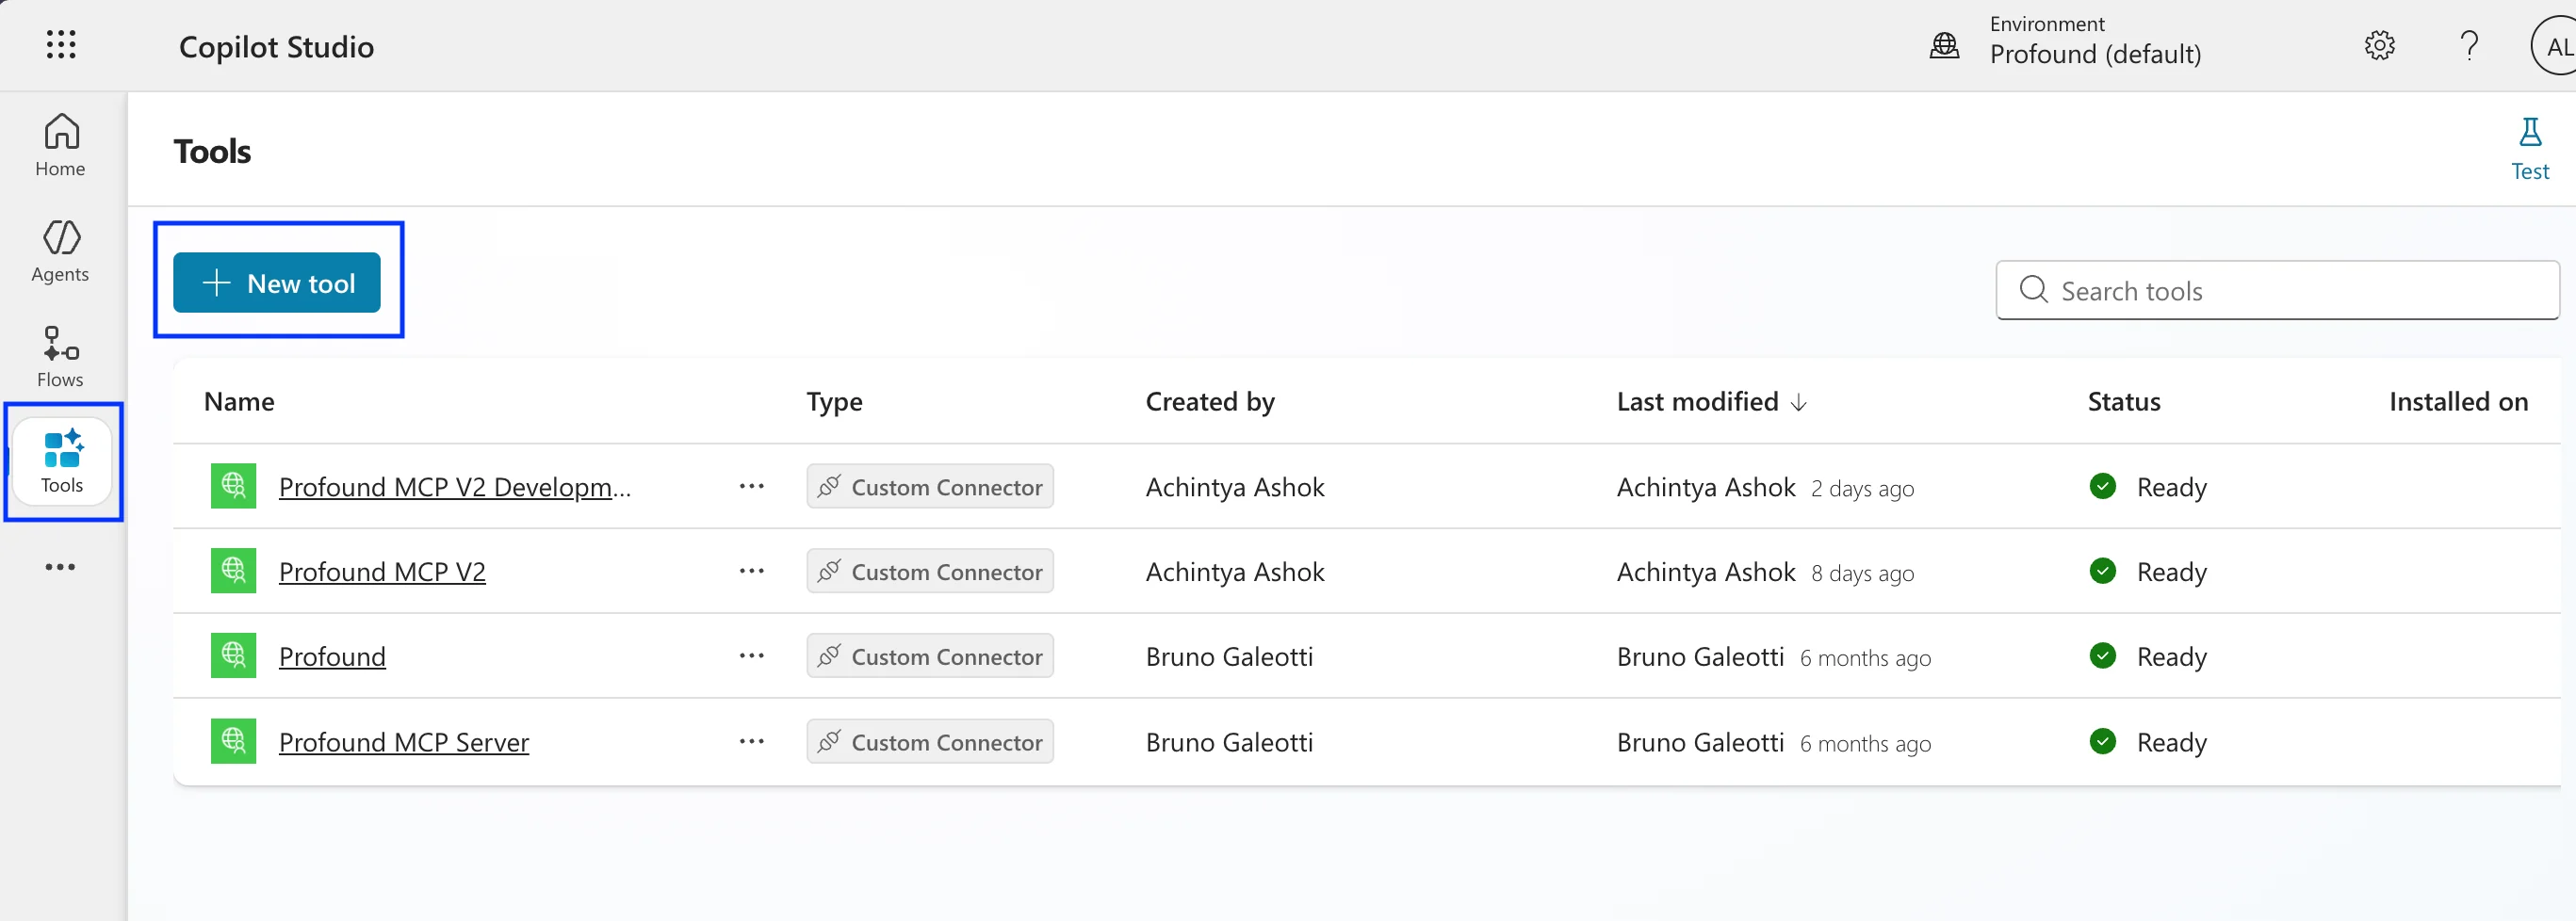
- Go to the Tools tab for the agent
2
Add a new tool
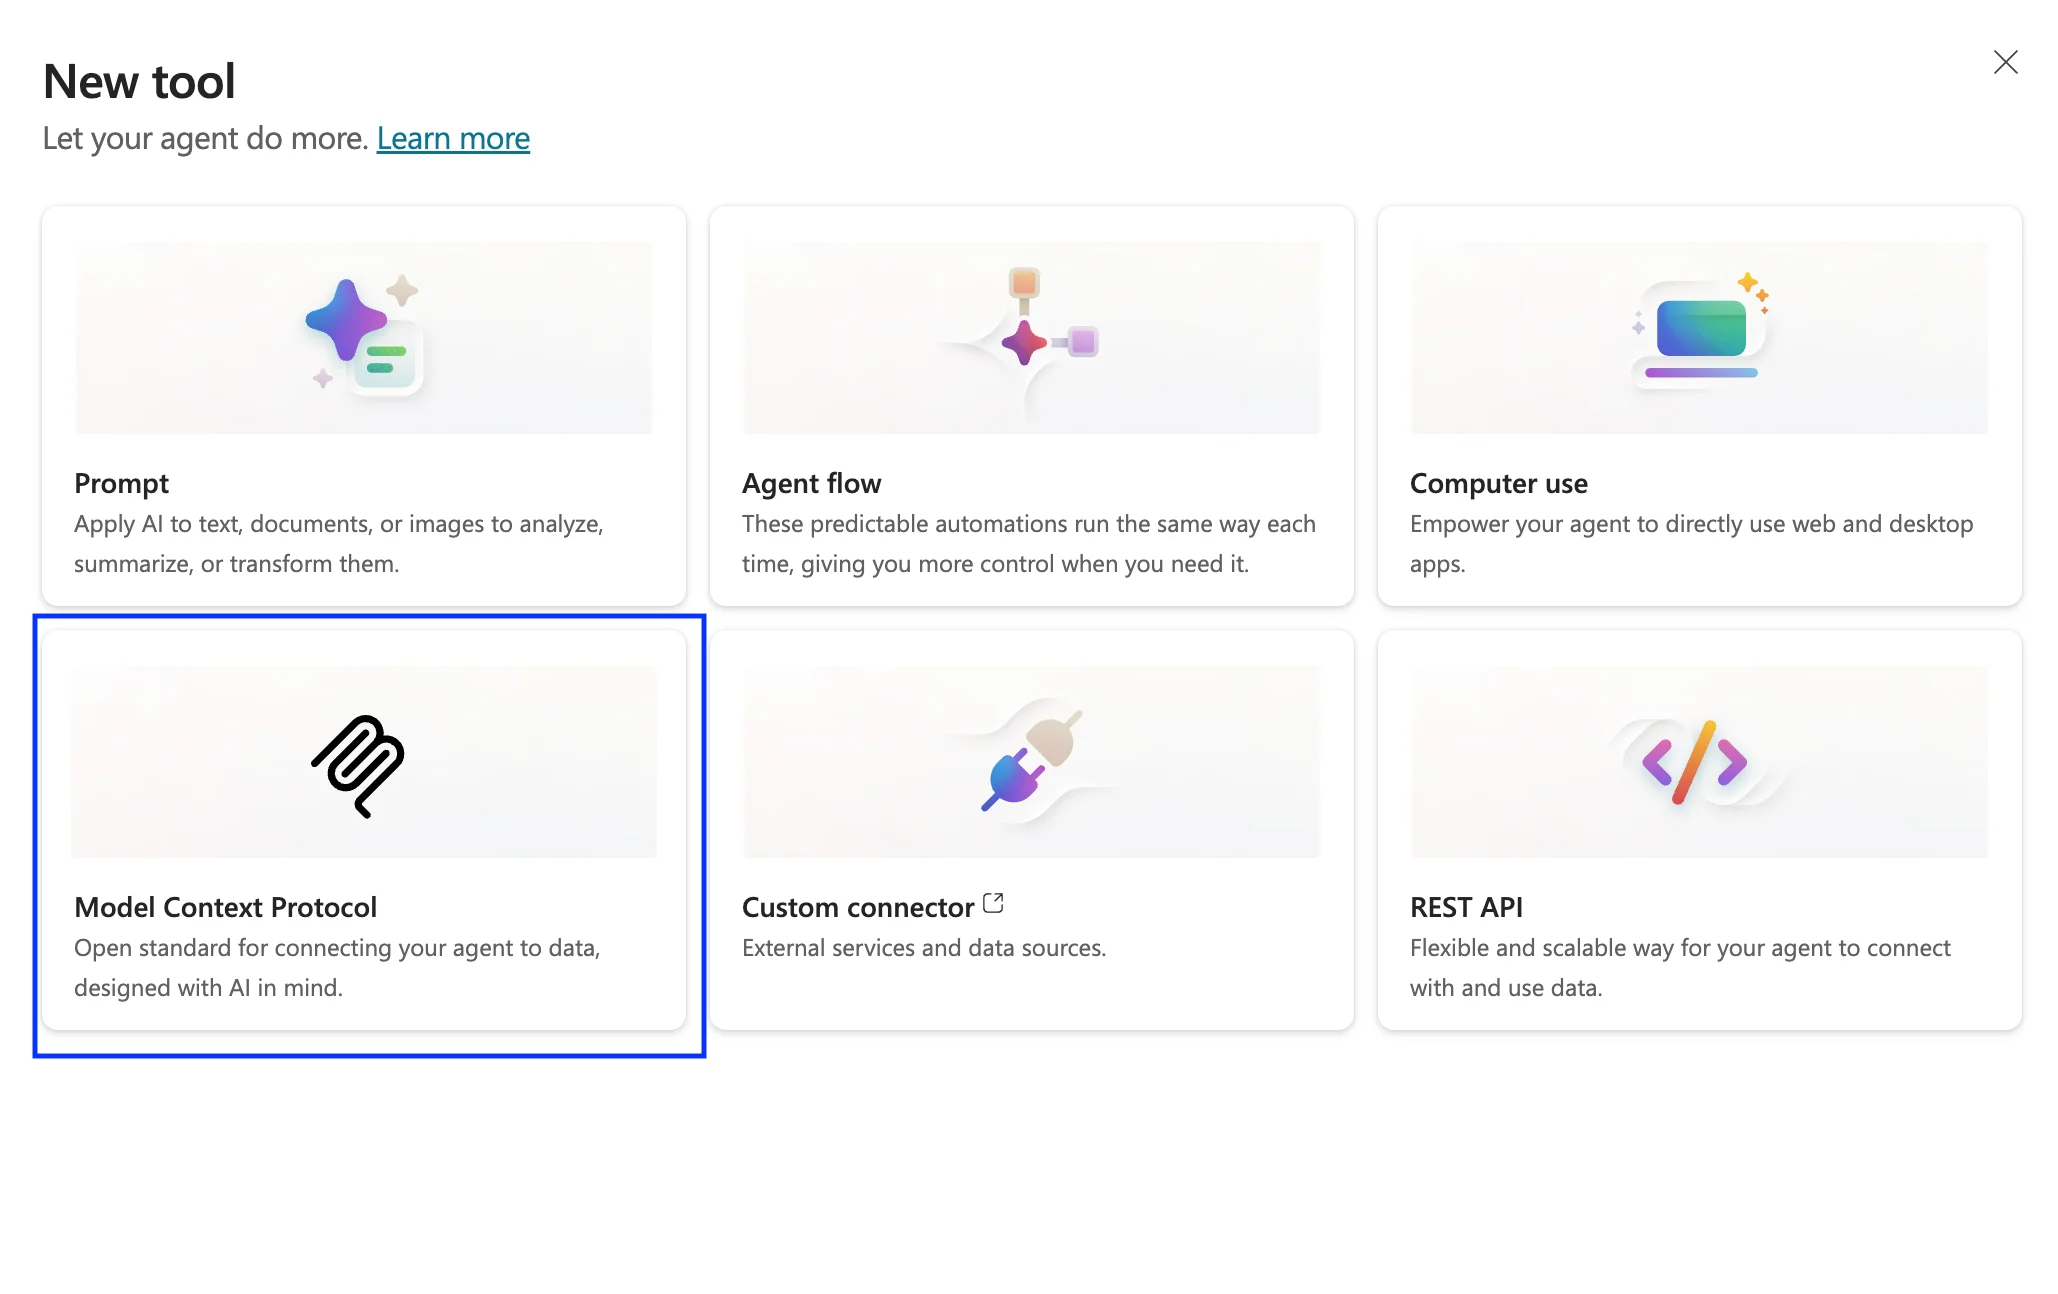
- Select + New tool
- In the New tool dialog window, select Model Context Protocol
3
Enter the Profound server details
After the setup wizard appears, fill in the fields as follows: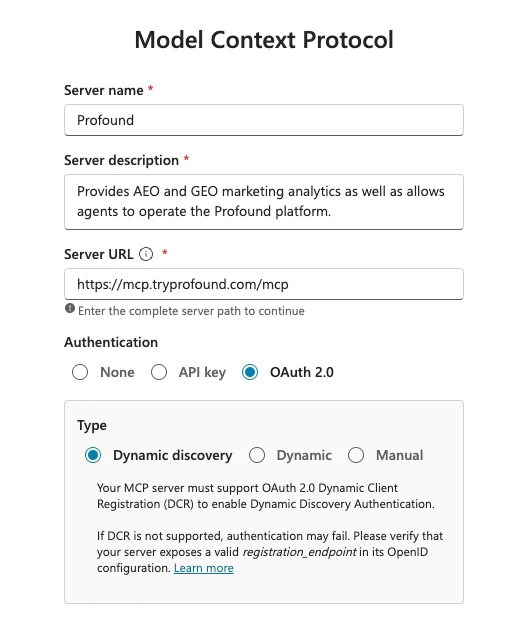
- Server name: Profound
- Server description: Provides AEO and GEO marketing analytics as well as allows agents to operate the Profound platform.
- Server URL:
https://mcp.tryprofound.com/mcp - Authentication: OAuth 2.0
4
Set up authentication
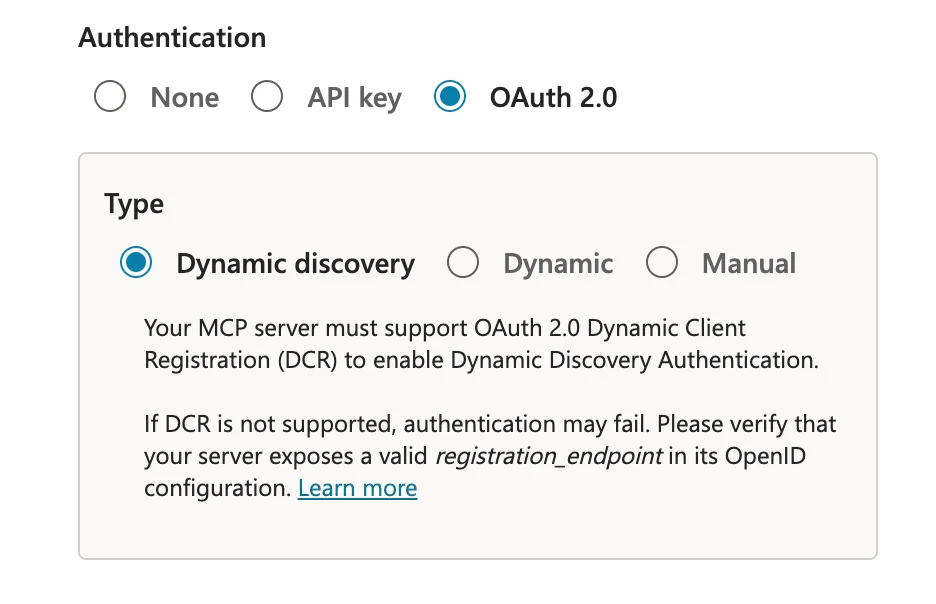
Profound uses OAuth 2.0 to verify your identity. This is the standard “sign in with your account” method used by most modern apps.
- Select Dynamic discovery: This is the simplest option that lets Copilot Studio configure the sign-in flow automatically
- Select Create
5
Create a connection and add the server
- On the Add tool screen, select Create a new connection
- Follow any sign-in prompts to authenticate with your Profound account
- After the connection is created, select Save for the MCP server, then refresh the tools list

- Select Add to agent to finish
6
Verify the connection
To confirm everything is working:
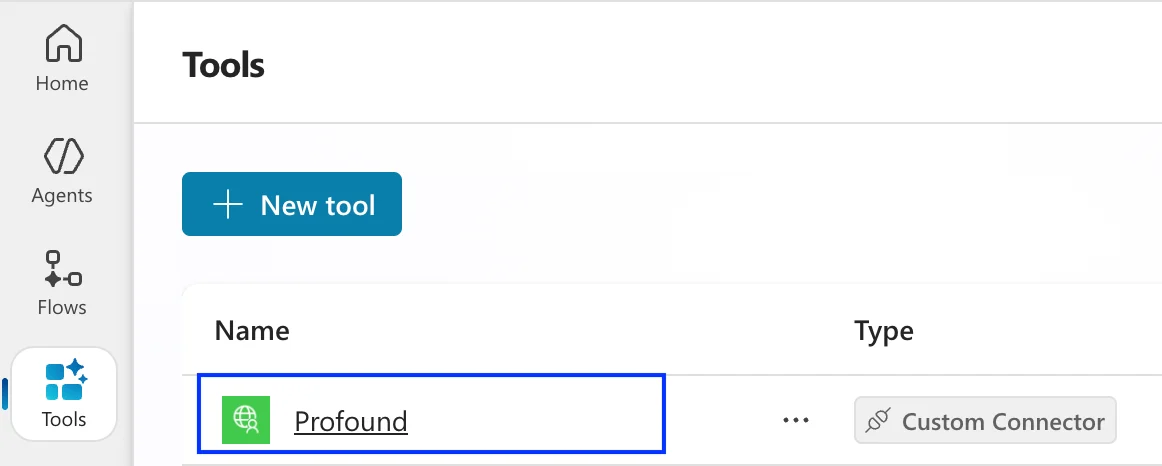
- Go to the Tools tab for your agent
- Look for Profound in the list of connected tools